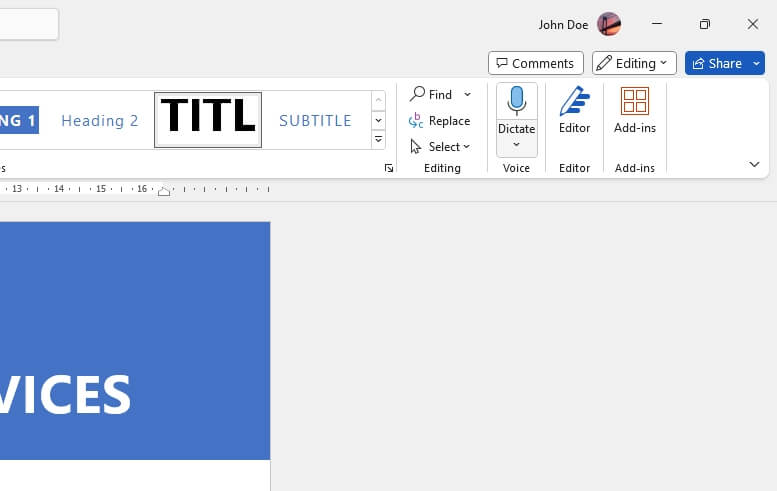
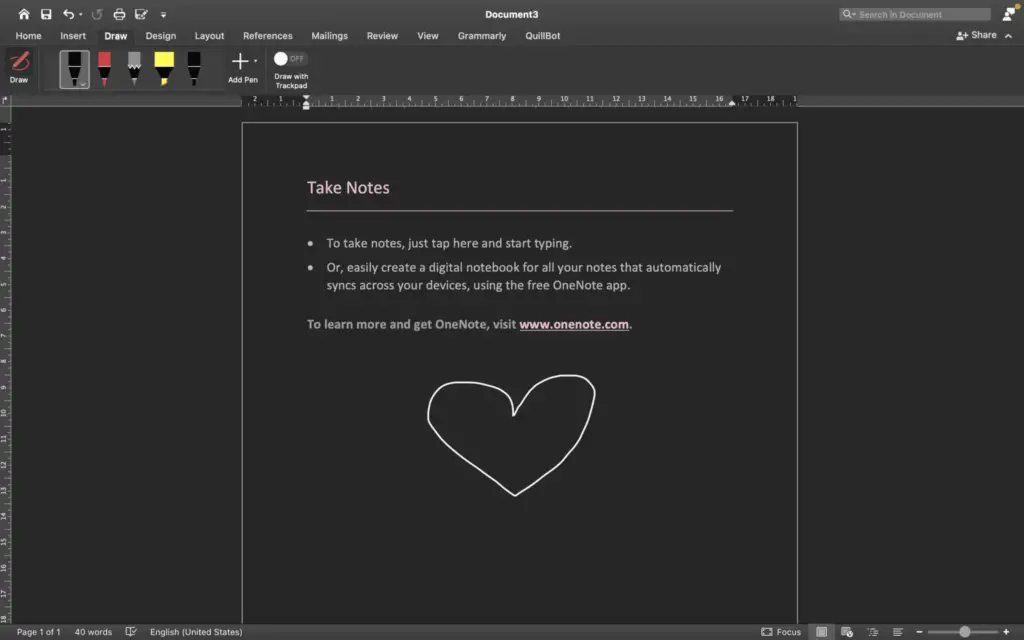
The ruler in Microsoft Word allows you to measure margins, indents, tab stops, and more. By default, Word sets the ruler unit of measurement to inches, but you can easily change it to another unit like centimeters or points. Here’s how.
Access the Word Options Menu
To change the ruler unit in Word:
- Open Microsoft Word
- Click the “File” tab
- Click “Options” on the left sidebar
This will open up the Word Options menu.
Navigate to Display Settings
- Click “Advanced” in the left sidebar
- Scroll down to the “Display” section
Change Ruler Unit
In the “Display” section:
- Locate the “Show measurements in units of” dropdown menu
- Click the menu and select your desired unit:
- Inches
- Centimeters
- Millimeters
- Points
- Picas
Note: This change will apply to all current and future Word documents.
Confirm Ruler Unit Change
After selecting a new unit, click “OK” to save changes and close the Word Options menu.
The ruler unit should now display your chosen measurement:
- Inches
- Centimeters
- Millimeters
- Points
- Picas
Tip: If the ruler is not visible in your Word document, enable it by clicking the “View” tab > “Ruler” checkbox.
Why Change the Ruler Unit?
There are a few reasons you may want to change the default ruler unit in Word:
- Client requirements – A client may request margins or tabs be set in a specific unit
- Publishing standards – Some publishing standards require picas or points over inches
- Personal preference – You simply prefer working in centimeters or millimeters
So if you need ruler measurements displayed in a unit other than inches, just use the steps above to change it.
Other Measurement Settings
Changing the ruler unit also updates other measurement settings in Word:
- Page margins
- Paragraph indents
- Tab stops
- Object dimensions
- Table column widths
- And more
So be aware that if you change the ruler unit to centimeters, all margins and indents will also display in centimeters.
Margin and Indent Options
To manually set custom margins and indents, use the Page Layout tab in the ribbon.
You can set margins for:
- Overall document
- Sections
- Pages
- Mirror margins
And indents for:
- Left
- Right
- First line
- Hanging
Ruler Overview
Familiarizing yourself with the ruler in Word can help you utilize it better:
Types of Rulers
There are two orientations of the ruler:
- Horizontal – Located at the top of the document
- Vertical – Located on the left side of the document
Ruler Elements
The ruler displays the following elements:
- Margin markers
- Indent markers
- Tab markers
- Position of insertion point
As you type or move elements in your document, the ruler dynamically updates to reflect the changes.
Ruler Functions
You can use the ruler for:
- Viewing element positions
- Changing margin positions
- Adding, editing, or deleting tab stops
- Switching between absolute and relative tab types
- Monitoring the position of your insertion point
These functions are applied based on the current ruler unit.
Ruler Customization
You can customize the Word ruler in a few ways:
Show/Hide Rulers
Toggle display of the horizontal and vertical rulers:
- File tab > Options > Advanced > Check/uncheck ruler boxes
Or:
- View tab > Click the Ruler checkboxes in the Show group
Reset Ruler to Zero
If you want the ruler origin reset to zero:
- Right-click the corner above the vertical ruler
- Click “Set Left Indent”
This will reset the margin and ruler back to zero.
Change Ruler Density
You can modify the scale of ruler markings:
- Right-click the ruler
- Hover over “Measurements”
- Select a density
Options range from coarse to fine ruler markings.
Keyboard Shortcuts
Use these handy keyboard shortcuts to toggle the ruler display:
| Action | Windows Shortcut | Mac Shortcut |
|-|-|-|
| Show/Hide Ruler | Ctrl + R | ⌘ + R |
| Show/Hide Vertical Ruler | Ctrl + Shift + R | ⌘ + Shift + R |
This will quickly turn the rulers on or off no matter what tab or document you have open in Word.
Frequently Asked Questions
Here are answers to some common questions about changing the ruler unit:
Why is my ruler showing centimeters instead of inches?
Most likely your proofing language is set to a country that uses the metric system, like Canada. To change back to inches:
- File tab > Options > Language
- Ensure proofing language is English (United States)
- Click OK
- Ruler unit will now be inches
What is the default ruler unit in Word?
The default ruler unit in English versions of Word is inches. For other languages like Spanish, the default is centimeters.
Will changing the ruler unit modify my existing documents?
No, the ruler unit only applies to new Word documents. Existing documents will maintain their original margins, indents and tab stops.
However, opening an existing document will display those element measurements in the newly chosen unit.
Why are my indents showing in inches when my ruler is centimeters?
Indents have their own absolute values set in inches that persist even when you change the ruler unit. To convert them, you need to reset each indent value.
To quickly convert all indents to centimeters:
- Highlight the entire document
- Clear any indents by setting left/right indents to zero
- Set new indent values in centimeters
Summary
The ruler is an indispensable tool for precisely formatting Word documents. Knowing how to switch the unit from inches to centimeters or points grants flexibility based on project needs.
So the next time you need ruler measurements displayed in a different unit, use the step-by-step instructions in this article to change it. Just navigate to the Word Options menu, Display settings, and select your desired ruler unit.


