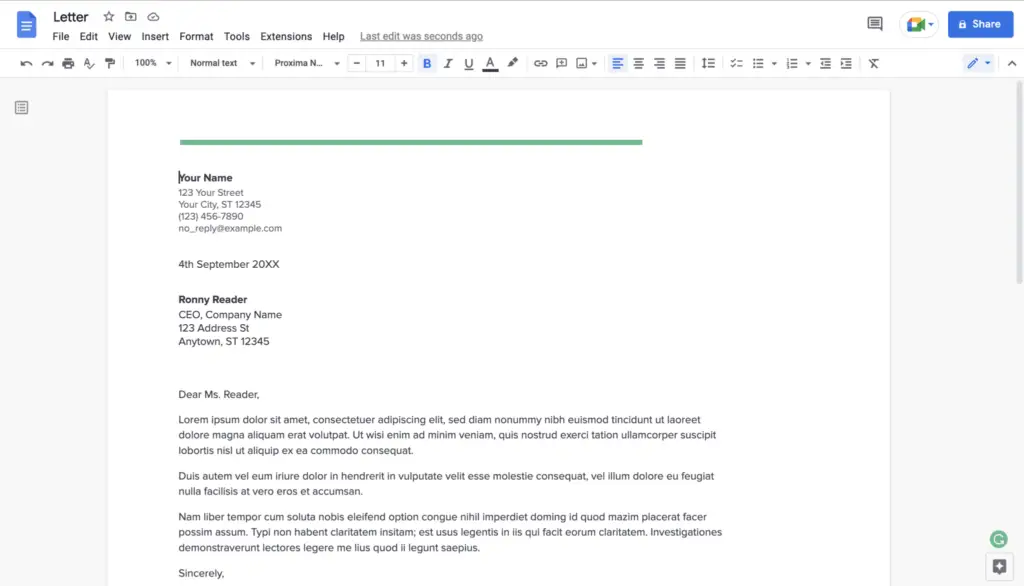
Most of the time, it makes sense to put document pages in portrait mode. Sometimes, like when you have a big table that needs more horizontal space, you might need to switch to a landscape orientation. Here’s what you need to do in Google Docs.
Google Docs doesn’t let you change the page orientation of just a few pages. Instead, you have to change the page orientation of the whole document. If you’re coming from a program like Word, where you can arrange different parts differently, you’ll have to get used to this. So, you won’t be able to add a single landscape page to a document that is mostly portrait. This would be a handy feature.
Still, it can be helpful in some situations to change how your whole document is laid out.
How to change the page to landscape in Google Docs
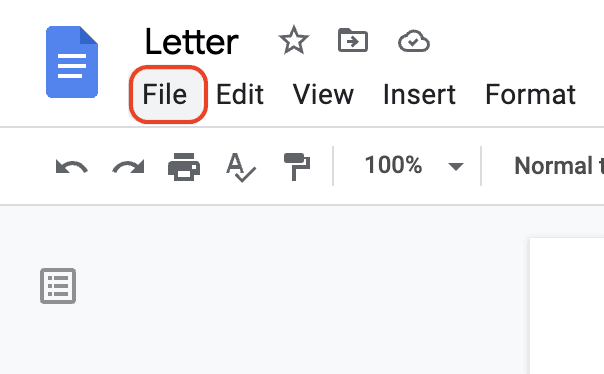
Step 1. To get started, use the “File” menu.
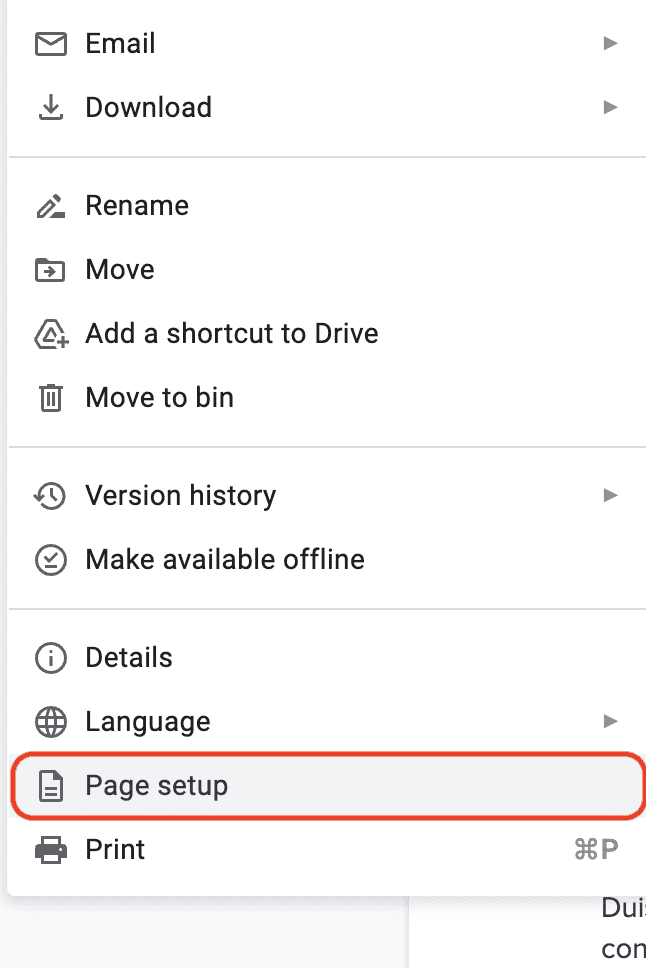
Step 2. After that, select “Page Setup” from the menu to bring up the Page Setup box.
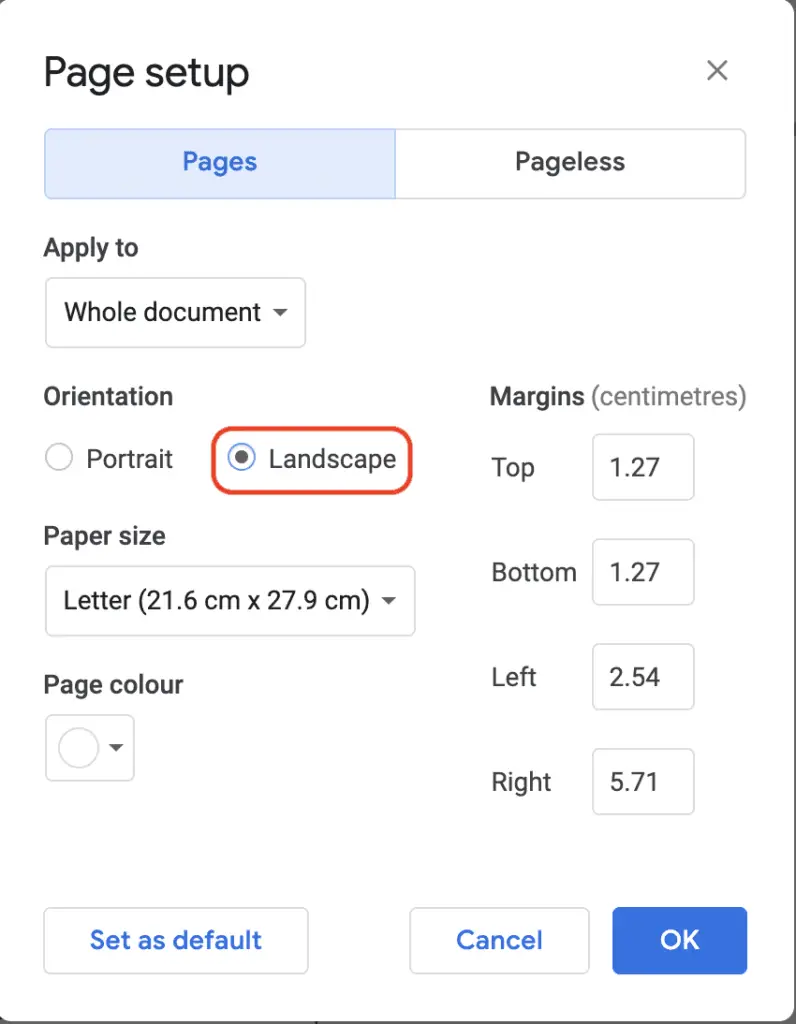
Step 3. You can change the orientation of your document to landscape under the “Orientation” section located at the very top of this window. After you have made your pick, click the “OK” button to save it and move on.
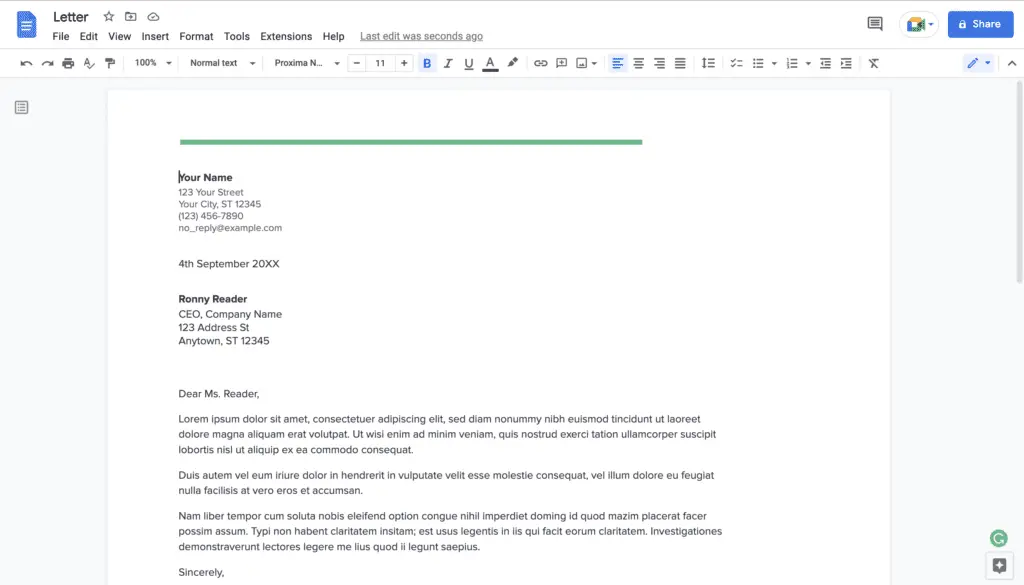
Step 4. Here is the final look of your document.
Click the “Set As Default” button before clicking “OK” if you want to make landscape the default page orientation every time you open Google Docs. This can be done by clicking the “Set As Default” button. When you next start a new document, it will be in the default orientation that you choose the last time you set it.
Although switching to landscape mode may make the majority of your document appear to be in fantastic shape, this model has the peculiar side effect of rearranging and reformatting photos and other material that may have appeared to be in perfect shape when they were arranged in portrait layout. Before sending it off to anyone for their approval, make sure that everything is in order and that nothing is missing.

