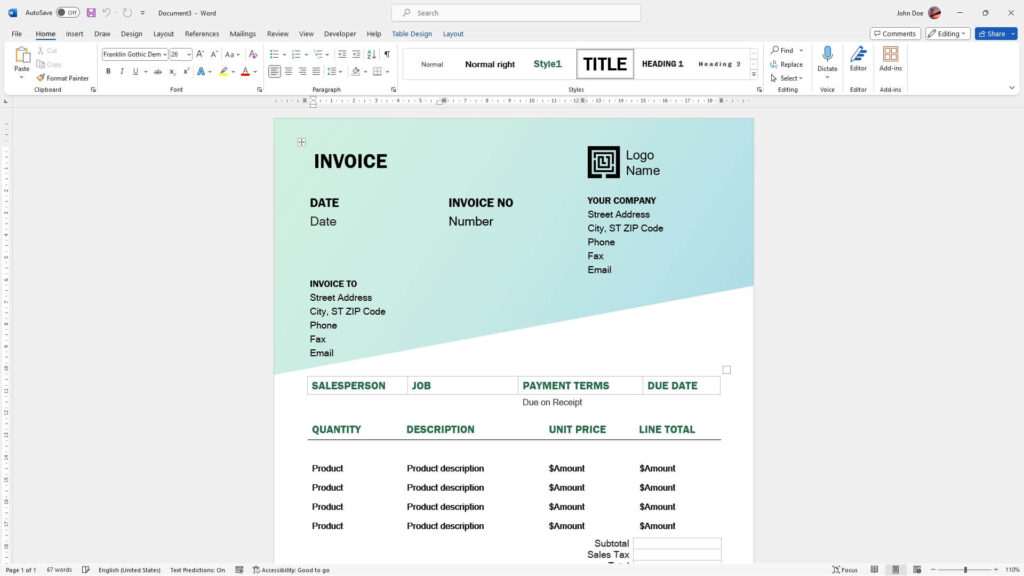
Microsoft Word allows you to easily change the orientation of your document pages between portrait and landscape modes.
Landscape mode orients the page horizontally, making it wider than it is tall. This orientation works well for documents like spreadsheets, flyers, brochures, calendars, and other documents that need more width than height.
Portrait mode orients the page vertically, making it taller than it is wide. This is the default mode in Word and works well for most standard documents like letters, reports, articles, etc.
In this article, you’ll learn how to switch an entire Word document to landscape orientation as well as change only specific pages to landscape while keeping other pages in portrait mode.
Benefits of Using Landscape Mode
Here are some of the benefits of using landscape mode:
- Works better for spreadsheets and tables that need more horizontal room
- Allows you to fit more text on each page
- Provides more space for images and other visual elements
- Creates an eye-catching layout for flyers, brochures, etc.
- Displays calendar layouts correctly
How to Change the Entire Document to Landscape Mode
Changing the entire Word document to landscape orientation is very easy:
- Open your Word document
- Select the Layout tab
- Click on Orientation in the Page Setup section
- Choose Landscape from the drop-down menu
All pages in your document will now change to landscape orientation. The text and images will automatically adjust to fit the new horizontal layout.
How to Change Only Certain Pages to Landscape
To change only specific pages to landscape mode while keeping other pages in portrait mode:
- Place your cursor where you want the landscape formatted page to start
- Go to the Layout tab and click Breaks
- Select Next Page under Section Breaks
- Click on Orientation in the Page Setup section
- Choose Landscape
This will insert a section break and change only that page and subsequent pages to landscape.
To switch the pages after the landscape section back to portrait:
- Place your cursor at the start of the page immediately following the landscape section
- Go to Layout > Breaks > Next Page to insert a new section break
- Select Orientation > Portrait
Now only the pages in the middle landscape section will be oriented horizontally while the other pages remain vertical.
Adjust Margins for Landscape Pages
The default margins may not fit properly when you change to landscape mode. To adjust the margins:
- Go to the Layout tab
- Click on the small arrow at the bottom-right of the Page Setup section
- Click Margins > Custom Margins
- Adjust the margins as needed
- Click OK
Set wider left and right margins so text doesn’t get cut off on the landscape pages. The top and bottom margins can be smaller.
Set Landscape as Default for New Documents
If you create documents in landscape mode frequently, you can save time by setting landscape orientation as the default for new Word documents:
- Click the Layout tab
- Click the small arrow at the bottom-right of the Page Setup section
- Click Landscape under Orientation
- Click Set As Default
- Click OK
Now anytime you create a new document, it will automatically be set to landscape orientation.
Changing to landscape mode in Word gives you more flexibility with your page layouts. Use portrait and landscape modes together within the same document to make visually engaging page designs.


