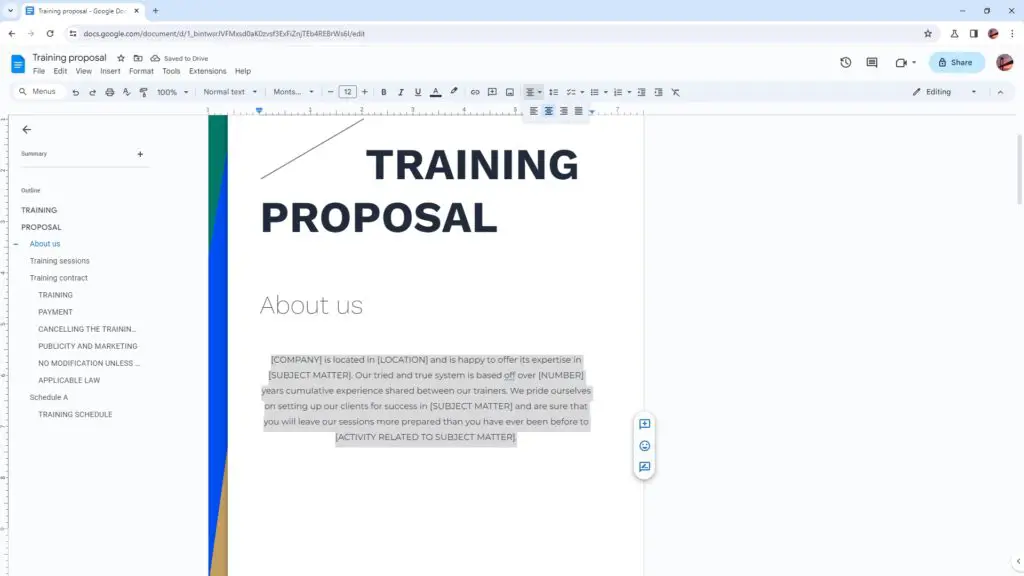
Aligning text in the center in Google Docs is a useful formatting technique for titles, headings, and other text you want to showcase. Centered text stands out and creates visual appeal in your document.
In this article, I’ll walk you through the different ways to center text horizontally and vertically in Google Docs, using both the user interface and keyboard shortcuts.
Horizontally Centering Text
Using the Alignment Options
The easiest way to center text horizontally is using the alignment options in Google Docs:
- Highlight the text you want to center by clicking and dragging your cursor over it.
- Click the Align Center Align Center icon in the toolbar. This is the icon with two left and right arrows pointing inward.
- The selected text will now be centered on the page.
This method allows you to center text quickly without having to indent text manually.
Using the Ruler
You can also use the ruler to center text:
- Show the ruler by clicking View > Show Ruler.
- Highlight the text you want to center.
- Move your cursor to the middle of the ruler and click and drag the left and right tab stops inward to meet in the center above your text selection.
- The text will snap to the center.
This achieves the same effect as using the alignment options. The ruler method gives you a visual reference for the center of the page.
Using Keyboard Shortcuts
For quicker access without the mouse, use these keyboard shortcuts:
- Ctrl + E (Windows and ChromeOS) or ⌘ + E (Mac): Center align paragraph
- Ctrl + Shift + E (Windows and ChromeOS) or Shift + ⌘ + E (Mac): Center align line or selection
Simply highlight your text and use the relevant shortcut to center.
Vertically Centering Text
To center text vertically:
- Make sure the ruler and gridlines are displayed by clicking View > Show Ruler and View > Gridlines.
- Determine the vertical midpoint of your document using the ruler.
- Place your cursor at the desired insertion point.
- Press Enter a few times to move your cursor below the vertical midpoint.
- Click and drag the topmost gridline down to snap to your cursor. This will insert blank paragraphs to push the text into the vertical center.
You can also set the paragraph line spacing to create the necessary white space above and below your centered text.
Centering Text in Tables and Shapes
The steps to center text in tables and shapes are the same as centering normal text:
- Tables: Click inside a cell, highlight the text, and use the alignment options or ruler method.
- Shapes: Double click the shape to edit the text, select it, and align center.
This ensures a consistent look across your document.
Common Centering Use Cases
Here are some of the most common uses for centered text:
- Titles: Center your document title and section headings for emphasis.
- Cover pages: Center text and images for appeal.
- Letterhead: Align company name and logo at the top center.
- Presentations: Centered titles and text stand out on slides.
- Artistic effect: Center text in shapes and images for visual flair.
Centered text contrasts with left or right-aligned body text and draws attention. Use it intentionally when you want certain text to be noticed and prominently displayed.
Conclusion
I hope this article has helped you learn how to effectively center text in Google Docs. Proper text alignment goes a long way in making documents more visually engaging.
Centering text horizontally is easy using the alignment options, ruler, or keyboard shortcuts. Vertically centering text requires adjusting paragraph spacing or gridlines.
So whenever you need to make titles pop, showcase important quotes, or highlight text in shapes, use these centering techniques in Google Docs.
Let me know in the comments if you have any other questions!


