Headers and footers are useful elements to include in your Google Docs documents. They allow you to display information like page numbers, titles, author names, and more at the top or bottom of each page.
Adding headers and footers in Google Docs is easy. Here is a step-by-step guide.
Why Use Headers and Footers
Here are some of the benefits of using headers and footers in Google Docs:
- Page numbers – Number each page to help readers navigate longer documents
- Document titles – Display the document’s title on each page
- Author names – Give credit to content creators by listing their names
- Dates – Show when the document was created or last updated
- Chapter titles – Divide documents into chapters with unique headers/footers
- Copyright info – Include copyright dates, Creative Commons licenses, etc.
Headers and footers improve readability and organization. Readers can quickly see contextual information as they scroll through your document.
How to Insert a Header or Footer
On desktop:
- Open your Google Doc
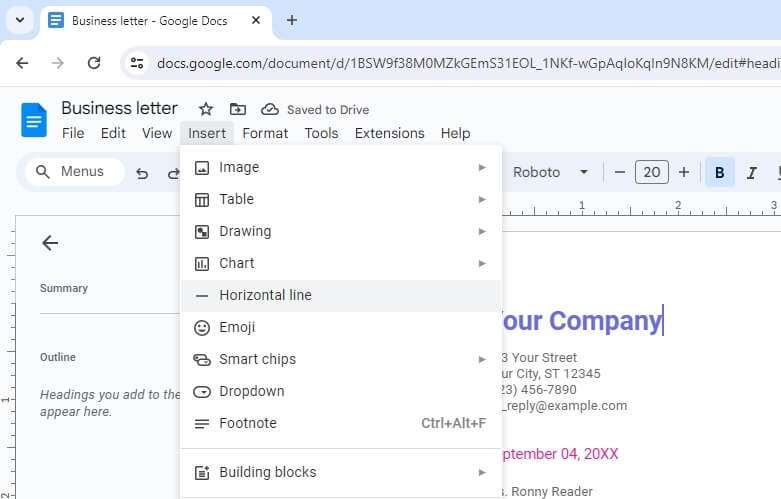
- Click Insert > Headers & footers in the top menu
- Select Header or Footer
- Type your desired text
You can also use keyboard shortcuts:
- Header – Ctrl + Alt + H (Windows/Chrome OS) or ⌘ + ⌥ + H (Mac)
- Footer – Ctrl + Alt + F (Windows/Chrome OS) or ⌘ + ⌥ + F (Mac)
On mobile:
- Open the Google Docs app
- Tap the document to edit
- Tap the 3-dot menu (⋮)
- Turn on Print layout
- Tap the top or bottom of the page to reveal header/footer fields
Customizing Headers and Footers
You have lots of formatting options to customize headers and footers, including:
- Text formatting – Change fonts, sizes, colors, alignment, etc.
- Adding images – Insert logos, icons, or other graphics
- Page numbering – Enable automatic page numbers in the footer
- Different first page – Use unique headers/footers on the first page
Follow these steps to access formatting options:
- Double-click inside the header/footer to unlock it
- Click Format in the toolbar
- Select options like font, alignment, line spacing, and more
Different Headers and Footers by Section
You can define different headers and footers for each section of your document.
To do this:
- Place your cursor where you want to start a new section
- Go to Insert > Break > Section break (next page)
- Click inside the new section’s header/footer and customize it
Repeat these steps to add more sections with unique headers and footers.
Removing Headers and Footers
Don’t want headers and footers anymore? Removing them is simple:
On desktop:
- Double-click the header or footer
- Click Options on the right side
- Select Remove header or Remove footer
On mobile:
Unfortunately, you cannot completely remove headers/footers via the mobile app. You’ll need to use the web version.
And that covers the basics of working with headers and footers in Google Docs! Use them to display useful information and improve navigation in your longer documents.


