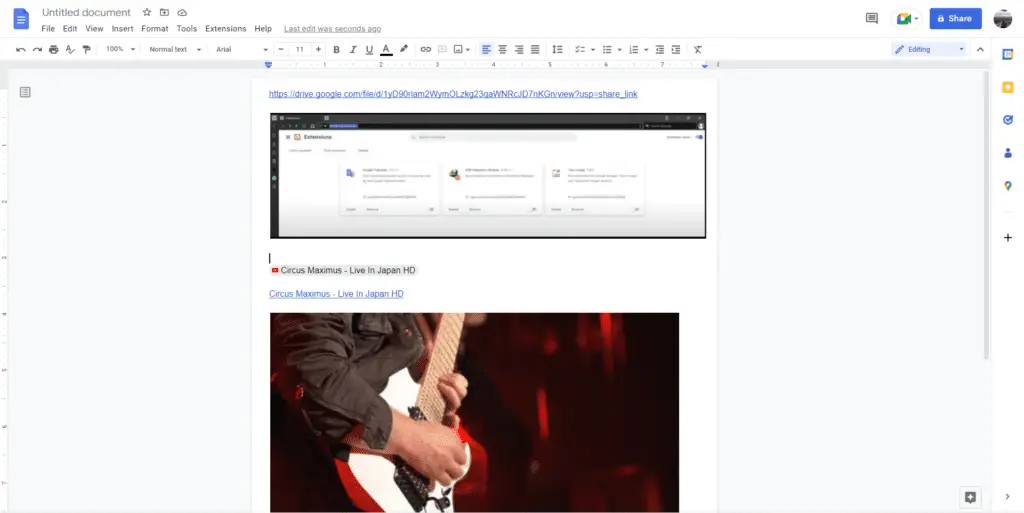
Tab stops allow you to align text in Google Docs. They determine where the cursor stops when you press the Tab key. By default, Google Docs has tab stops set every 0.5 inches, but you can customize them to create specialized formatting.
Display the Ruler
To work with tab stops, you first need to display the ruler:
- Go to View > Show Ruler
- A checkmark will appear next to the option and a ruler will display along the top of your document
Add a Tab Stop
To add a custom tab stop:
- Click on the ruler where you want the tab stop
- A pop-up will appear with options to add a left, center, or right tab stop
- Left aligns text to the left of the tab stop
- Center centers text around the tab stop
- Right aligns text to the right of the tab stop
- An arrow (left tab) or diamond (center/right tab) will display on the ruler showing the new tab stop
When you press the Tab key, text will now move to the custom tab stop.
Edit a Tab Stop
To move a tab stop, simply click and drag it left or right on the ruler. The text will automatically adjust to the new position.
Remove a Tab Stop
To delete a tab stop:
- Click on the tab stop on the ruler
- Drag it off the ruler vertically
- Text will shift over to the next tab stop
If no tab stops remain, text will resume the default 0.5 inch spacing.
Formatting Tips
Here are some tips for using custom tab stops effectively:
- Create organized tables or schedules – Use left, right, and center tab stops to align columns
- Format resumes – Align dates and job titles
- Indent outlines or multi-level lists – Use left tab stops for indenting
- Improve readability – Break up walls of text by tabbing over key points
Keyboard Shortcuts
- Ctrl + A – Select all content to apply tab stops quickly
- Tab – Move cursor to next tab stop
- Shift + Tab – Move cursor to previous tab stop
Show/Hide the Ruler
The ruler only needs to be displayed while editing tab stops. To toggle it on/off:
- View > Show Ruler – Check/uncheck this option
Even with the ruler hidden, custom tab stops will still function.
Tab Stops in Microsoft Word
The concept of custom tab stops originated in word processors like Microsoft Word. The methods for adding, editing, and removing them is nearly identical.
If you’re familiar with tab stops in Word, you’ll feel right at home using them in Google Docs.
Google Docs Advantages
Choosing Google Docs over Word provides collaboration benefits:
- Real-time editing – Multiple people can edit the document simultaneously
- Version history – Restore past versions if changes are made
- Accessibility – Available across devices from any location
- Sharing – Easily share with configurable permissions
The core formatting functionality matches Word, but Google Docs provides better collaboration tools.
Summary
- Display the ruler to access tab stops
- Click the ruler to add left, center, or right tab stops
- Drag tab stops to edit their position
- Remove by dragging off the ruler vertically
- Use to format tables, resumes, outlines, and more
- Increase readability by breaking up text
- Show/hide the ruler in View menu
- Function same as tab stops in Word
- Google Docs adds real-time collaboration benefits
With some basic knowledge, you can leverage tab stops in Google Docs to create organized and readable documents.


