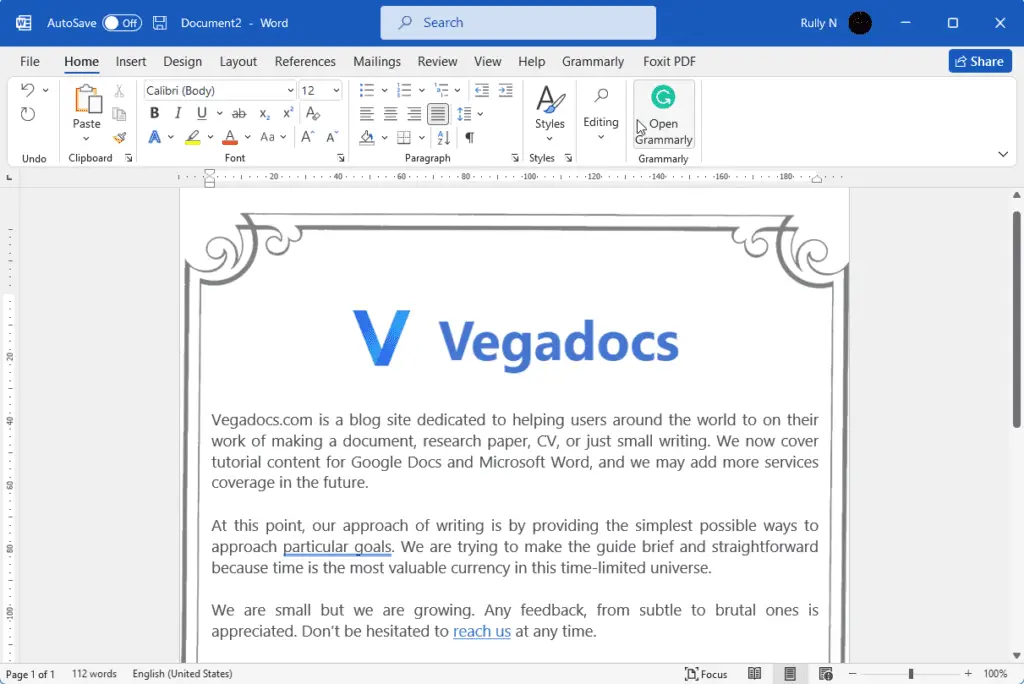
Decorative drop caps are a great way to add visual interest to your Word documents. A drop cap is an oversized capital letter that marks the start of a new paragraph. By turning the first letter into an eye-catching design element, you can guide readers smoothly into the text that follows.
In this simple tutorial, you’ll learn how to transform a regular first letter into an artistic drop cap in just a few clicks. We’ll cover how to customize the look so you can match the style to your document. Read on to start enhancing your Word files with beautiful initials!
What Are Drop Caps?
A drop cap is an enlarged, decorative first letter that drops down a number of lines into the body of a paragraph. Traditionally used to open new chapters in books, drop caps help lead the reader’s eye down into the text.
Benefits of using drop caps include:
- Guiding the reader into the start of new sections
- Adding visual flair and style
- Breaking up dense text
- Creating hierarchy on the page
In printed manuscripts, drop caps are often highly stylized and incorporated into illuminated lettering and illustrations. Microsoft Word lets you emulate this effect easily with just the built-in formatting options.
Select the Letter You Want to Style
- Open your Word document and navigate to the paragraph you want to add a drop cap to. This will generally be the first paragraph of a new section.
- Click your mouse cursor anywhere within the first word of the paragraph.
- While holding down the left button, drag your mouse over the first letter you want to convert to a drop cap. This will highlight just the initial letter. For example, if your paragraph starts with “The quick brown fox…”, you would click and drag over the “T” to select it.
Now that you’ve chosen the letter, it’s time to turn it into a drop cap!
Apply Drop Cap Formatting in Word
- With your first letter still highlighted, go to the Insert tab on Word’s ribbon.
- Click the Drop Cap dropdown button in the Text group. Image shows Drop Cap button highlighted on Insert tab
- Select Drop Cap Options to open the formatting menu.
- Under Position, choose whether you want the letter to drop into the paragraph text (Dropped) or sit in the left margin (In margin). Drop Cap Position options
- Under Font, pick a different font family or font size for the drop cap if you want it to stand out from the body text.
- Adjust the number of lines you want the letter to occupy using the Lines to drop setting. The higher the number, the larger your drop cap will appear.
- Tweak the distance between the drop cap and text with the Distance from text option, increasing or decreasing spacing as needed.
- When you’re happy with the look, click OK to apply your customized drop cap.
And that’s it! Your selected letter now jumps off the page as a beautiful drop cap leading into the paragraph.
Remove or Edit Drop Caps
Made updates to your document and need to remove a drop cap? Or maybe you just want to tweak the style? It’s a cinch to edit or delete your initial letter design:
- Click anywhere in the paragraph with the drop cap you want to modify.
- Go back to the Insert tab and click the Drop Cap button.
- Choose None to revert the letter to normal text. Or, pick Drop Cap Options again to change the current look.
- Select your adjustments, then click OK.
Just like that, your drop caps will refresh to match your new vision!
Drop Cap Inspiration
Now that you know how to create your own stylish drop caps, here are a few ideas to spark your creativity:
- Match fonts – Try pairing decorative font for the drop cap with a complementary text font. For example, use brush script with serif body text.
- Add color – Go beyond black and white by making your initial letter a vivid hue that pops against the page.
- Incorporate imagery – Adorn your capital letter with clip art, icons, or other graphics that tie into the content.
- Overlap text – Make the drop cap overlap into the body text instead of sitting neatly above it for dramatic effect.
- Experiment with whitespace – Adjust the spacing around and within the letterform to make it feel balanced.
The options for unique drop cap designs are endless! Use these tips to help make your documents more visually compelling.
Drop Caps Frequently Asked Questions
Still have questions about working with drop caps in Word? Here are answers to some common queries:
How do I apply a drop cap to multiple paragraphs?
Unfortunately, you can only apply drop caps to one paragraph at a time in Word. You will need to manually format each first letter that you want styled.
Can I create a drop cap on the first word instead of just the first letter?
No, drop caps can only be applied to a single letter rather than a full word or multiple letters. Make sure to highlight only the first character you want enlarged.
Why does my drop cap disappear when I close and reopen Word?
If your drop caps aren’t saving properly, check that you have selected Dropped or In margin cap positioning in the Drop Cap Options menu. Choosing None will remove the style, including when you close the file.
Can I use drop caps in tables, text boxes, or shapes?
Unfortunately drop caps will not carry over into text formatted as a table, text box, or shape. The feature only works on regular body paragraphs.
We hope these tips help you get the most out of drop caps! Let your creative side shine by adding stylish initials to your Word documents.


