Adding custom fonts to Microsoft Word can make your documents look more stylish and unique. Whether you want an elegant script font for invitations or a funky display font for flyers, downloading and installing new fonts is a great way to upgrade your Word documents.
In this tutorial, I’ll walk you through the complete process of finding, downloading, and installing new fonts so you can use them in Microsoft Word.
Finding & Downloading Fonts
There are tons of free fonts available online, but make sure to stick to reputable sites to avoid malware. Some good font websites include:
- DaFont: My personal favorite, with endless font options. Just be careful not to download anything sketchy.
- Google Fonts: Very high-quality and trustworthy fonts that are easy to download.
- Font Squirrel: A great selection of both commercial and free fonts.
Once you find a font you like, download the file to your computer. It will usually be a .zip folder containing the actual font files, which are .ttf (TrueType Font) or .otf (OpenType font).
Important: Always scan any downloaded fonts with antivirus software before installation, just to be safe.
Installing Fonts on Windows
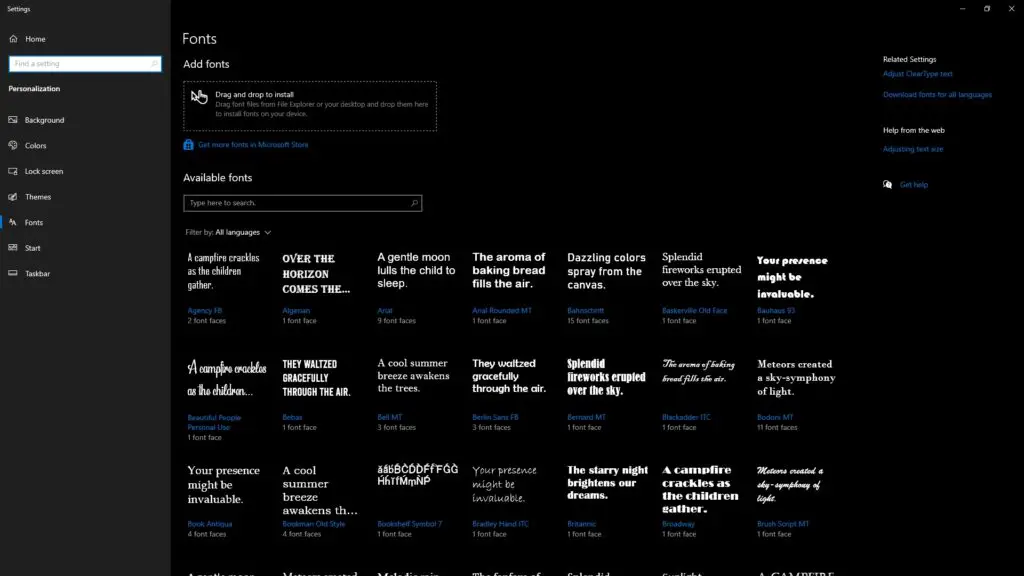
Installing fonts on Windows 10 is super easy and only takes a few clicks.
- Extract the zipped font folder. Right-click and extract the
.zipfolder you downloaded to access the font file(s) inside. - Right-click the font file > Install. This installs the font for the current Windows user. That’s all!
Optionally, you can also install fonts for all users by right-clicking the font and selecting Install for all users instead. This requires admin permissions though.
Installing Fonts on Mac
- Double-click the font file to open the Font Book preview.
- Click “Install Font” at the bottom of the preview window.
- Choose a collection to add it to, like “User” or “All Fonts.”
And you’re done! The font will now be available in all apps, including Microsoft Word.
Using New Fonts in Microsoft Word
Once you’ve successfully installed a font, you can easily access it from within Microsoft Word:
On Windows:
- Open a Word document and select some text.
- Click the font drop-down menu in the Home tab.
- Scroll down to see your newly added fonts.
- Select the font you want to apply.
On Mac:
- You may need to restart Word for new fonts to appear.
- Click the font drop-down menu and select “Font Collections” at the very bottom.
- Choose the collection you added the font to.
- Select the new font from this collection to apply it.
Feel free to play around with font styles and sizes as desired!
Troubleshooting Font Issues
If your new fonts aren’t showing up or displaying properly in Word, here are some things to try:
- For Mac, restart your computer and reopen Word.
- Check if the font installed properly in your OS’s font book/manager.
- Try reinstalling the font using the methods above.
- Make sure the font file is supported (
.ttfor.otf). - Disable any active antivirus software temporarily.
- Try installing in “Safe Mode” if on Windows.
And that’s it! With these simple steps, you can install cool new fonts and customize your Word documents. Let me know if you have any other questions!


