Adding borders around an image on a document could emphasize the content and naturally focus the reader’s attention with very little effort. For instance, you may use it to make one particular image stand out among other images.
Google Docs has a built-in feature that lets you add borders on an image quite easily. Though it doesn’t as advanced as Microsoft Word, at least you can adjust the thickness, style, and color.
Here’s how to add image borders on Google Docs.
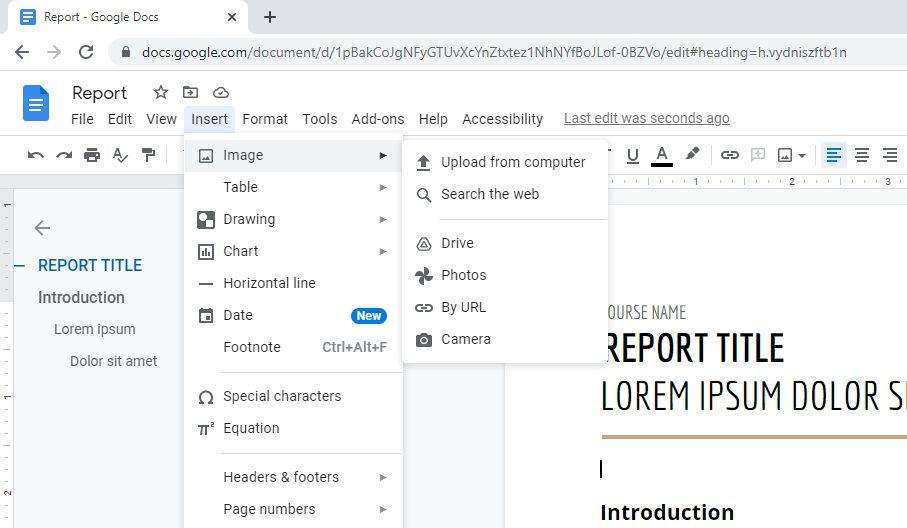
1. First, insert an image through Insert > Image and select the source.

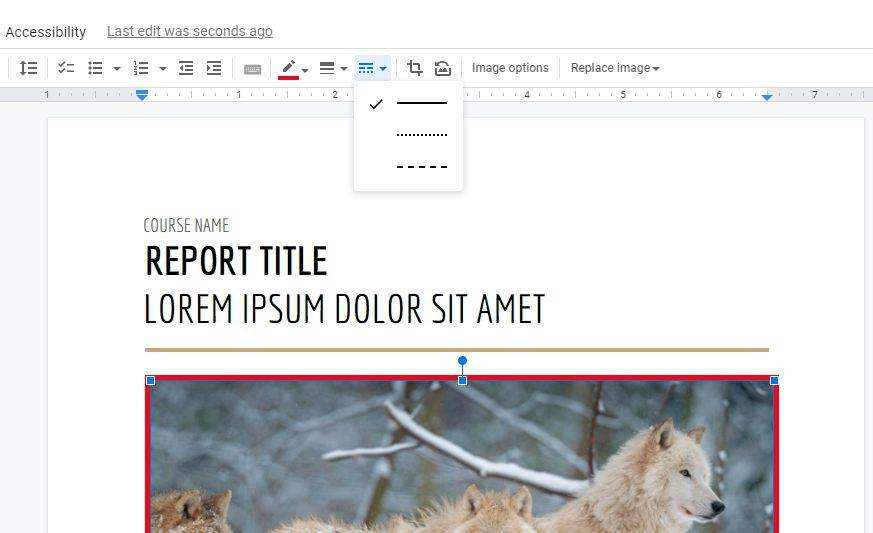
2. Then click on the image, click Border color, then select the color you want.
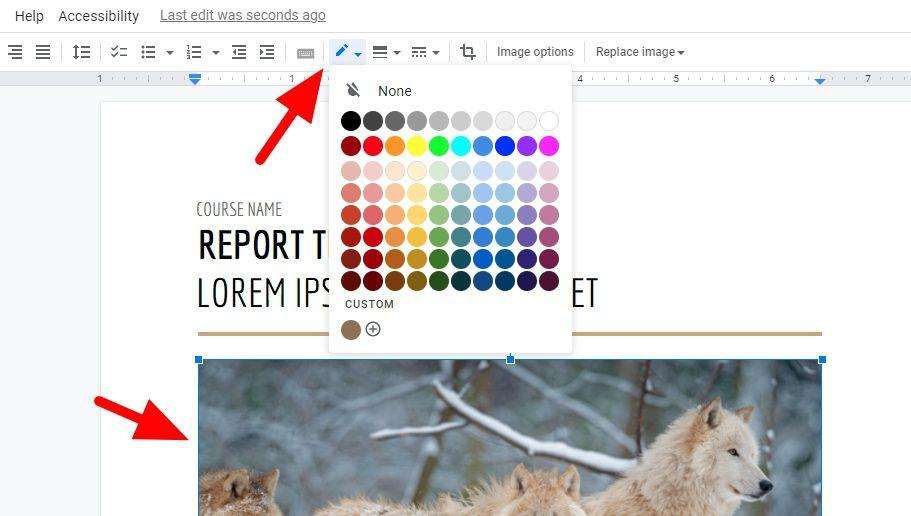

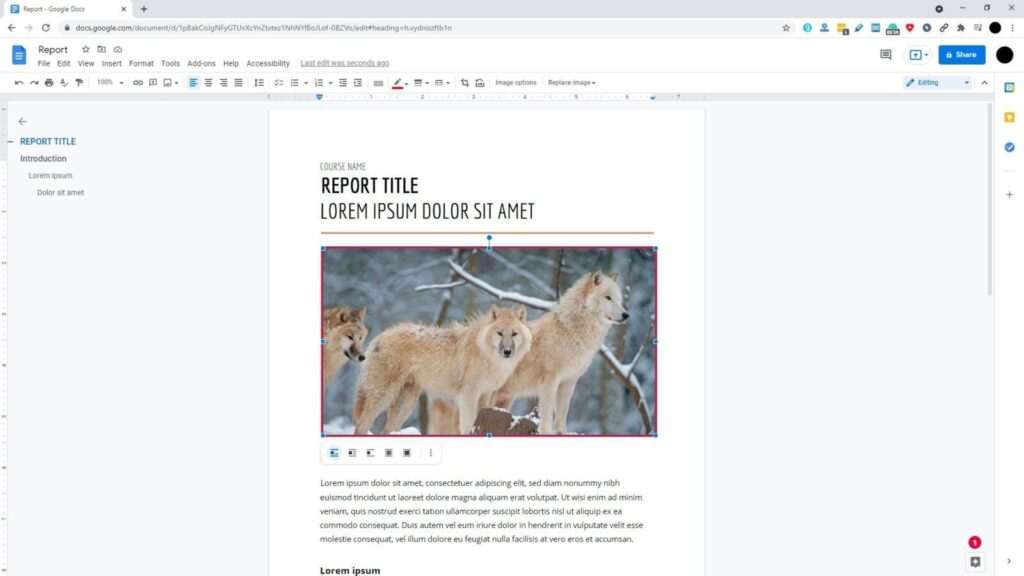
3. Now, the basic borders have been added.

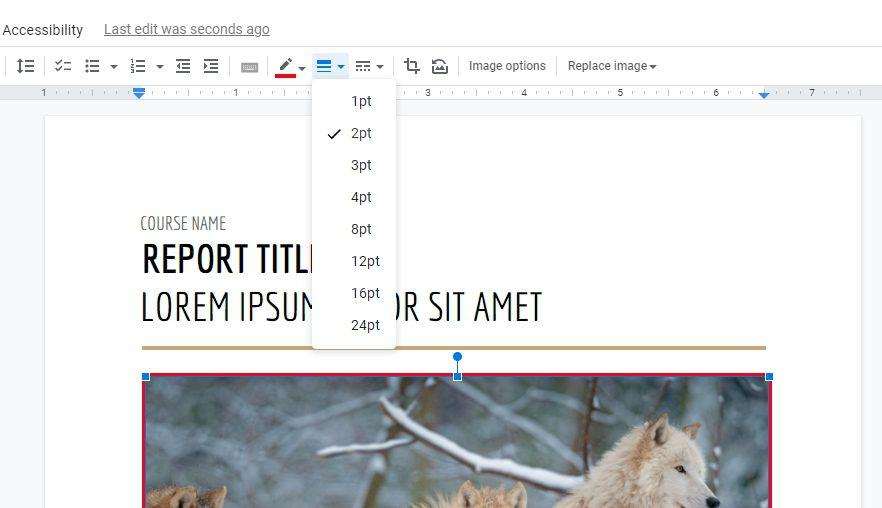
4. You can modify the level of thickness via Border weight.

5. And change the style from Border dash.

If you changed your mind, the borders can be removed via Border color > None or click the Reset image button.
At this point, the customizations offered by Google Docs for image borders are indeed limited. But the available features should be enough for the majority of use cases.


