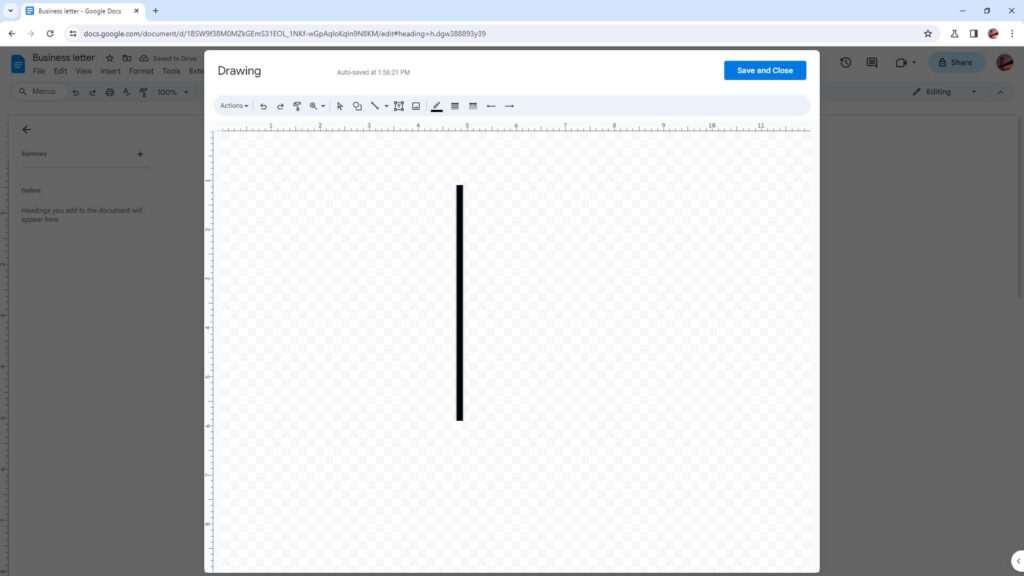
Adding a vertical line in Google Docs can be useful for visually separating sections of text, like in a newspaper layout. Vertical lines can also emphasize important points or divide text into columns.
Luckily, adding a vertical line in Google Docs is easy. There are a few different methods you can use:
Method 1: Use the Drawing Tool
The easiest way to add a vertical line is by using Google Docs’ built-in drawing tool:
- Open the document you want to add a line to.
- Click Insert > Drawing > New from the top menu. This will open up a drawing canvas on your document.
- Select the Line icon (it looks like a diagonal line) from the drawing toolbar.
- Click and drag on the document to draw a vertical line. Hold Shift while dragging to make sure your line is perfectly straight up and down.
- Customize the look of your line by double-clicking on it. You can change the color, width, line style, and more.
- Click Save and close when you’re done.
The benefit of using the drawing tool is that you can put vertical lines anywhere on the page, not just next to text. And it only takes a few clicks!
Method 2: Add Borders to Paragraphs
You can also add vertical lines directly next to paragraphs of text:
- Highlight the paragraph you want to add a line next to.
- Click Format > Paragraph styles > Borders and shading from the top menu.
- Under “Paragraph border,” click the boxes next to Left border and Right border to add vertical lines on both sides of the text.
- Customize the width, color, padding, and line style.
- Click Apply.
This method makes sure the vertical lines always stay next to the text even if you add or delete text. The downside is you can’t put these lines anywhere except next to paragraphs.
Method 3: Use Columns
Adding columns with vertical lines between them is another option:
- Highlight the text you want to arrange in columns.
- Click Format > Columns from the top menu.
- Select the number of columns you want.
- Check the box for Line between columns.
- Click Apply.
Your text will now flow into the set number of columns with vertical lines between them. This is useful if you’re creating a newsletter layout.
Customizing Your Vertical Lines
Once your lines are inserted, you can customize their look:
- Double-click a line to open formatting options.
- Change the width, color, style (solid, dashed, etc), and transparency.
- For border lines, adjust the padding to control spacing between the line and text.
Get creative with different styles and colors! Thick black lines add dramatic separation, while thin gray lines are more subtle.
Keyboard Shortcut
As a bonus shortcut, you can quickly insert a plain vertical line symbol anywhere by pressing Shift + Backslash ().
This types the | symbol, which functions just like a vertical line. However, you have less customization options than the methods above.
When to Use Vertical Lines
Some examples of when to use vertical lines in Google Docs:
- Separating newspaper-style columns
- Dividing resume sections
- Emphasizing key points
- Separating text and images
- Making charts, graphs, or timelines
So try adding some vertical lines to your next Google Doc! They can give documents visual organization and make them easier to read.
Let me know if you have any other questions!


