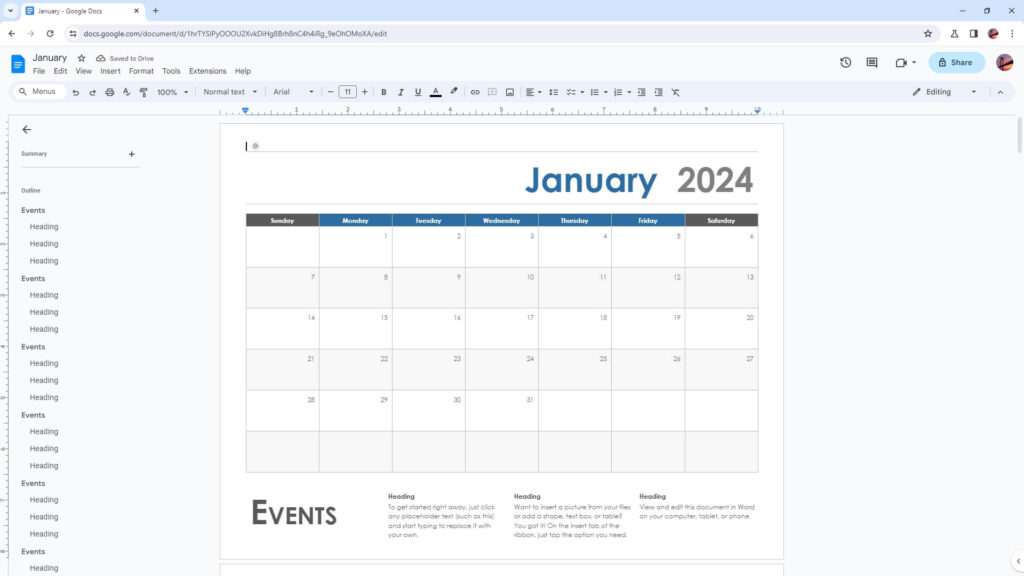
Adding lines in Google Docs is a useful way to visually separate sections or highlight key points in your document. In this tutorial, I’ll show you several methods for inserting both horizontal and vertical lines.
Adding a Horizontal Line
Inserting a horizontal line in Google Docs is simple. Here are the steps:
- Place your cursor where you want the line to appear. This can be anywhere in the document – in between paragraphs, before a heading, etc.
- Go to Insert > Horizontal Line. A line will instantly appear where your cursor is located.
Alternatively, you can use the keyboard shortcut Ctrl + Alt + – (Windows) or Cmd + Option + – (Mac) to insert a horizontal line.
Gif showing how to insert a horizontal line in Google Docs
You can adjust the line thickness by highlighting it and changing the font size. For example, increasing it to 16pt or higher will make the line thicker.
Adding a Vertical Line
To add a vertical line in Google Docs:
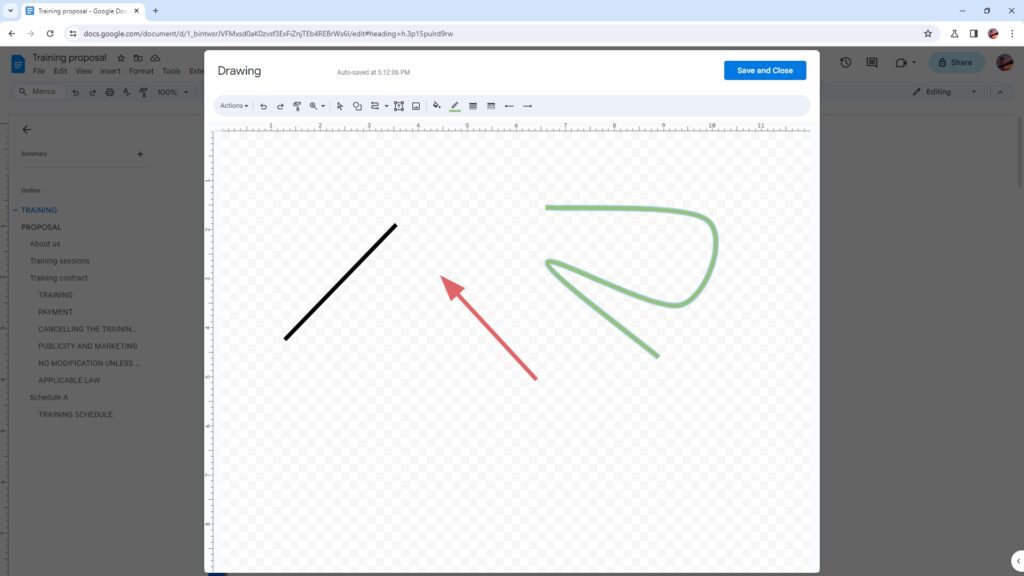
- Go to Insert > Drawing > + New.
- Select the Line icon (looks like a diagonal line) from the toolbar at the top.
- Click and drag while holding Shift to draw a perfectly straight vertical line.
- Adjust length and position by clicking and dragging the circular handles at the ends of the line.
Gif showing how to insert a vertical line in Google Docs
The vertical line will function just like any other image or drawing you insert. You can move it around, resize it, etc.
Separating Sections with Lines
Lines are great for visually separating major sections of a document. For example, you may want to separate:
- Introduction and body
- Different chapters
- Conclusion and references
To do this:
- Place cursor at end of section.
- Insert horizontal line using steps above.
- Hit Enter to add space between line and next section.
You now have a clean visual separator between document sections!
Emphasizing Points with Lines
Lines can also draw attention to important points:
- Statistics
- Definitions
- Warnings
- Benefits/drawbacks
- Product features
To emphasize a key point:
- Type the text you want to highlight.
- Hit Enter.
- Insert a horizontal line below text.
This makes the line act as a visual underline, immediately catching the reader’s eye.
Customizing Line Appearance
You have several options for customizing the appearance of lines:
- Change thickness by increasing font size
- Add color by highlighting line and selecting color
- Make dashed by highlighting line, right clicking, and selecting “Dashed line”
- Give lines borders by right clicking, selecting “Format options”, and adding border
Don’t be afraid to experiment with different styles and appearances for your lines. Just remember that simplicity and consistency is best.
Conclusion
Adding lines in Google Docs only takes a few clicks but can greatly improve the structure and readability of your documents. Use them to separate sections, make key points stand out, and guide your readers through your content.
Lines shouldn’t be overused, but when applied correctly they can go a long way in enhancing your Docs.
I hope this tutorial gives you some ideas for utilizing lines more effectively in your documents. Let me know in the comments if you have any other tips or tricks for lines in Google Docs!


