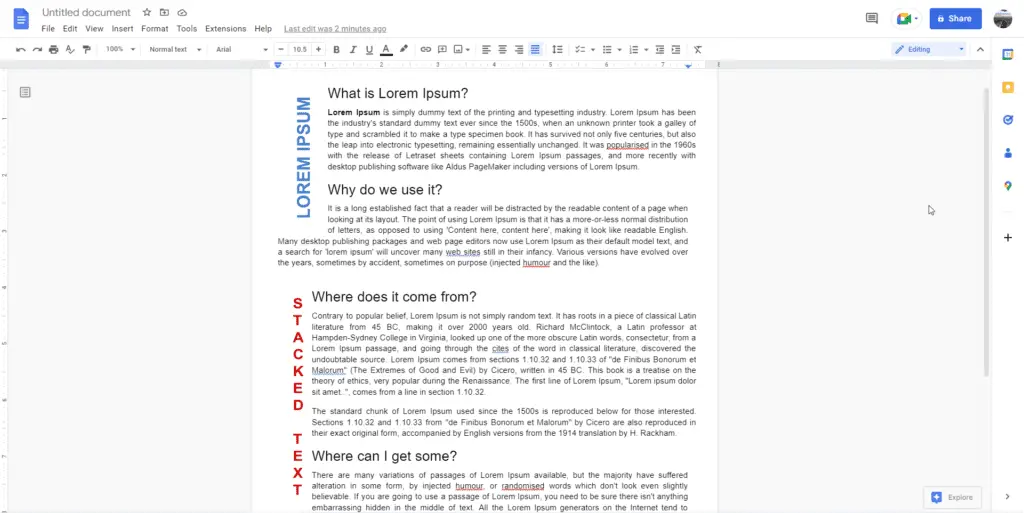
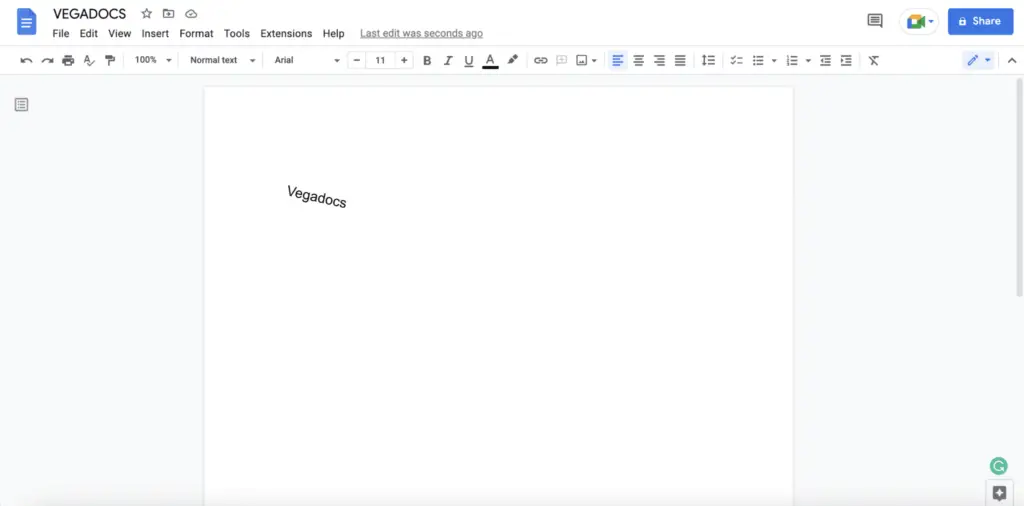
Adding vertical text in Google Docs is a great way to add visual interest and create an eye-catching layout. But there is no obvious way to add vertical text in Google Docs, as you can do in Microsoft Word.
By following the steps outlined in this tutorial, you can easily create your vertical text and make your documents stand out from the rest. Let’s get straight into it.
First method: rotate the text
1. In a new document click on the Insert, choose Drawing, and then click on New.

2. From the drawing tool, click the Text box button and draw a text box.
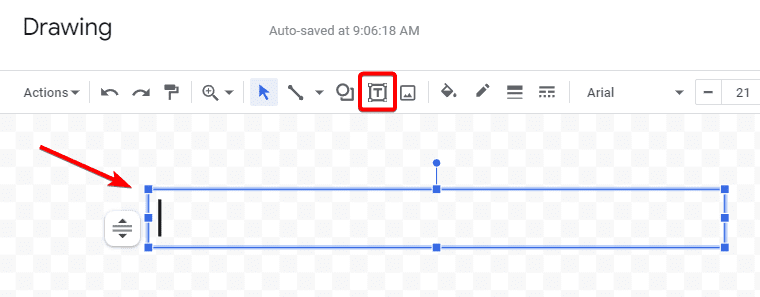
3. Type the text and you can change the font, resize it, add color, and much more. You also need to tighten up the blue box around the text as much as possible.
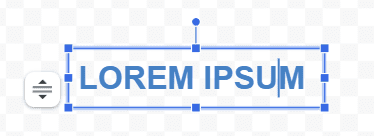
4. To rotate the text vertically, use the handle on the top of the text bar and rotate it 90 degrees.
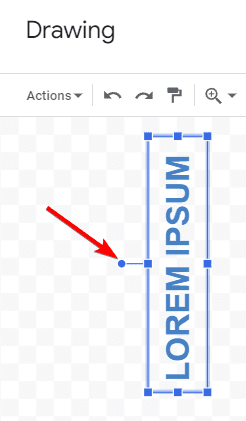
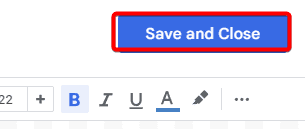
5. Click on the Save and Close button to add it to the document.
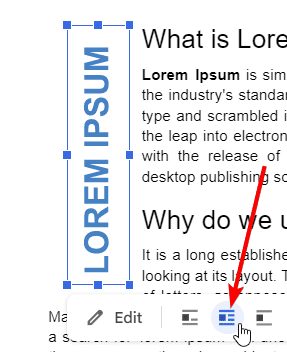
6. Back in your document, you can see the vertical text has been added to the document. To wrap existing text around the vertical text box, click on the vertical text box, and choose Wrap Text.
Second method: stacked text
1. Go to the Drawing tool, create a text box, and put the text inside.
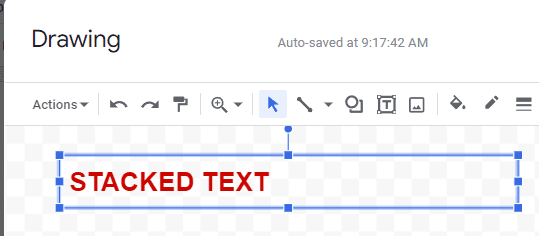
2. Click on the middle blue box on the right of the text box. Hold the mouse button down, and move the arrow pointer to the left to the right of the first letter. You won’t see the text change whilst you are moving the arrow pointer.

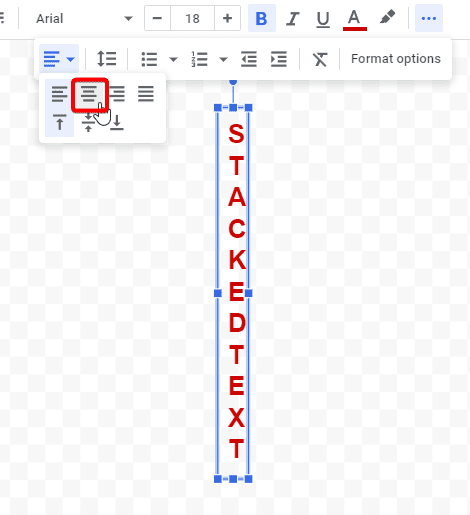
3. Let go of the mouse button, the letters are now stacked top to bottom.

4. Different letters are slightly different in width. To tidy it up, whilst the text is selected, choose the center align.
5. Once you are happy with the text, click Save and Close.
Remember to keep it simple; use basic formatting options like font size, color, alignment, line spacing, and others to customize your design

