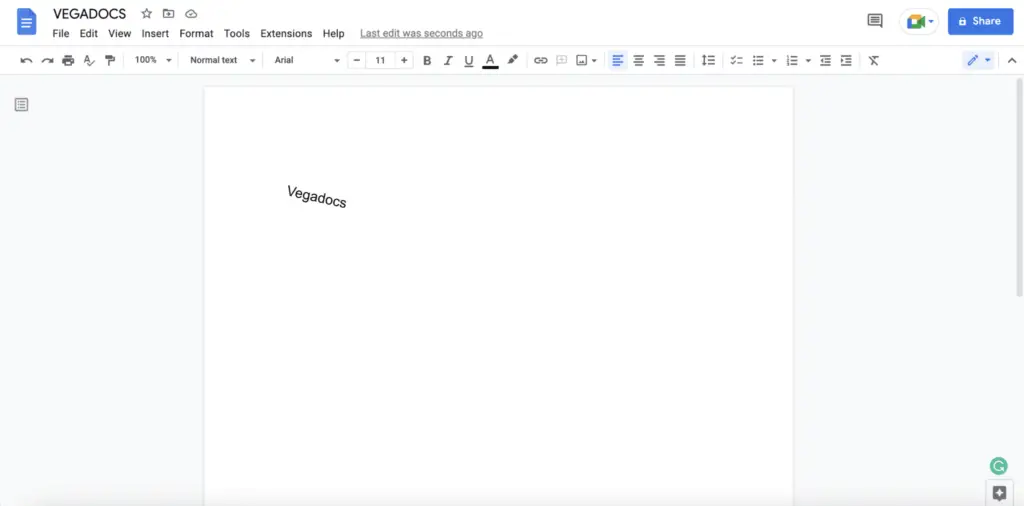
Do you require a document to be written fast and for no cost? You must use Google Docs.
Even though it doesn’t have as many bells and whistles as Microsoft Word, Google Docs lets you do a lot with the documents you create with it. Text rotation is one function, though, that you might not be familiar with how to use.
There is still a way to rotate text in Google Docs if you are interested in learning how to do so (if you know where to look). This instruction manual will show you how to do it.
If you want to rotate text in Google Docs rather than type it vertically, you’ll need to utilize the drawing tool located in the Insert tab of the toolbar.
The operation is as follows:
1. Open your document.
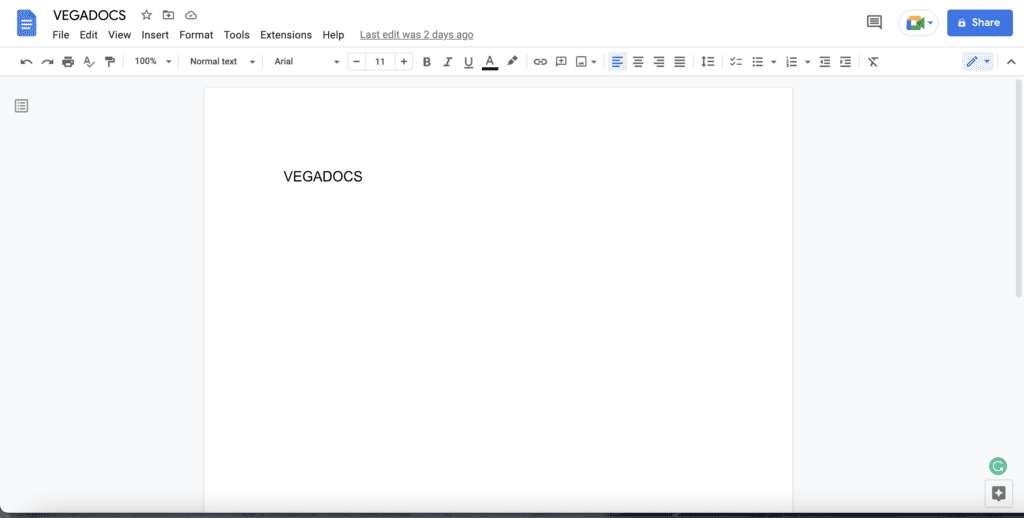
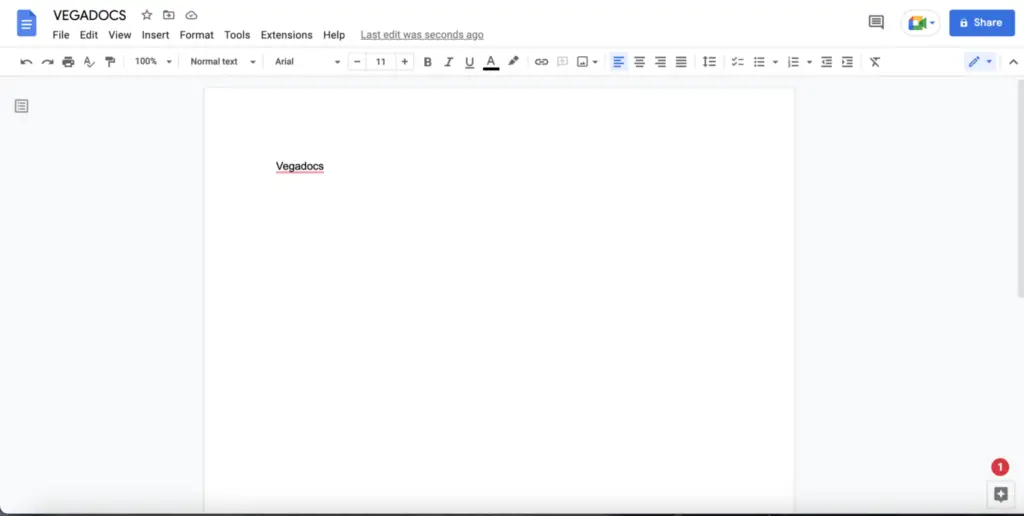
2. Place the cursor where you want the text to appear rotated, and then press Enter.
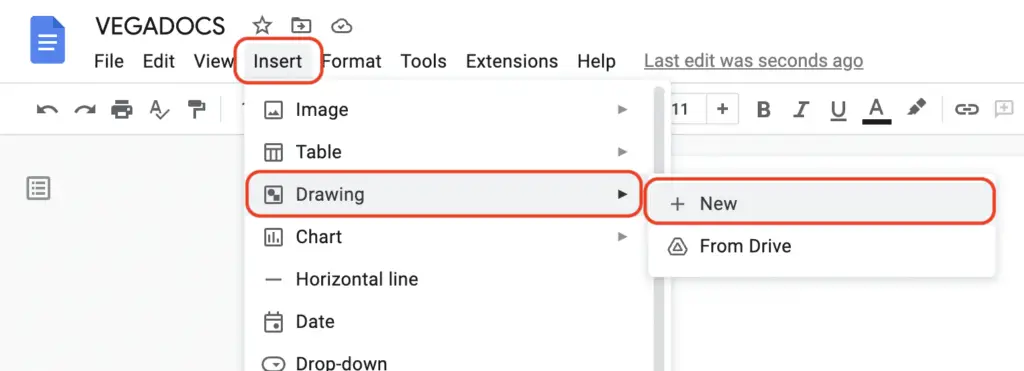
3. After that, select Insert > Drawing > New.
4. To use the Text Box tool, click its icon.
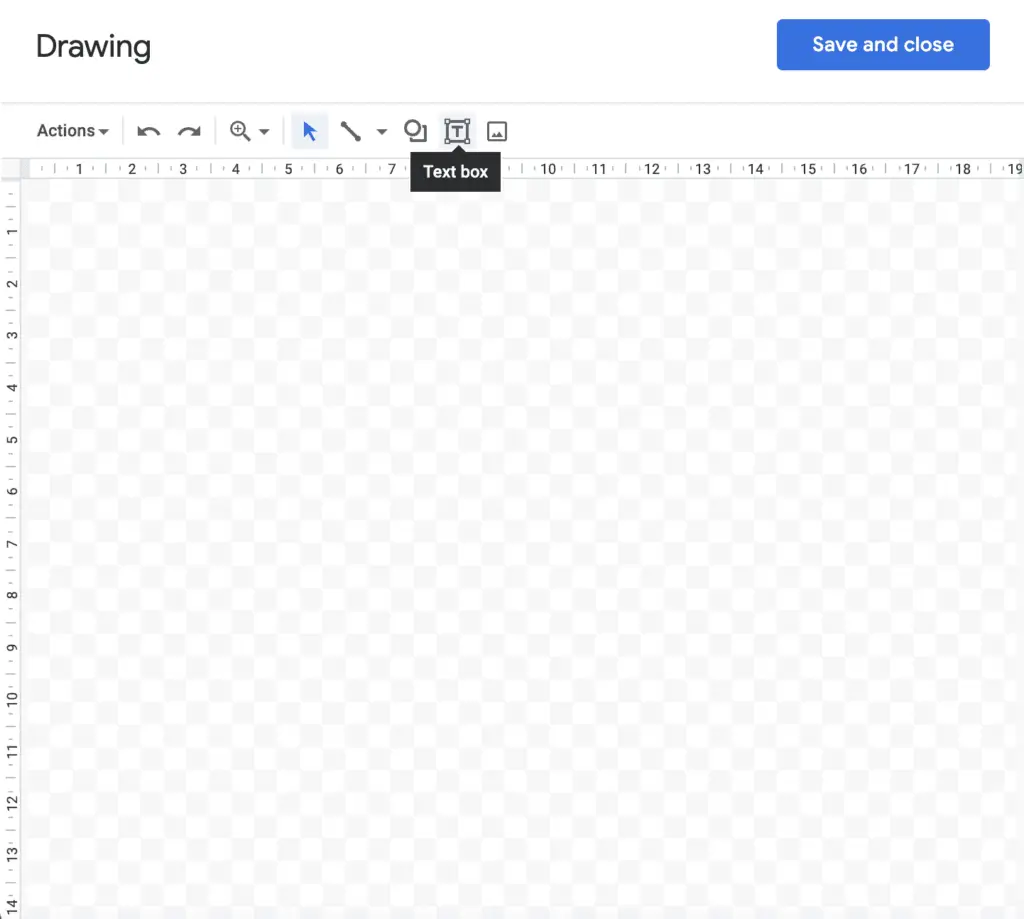
5. Create a text box by dragging one out, then enter your content inside it. Select the icons that look like resize boxes located all around the text box with your cursor. You can make the text box just a little wider than your text by dragging the icons to the left.
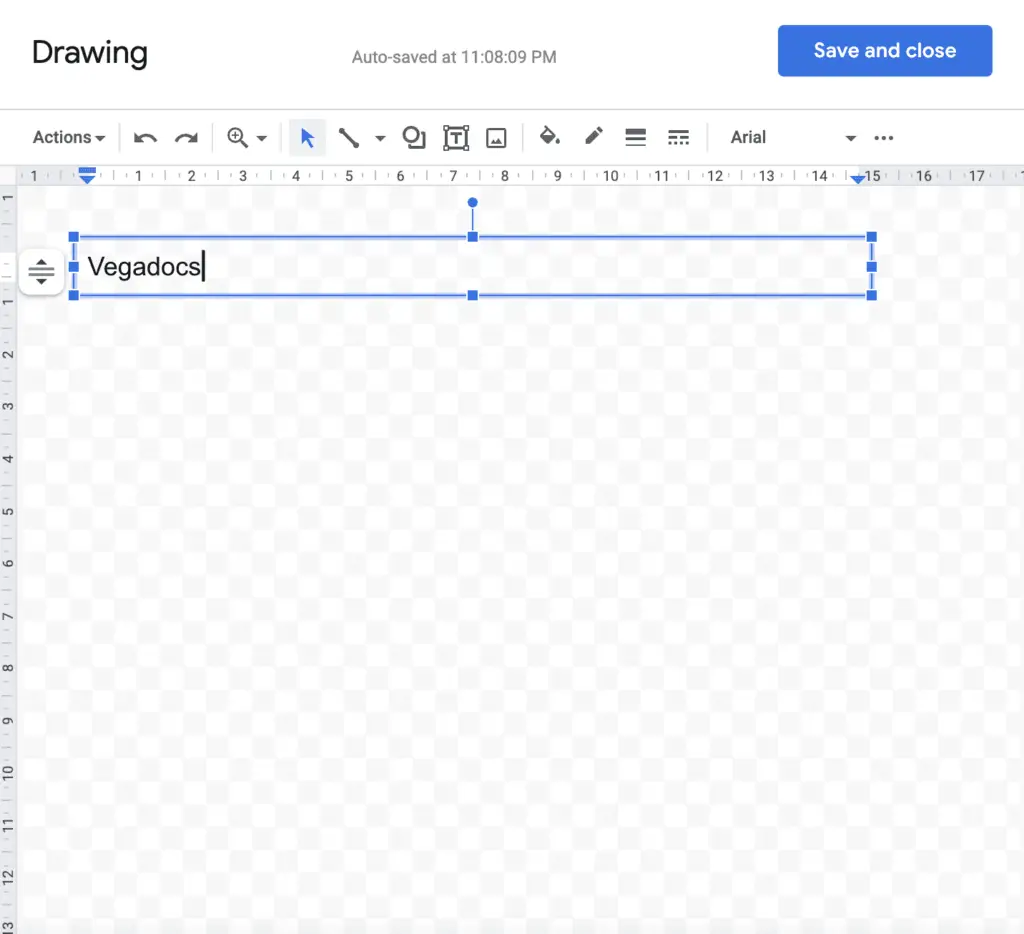
6. Keep clicking on the dot at the very top of the text field. By dragging this dot to the left or right, you can now rotate the text in your document.
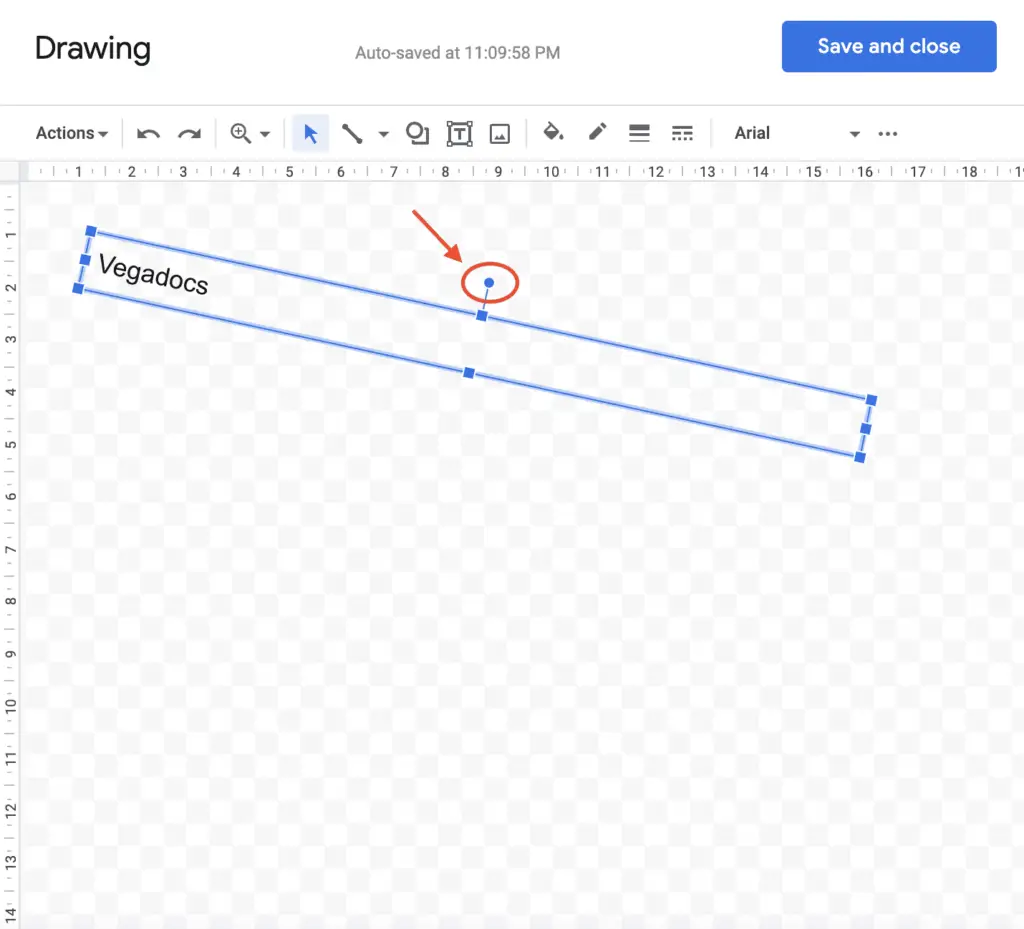
7. After you have adjusted the placement of your text to your satisfaction, you can remove the dot. Immediately, your words will appear in the rotated format that you selected.
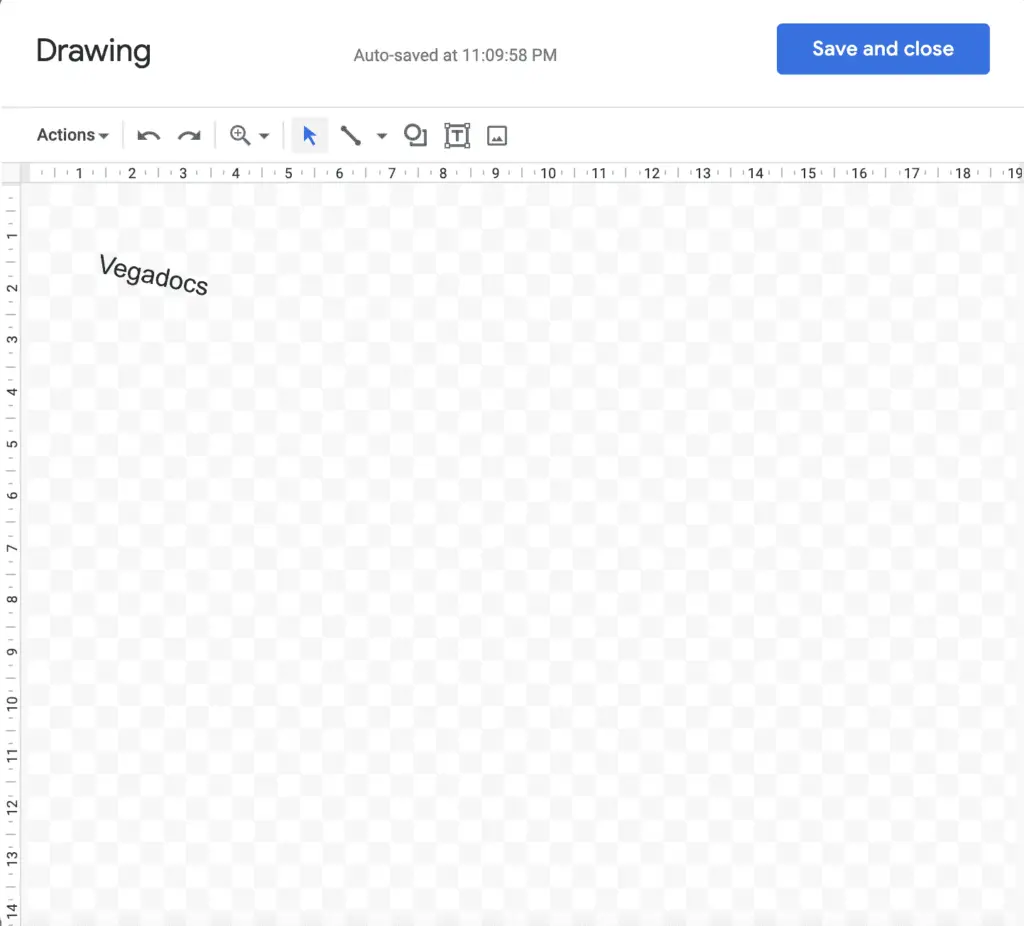
8. Click the Save and Close button once you are satisfied with the wording.
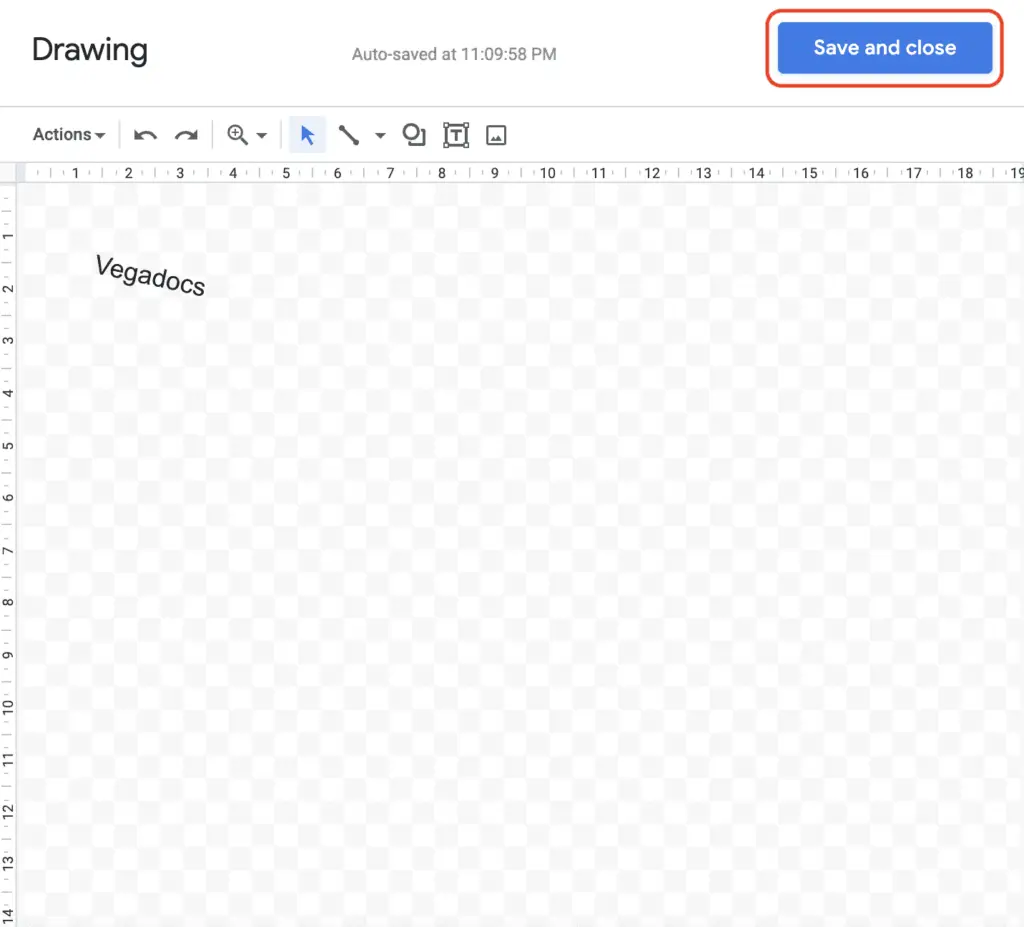
9. Your drawing will now be shown in the document you’re working on.
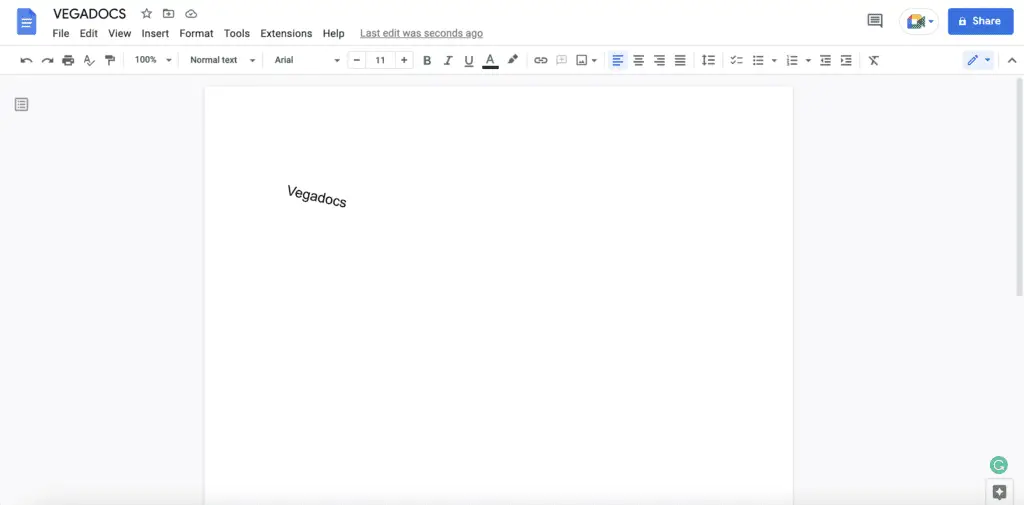
10. Simply clicking on your drawing will bring up the available wrapping possibilities. This gives you the ability to choose whether or not you would like your text to appear.
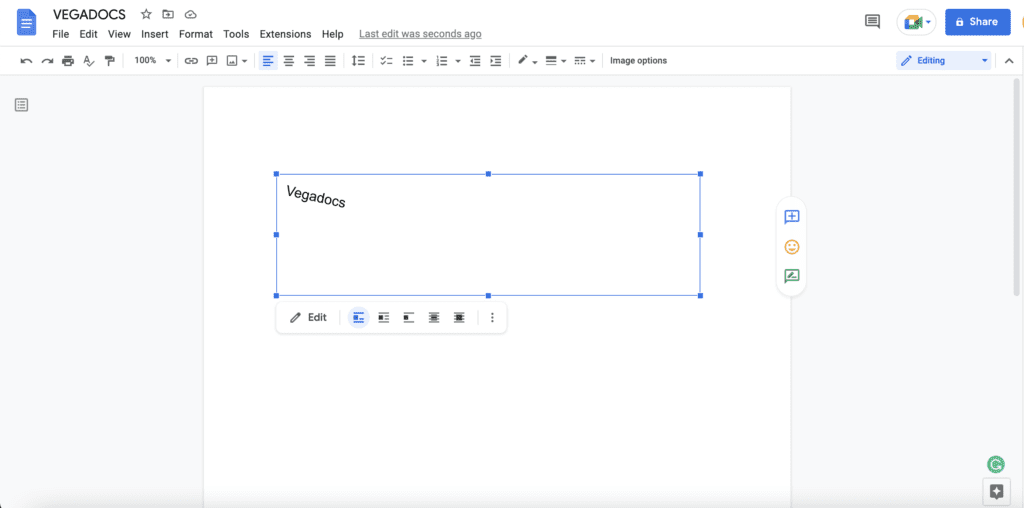
11. Because the in-line option is selected by default, your drawing will be handled just like any other piece of text. As a result, you will not be able to drag it around to reposition it. If you want to be able to move the rotated text about and position it between words, you will need to select the Wrap Text option.
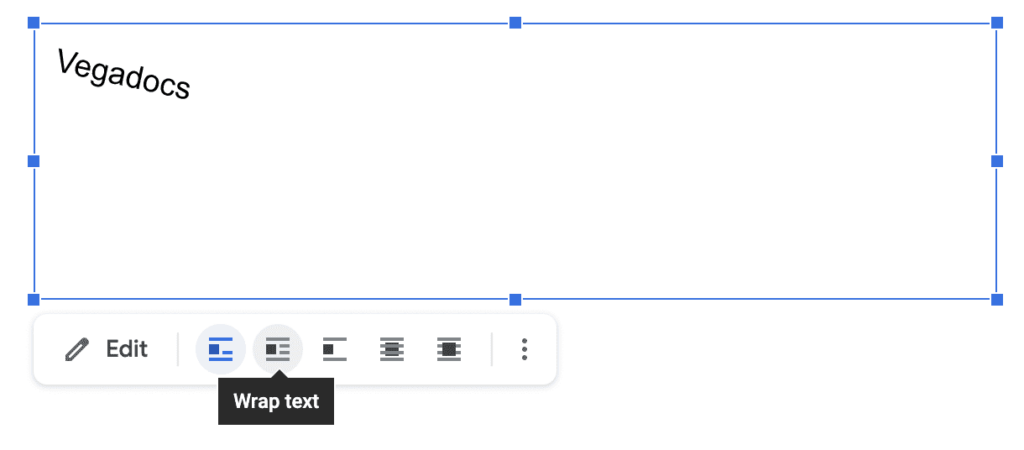
12. If you want the rotated text to appear behind or in front of the other text, you can select Behind Text or In Front of Text from this menu option instead.
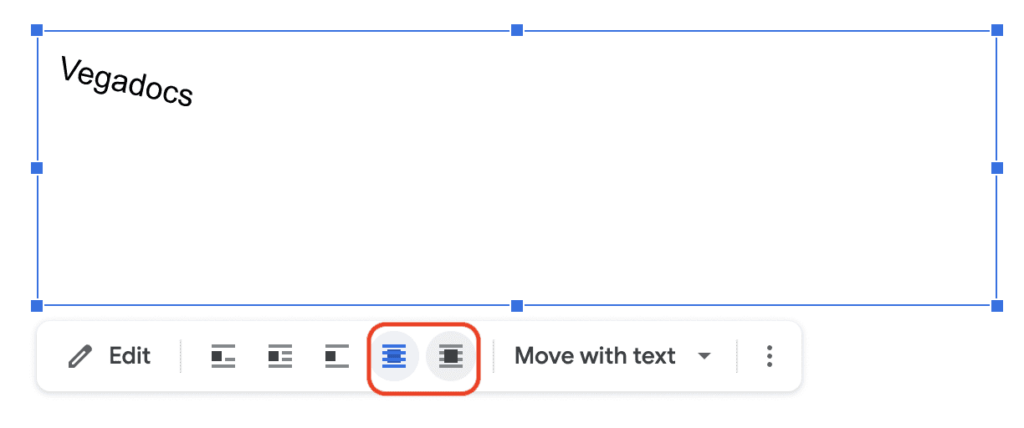
You can now reorganize the text on the page however you see fit by dragging it around. Double-clicking on the text will open the Drawing tool for you, which you can use to adjust the angle at which the text is positioned.

