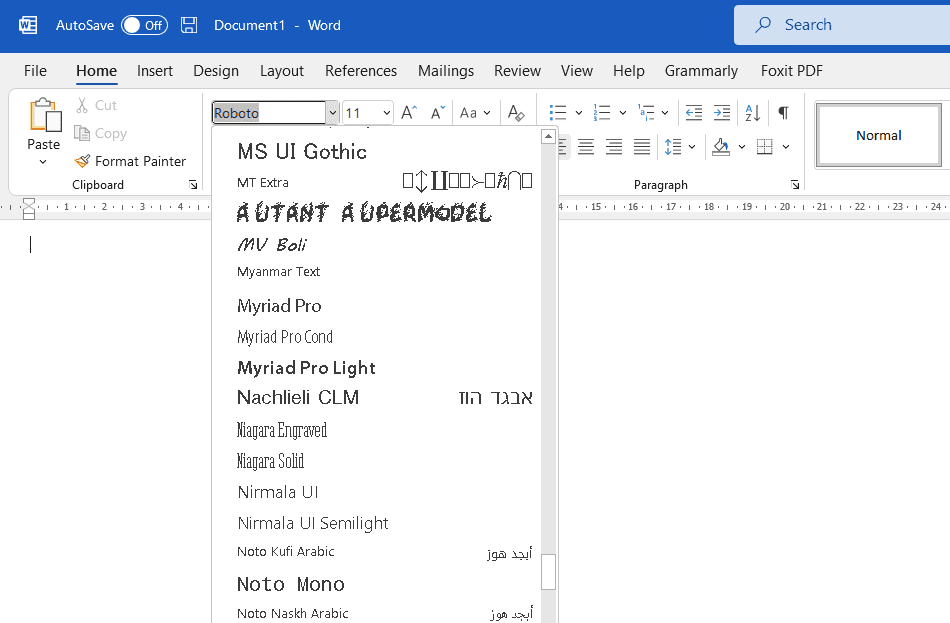
There are a lot of different sites on the internet that provide fonts for free. One of the ones we recommend is Google Fonts which you can access at Google Fonts.
Here, lots of open-source fonts that you can add to not only Microsoft Word but any program you use because you’re installing them into Windows. We’ll show you how to add or install a font to Microsoft Word.
How to install fonts in Windows
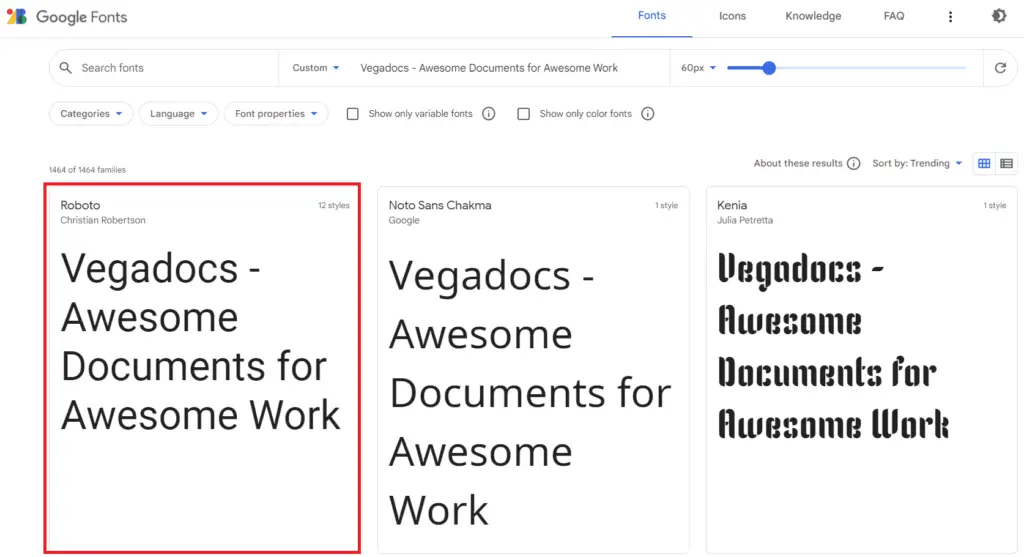
1. Open your web browser, go to fonts.google.com and choose the font you want.
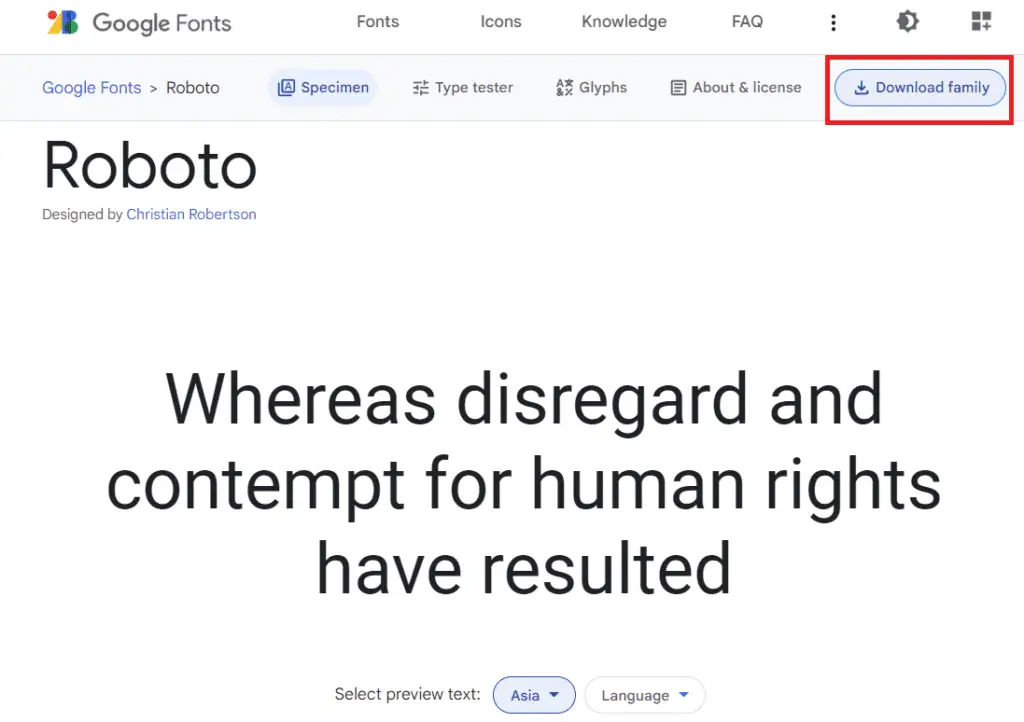
2. It will take you over to another page to give you a preview. Click on Download family.
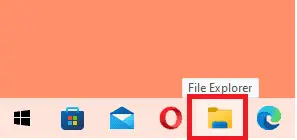
3. Once the fonts have been downloaded, open File Explorer by clicking the shortcut in the taskbar, or press Windows logo key + E.
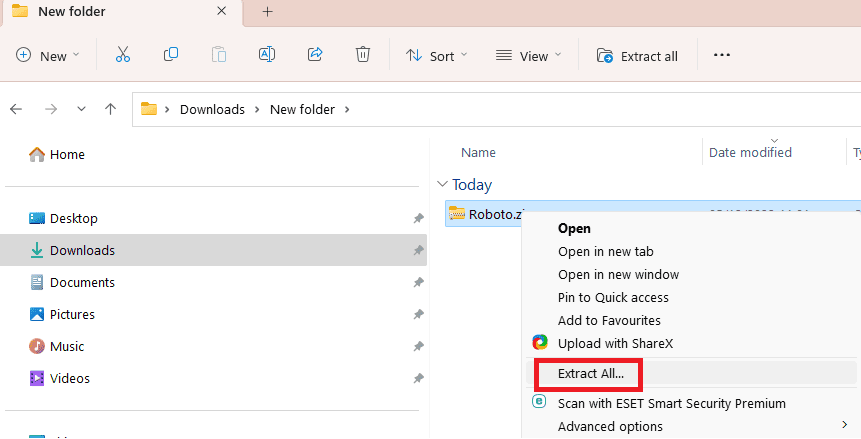
4. Find the file and extract the zipped file.
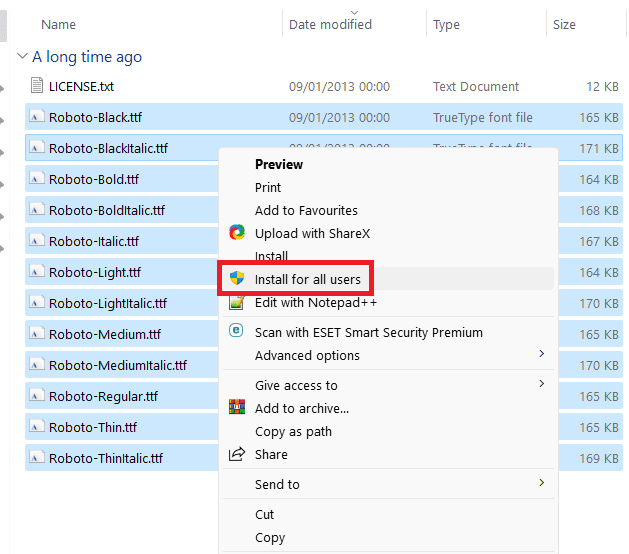
5. After extracting, select the entire family font file, right-click, and then Install for all users.
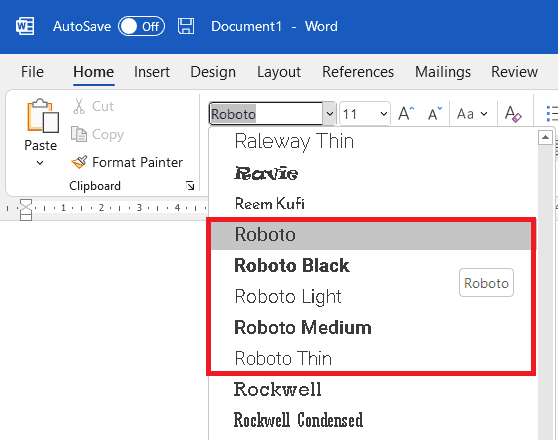
6. Now open Microsoft Word and find your newly installed font in the Home tab.
Uninstalling and removing the font
If you can install a font, then you can also uninstall it. If you want to uninstall fonts that you don’t require any longer, then follow these simple steps.
1. Click on the Windows Start menu and search for Control Panel.

2. Click on Appearance and Personalization.

3. Then click on Fonts.

4. Click on the font you want to uninstall and select Delete. To select more than one font at a time press and hold down Control while you click on each font.

5. From the menu that appears click on Yes to confirm.

These uninstall steps only work on fonts that are not system protected or come default with Windows.

