According to the dictionary, a stencil is a thin piece of metal, paper, plastic, or card with a design cut out of it, that you put onto a surface and paint over so that the design is left on the surface.
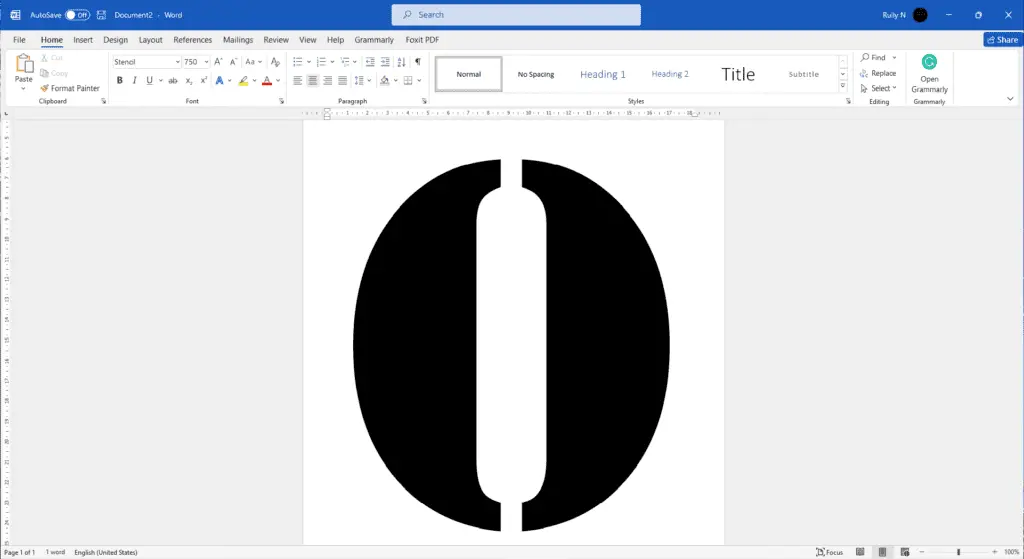
To make a stencil in Microsoft Word, you’re going to need a stencil font, not just any random font. Why would you need a stencil font? For example, if you were going to cut the letter “O” out of a piece of paper, wood, or metal, the center part of that letter will not fall out. Because there’s something that’s going to hold them together.
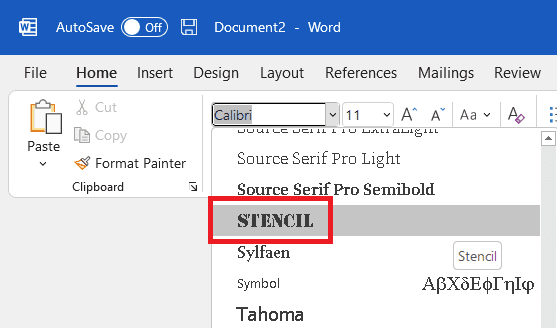
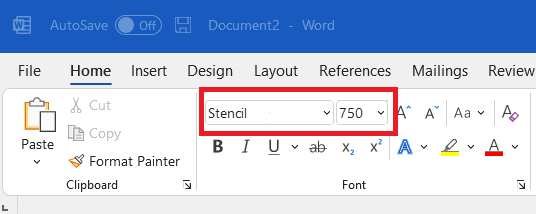
1. Open Microsoft Word, in the Home tab, choose Stencil font.
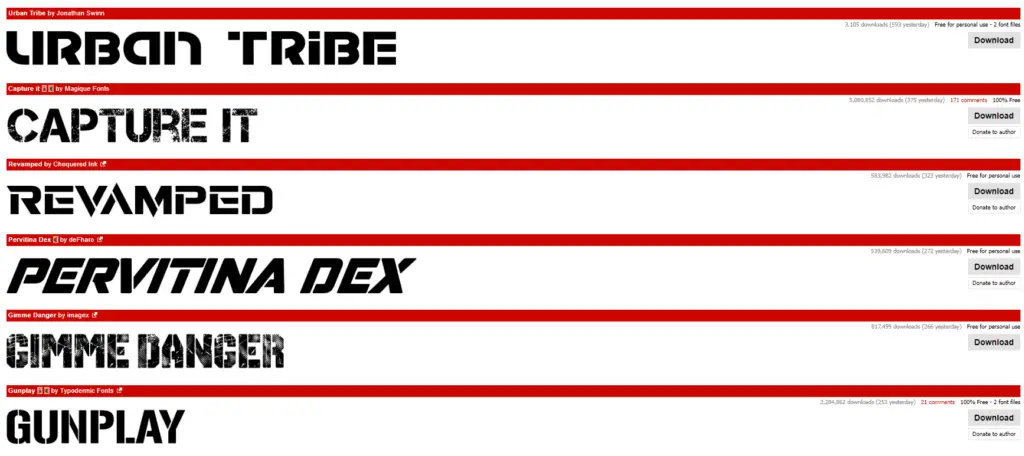
2. If you don’t have it in your font library, you can go to www.dafont.com and pick hundreds of different stencil fonts.
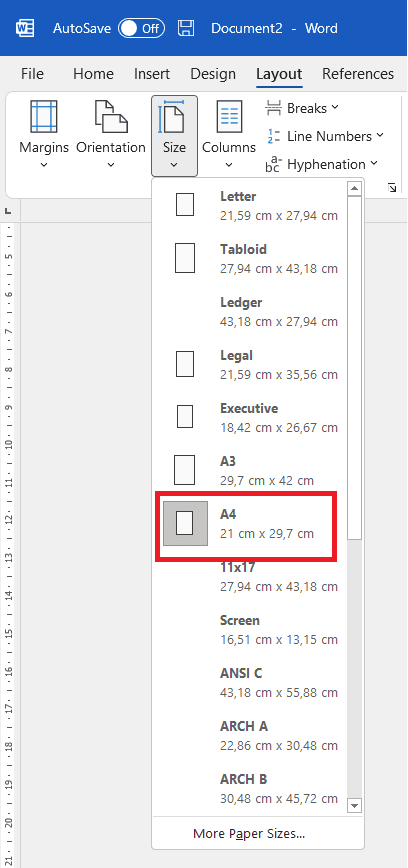
3. In the Layout tab, click Size and the paper size.
4. Let’s go ahead and type in “O” and make this a lot bigger that’s going to be visible to the human eye at a good distance. Make it to where it fills up
the entire page. You can change the font size to 750.
5. Now what we’re going to do is hit Ctrl + P or go to File > Print and print it.
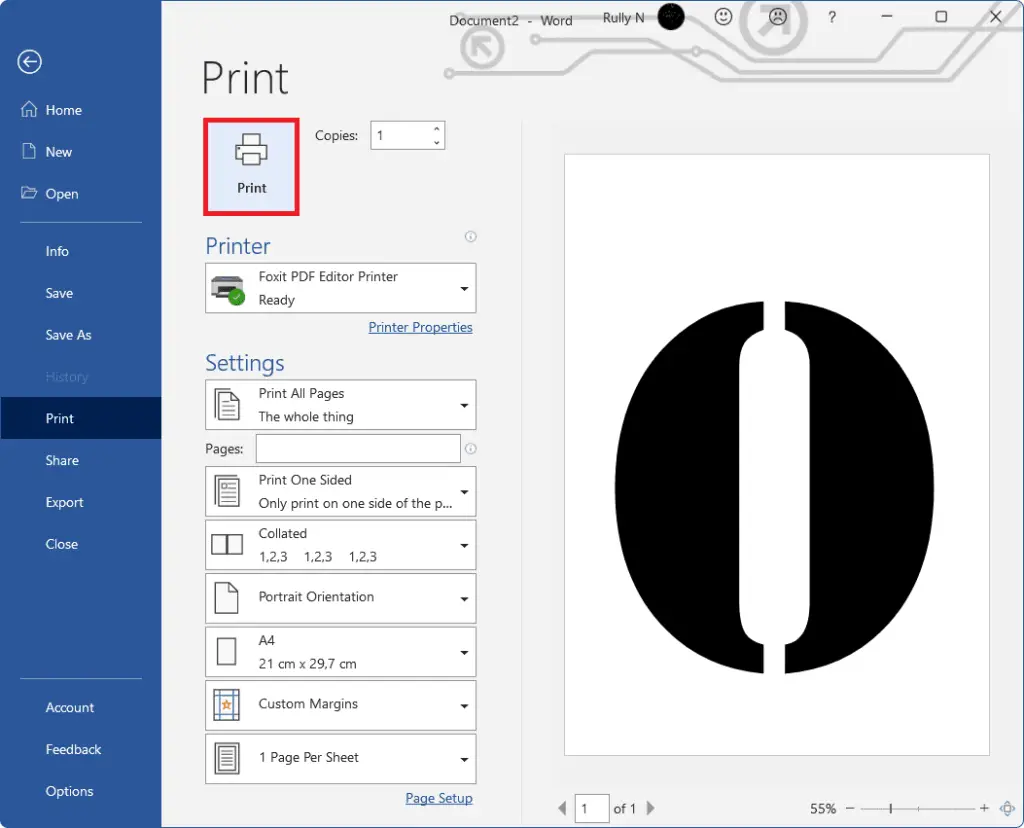
Then once it’s out, you’re going to cut out all the black area. This is why a stencil font is really important because whenever you want to cut it out, you would not lose the shape of this “O” in the center. So having the proper font is important. And that’s how you make a stencil using Microsoft Word.
