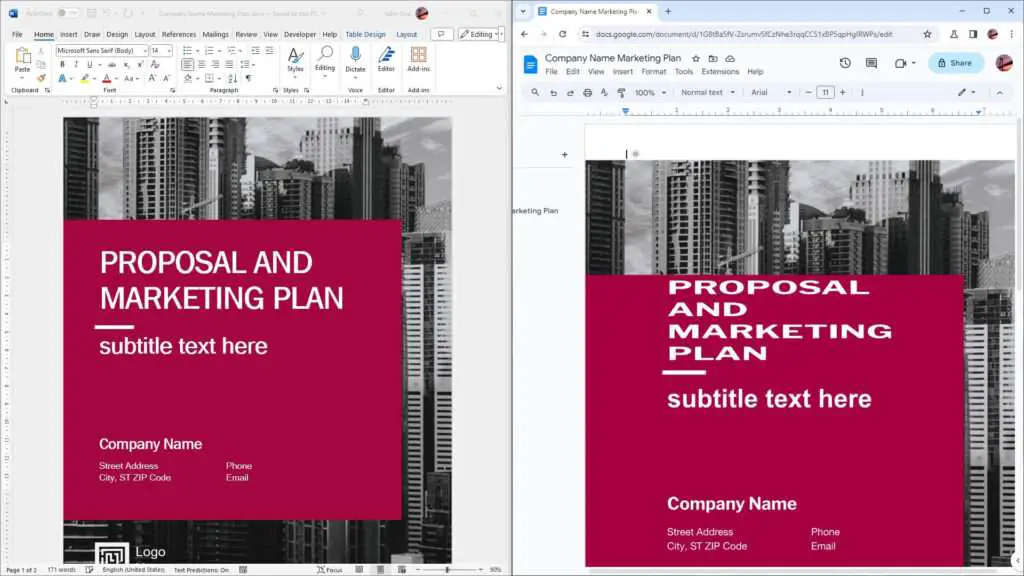
Converting your Microsoft Word documents to Google Docs can provide several benefits. Google Docs makes collaborating, accessing, and organizing documents much easier. This tutorial will show you the key steps for saving Word files as Google Docs.
Why Convert Word to Google Docs
Here are some of the biggest reasons to switch your documents to Google Docs:
- Easy collaboration – Multiple people can edit Docs at the same time. You can see others’ changes instantly. Discussions allow threaded conversations.
- Access anywhere – Docs are stored securely in the cloud. You can view and edit from any device through the web or mobile apps.
- More organization – Google Drive makes it easy to search and organize files. You can also access Docs directly from Gmail for convenience.
- Revisions – Docs keeps unlimited revision history. You can see who made each change and revert back if needed.
- Works offline – The Google Docs offline Chrome extension lets you view and edit when not connected to the internet. Changes sync when you’re back online.
Overall, Google Docs streamlines document creation and collaboration compared to traditional desktop software. Converting Word files helps you leverage these advantages.
Upload a Word File to Google Drive
The first step is to upload your Word document to Google Drive:
- Go to drive.google.com and log into your Google account.
- Click New > File Upload.
- Select the Word file on your computer.
- Click Open. This uploads the document to Drive.
You can also drag-and-drop files directly into Drive or use the Drive desktop app to sync folders to the cloud automatically.
Uploading the file just stores it in Drive but does not convert it. The original Word document remains intact.
Convert to Google Docs Format
Once your file uploads, you need to convert it to a Google Doc:
- In Drive, double-click the Word file. This opens a preview.
- At the top, click Open with Google Docs.
- A dialog asks if you want to convert the file. Click Convert.
The document now opens as an editable Google Doc.
If you want to overwrite the original rather than create a separate Doc file, click the three-dot menu > Save as Google Docs instead of just opening.
Organize and Share
Now that your Word document has become an editable Google Doc, you can take advantage of Drive’s features:
- Click Share to start collaborating with other people.
- Open the Doc while offline by installing the Google Docs Offline Chrome extension. Edits will sync when back online.
- Click Move to or Add to to organize the Doc into folders and access it from the folders list.
- Use Drive’s powerful search to instantly find the Doc.
You now have an easy way to access, share, and collaborate on your former Word file. Make sure to convert any other Office documents you need available in Drive.
Additional Tips
Here are some other tips for converting Word docs to Google Docs:
Convert on mobile – The Google Drive mobile app also lets you upload and convert Word files. Look for the “Open with Google Docs” option on the file preview screen.
Keep both copies – Converting creates a separate Google Doc file. Your original Word document still remains intact in Drive. You can delete it to save space if you no longer need it.
Convert back to Word – If you need to convert your Doc back to Word format, click File > Download > Microsoft Word (.docx) in Docs.
Use add-ons – Add-ons let you customize Docs to better match Word’s capabilities. Check out the add-ons store at the bottom of the Docs home screen.
Adjust compatibility settings – If your document’s formatting looks incorrect after converting to Docs, try adjusting the compatibility settings by clicking File > Document settings.
Following these best practices makes transferring your Word documents to Google Docs simple and straightforward. Let us know if you have any other questions!


