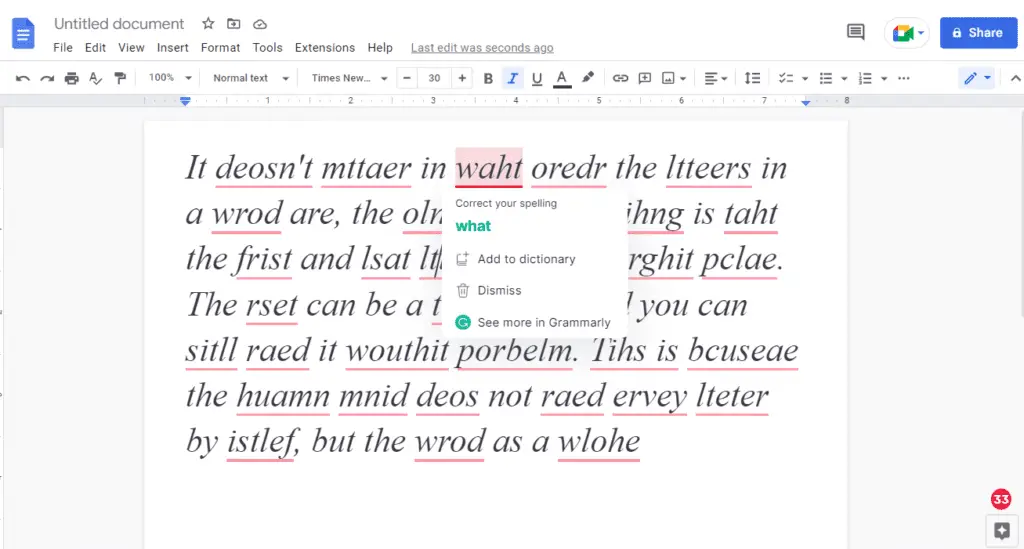
Rotating text in your Google Docs documents can be a useful way to add visual interest or fit more content in a compact space. For example, you may want to add rotated text for labels on a graph, watermarks, or vertical headers in a table.
Fortunately, rotating text in Google Docs is easy once you know how. In this comprehensive guide, we’ll cover everything you need to know to rotate text in Google Docs.
Why Rotate Text in Google Docs?
Here are some of the most common reasons people rotate text in Google Docs:
- Fit More Content in a Small Space: Rotating text 90 degrees allows you to fit more text in a compact cell or text box by making the text vertical instead of horizontal. This is handy for headers in tables or labels on charts.
- Add Visual Interest: Rotated text stands out and adds visual flair. It’s an easy way to make sections of your document more eye-catching.
- Highlight Key Points: Drawing attention to important words or short phrases by rotating them is an effective highlighting method.
- Watermarks: Adding rotated text as a watermark behind your main document content can allow you to mark documents as drafts or add logos.
- Creative Element: Rotated text can add a creative flair when used thoughtfully in documents, posters, invitations, etc.
How to Rotate Text in Google Docs
Rotating text in Google Docs is a bit hidden since there’s no dedicated “Rotate Text” option. However, you can use the Drawing tools to add rotated text boxes.
Step 1: Insert a Text Box
To start, click Insert > Drawing > New to open a blank drawing canvas. Next, select the Text Box tool (T icon) and draw a text box on the canvas.
How to add a text box
Step 2: Enter Text
Click inside the text box and type or paste your text. You can format it like regular text with different fonts, sizes, colors, etc.
Step 3: Rotate the Text
To rotate the text, click and drag the round blue handle at the top of the text box. Rotate to any angle between 0-360 degrees.
How to rotate text in Google Docs
Step 4: Save and Insert into Document
When you’re happy with the rotation, click Save and Close to insert the rotated text box into your document.
And that’s it! You can now tweak the text box like any other element in your document.
Tips for Rotating Text in Google Docs
Here are some handy tips to help you master rotating text in Google Docs:
- To freely reposition rotated text boxes, right-click and select Wrap Text. This will allow you to place them between paragraphs.
- You can rotate multiple text boxes at once by holding CTRL/Command while selecting them before dragging the rotate handle.
- For precise rotations, enter exact degree values in the rotation field rather than trying to eyeball the perfect angle.
- Use rotated text sparingly. Too much will make your document feel cluttered.
- Double click rotated text boxes to reopen the editor and make changes.
Common Uses for Rotated Text in Google Docs
Now that you know how to rotate text in Google Docs, let’s look at some of the most popular ways people are using this handy feature:
Table Headers
Rotated text helps compact wide headers so tables stay neat and readable. Simply rotate the text in header cells 90 degrees.
Table with rotated header text example
Labels and Legends
Diagrams, charts, graphs, and maps often benefit from rotated text for labels, legends, keys, etc.
Watermarks
Add rotated text behind your main document text to watermark documents for copyright purposes.
Emphasis
Strategically placed rotated keywords and phrases can draw the reader’s attention.
Rotate Text on Mobile
The Google Docs mobile app doesn’t have the desktop version’s drawing tools. However, you can still view and edit documents containing rotated text boxes.
To add new rotated text boxes on mobile, you’ll need to use the web version of Google Docs on your mobile browser. The drawing tools are available there.
Troubleshooting Rotated Text Issues
Here are some common issues people encounter with rotated text in Google Docs and how to fix them:
Text Reverts to Horizontal: If rotated text snaps back to horizontal unexpectedly, check if you have “Wrap Text” disabled. Re-enable this to prevent automatic alignment.
Can’t Reposition Text Box: The text box may be set to “In line with text.” Disable this wrap setting so you can freely drag the box.
Font or Size Changed: If fonts or sizes seem different than what you set, open the drawing editor again and confirm your formatting wasn’t accidentally changed.
Text Disappears: In some cases, inserting other elements like images may make rotated text boxes vanish. Try removing the new elements one by one until the text reappears.
Conclusion
Learning how to rotate text in Google Docs opens up new creative possibilities for your documents. Whether you want to build visually striking tables, make eye-catching brochures, or add polished labels to charts, rotated text can help take things to the next level.
Thanks to the user-friendly drawing tools, you can quickly add rotated text at any angle. Keep the tips in this guide in mind, and you’ll be rotating text like a pro in no time!
Let us know in the comments if you have any other questions about rotating text in Google Docs. And don’t forget to share any cool designs you create using this awesome feature!


