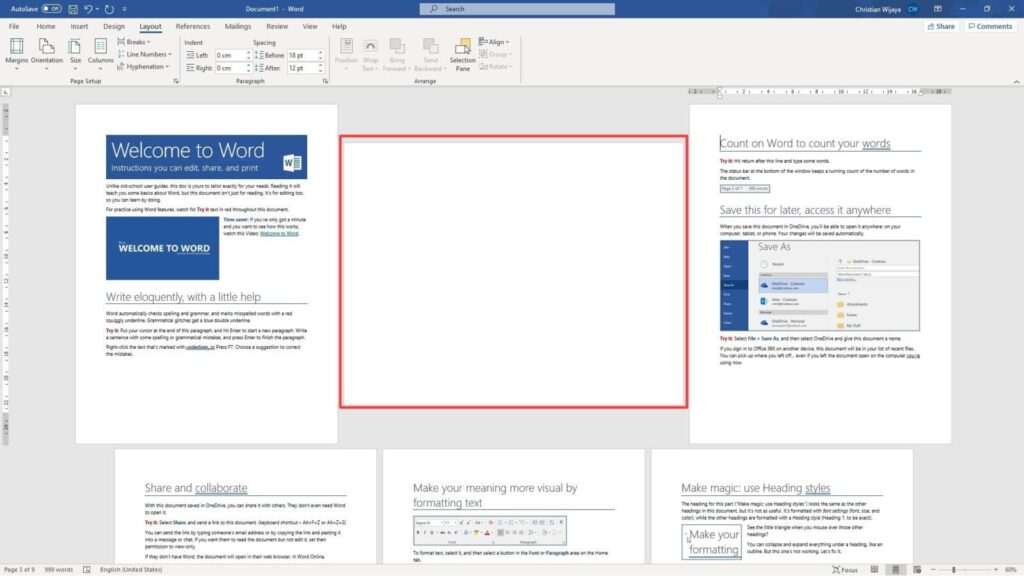
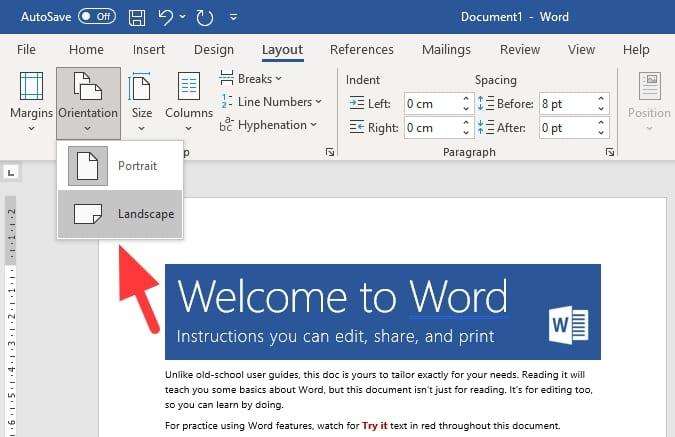
We know that changing a portrait document into a landscape view is a relatively easy feat. Anyone can do it, and anyone can remember it. Just go to Layout > Orientation > Landscape. Pretty easy, unless if you trying to make a single page be landscape while the rest remains portrait.
While there is no exact feature available in Microsoft Word for this setup, we can still do a workaround to make it happen.
There is a way to make a particular page and even more to appear in a landscape orientation while the rest stays the same. Follow this guide for more details.
Disclaimer: The step-by-step below was based on Microsoft Word 365. Other versions may have a different style and interface but the general guideline should be similar or the same.
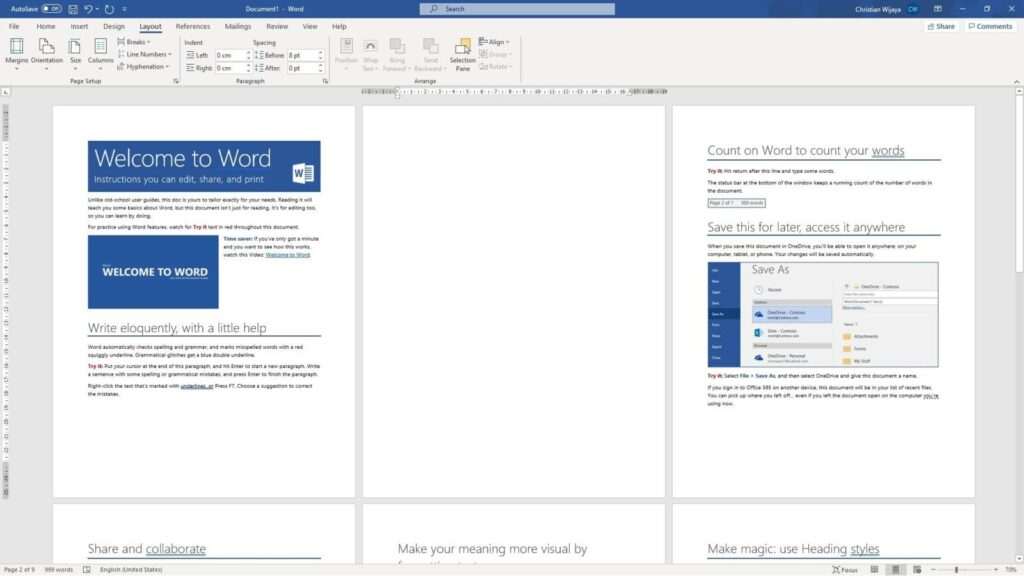
1. Launch a Word document. For a wider view, I suggest you to zoom out (Ctrl+Scroll Down), but this is optional.
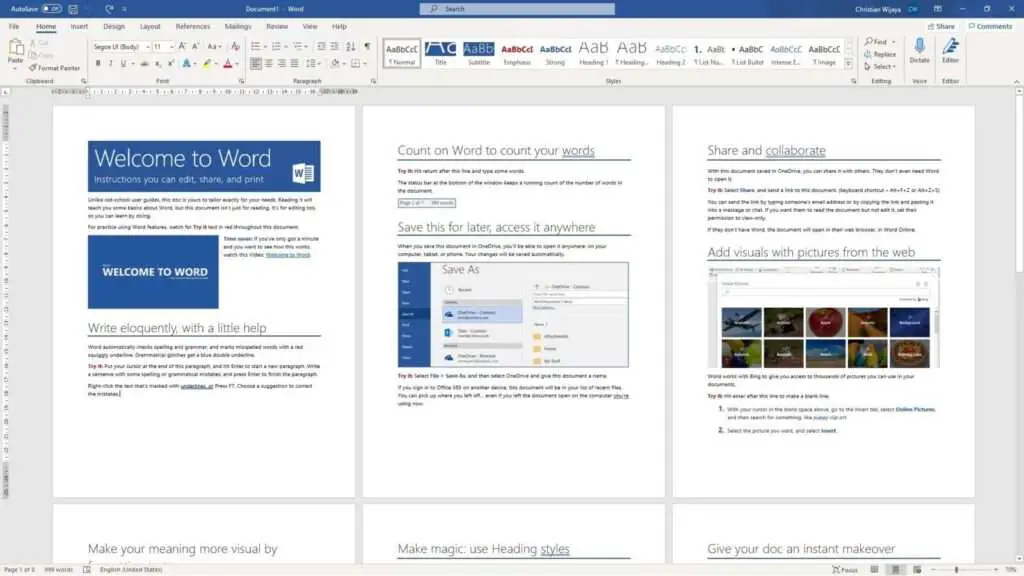
2. Next, put the cursor to the very end of a page before the page you want to make it landscape. For example, I want to make page 2 landscape, therefore I put the cursor on the very end of page 1.

3. Now go to Layout > Breaks > Next Page.
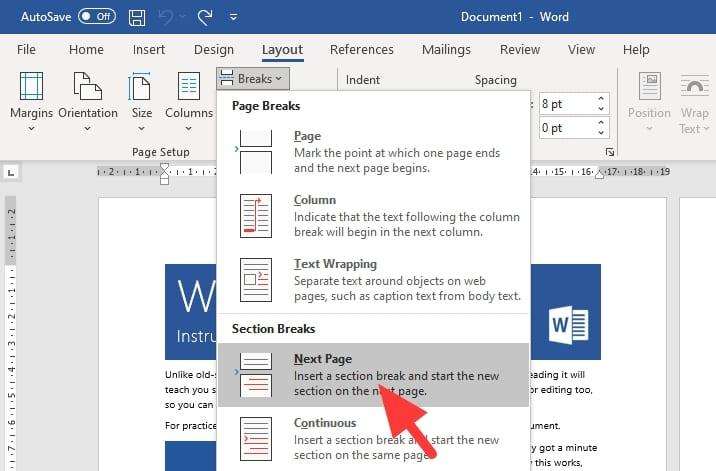
4. You should see a new page created.
5. Still under the Layout menu, go to Orientation > Landscape.
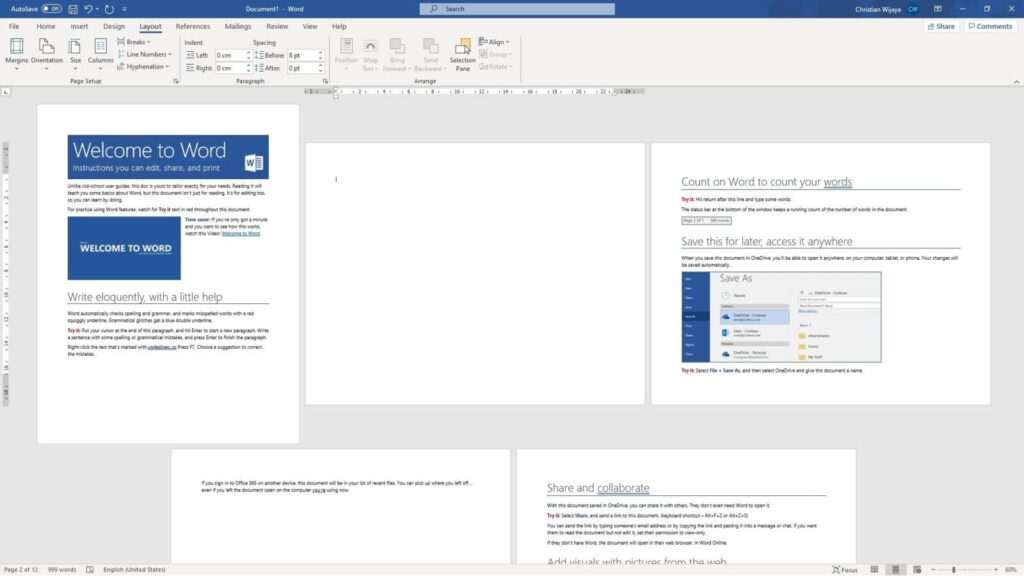
6. This will make page 2 forward become landscape. This is normal and we are going to revert other pages back to portrait again.
7. Now put the cursor at the very top next to the new page you created before.
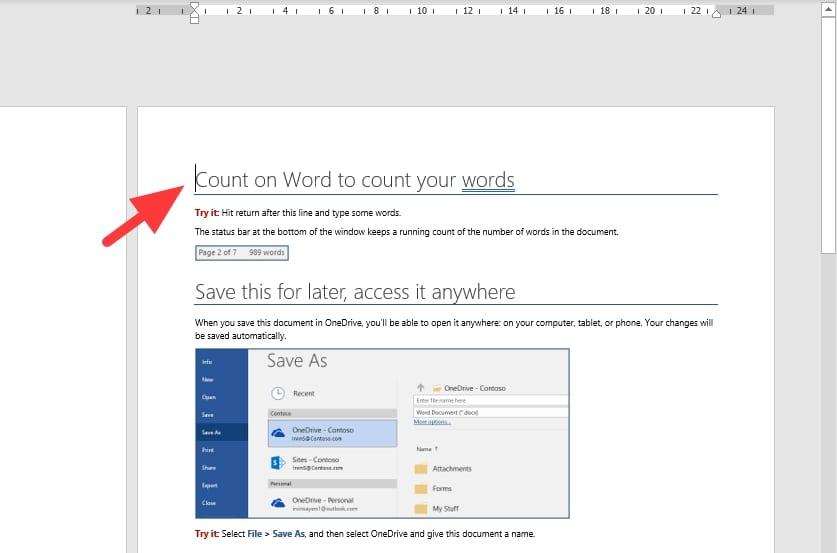
8. Head to Layout > Breaks > Next Page.
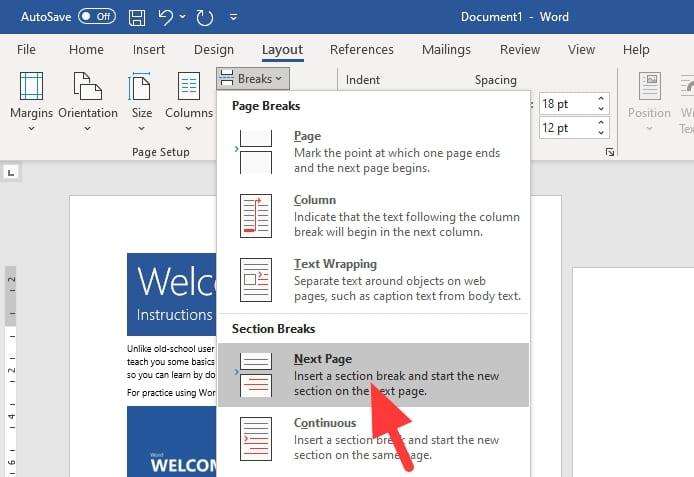
9. You should see nothing has changed. Don’t worry, you are going on the right direction.
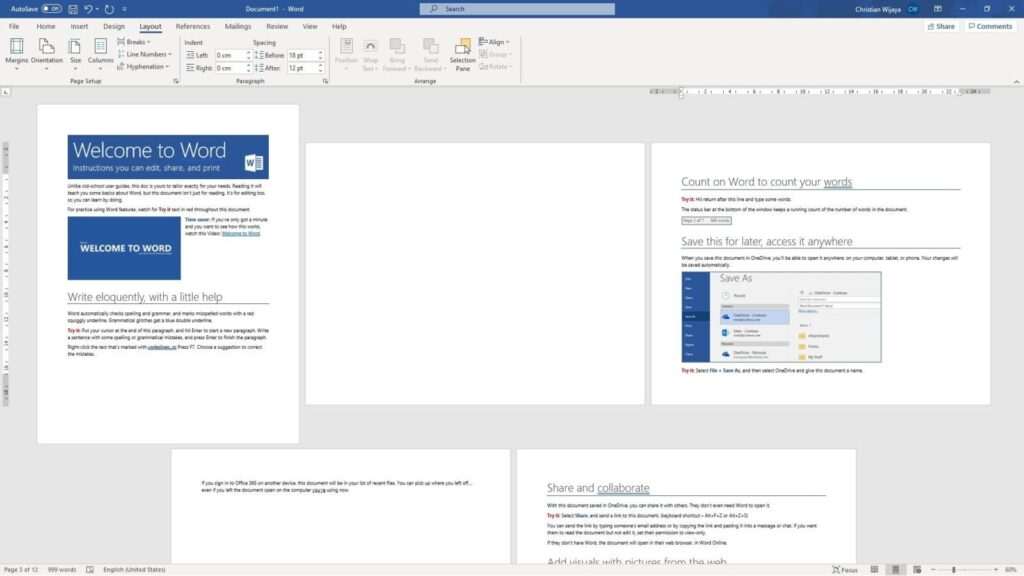
10. Still under the Layout menu, click Orientation > Landscape.

11. And there you go, a single page become landscape while the rest stays portrait.
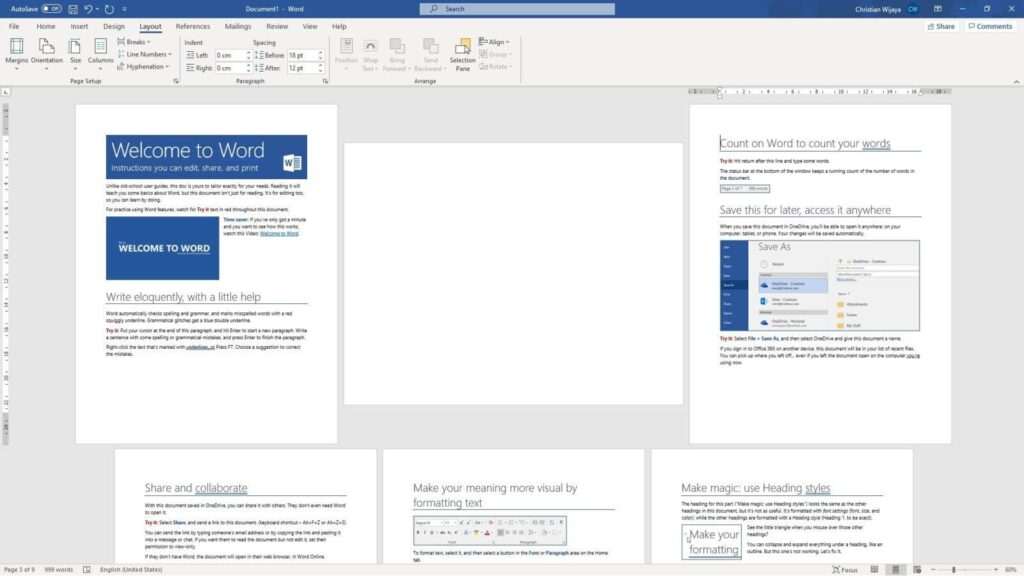
You can fill the blank landscape page with the content you want to put (maybe from another page).
This trick can be repeated many times on a different page within the document. Just make sure you follow the steps carefully to avoid messing the overall layout.

