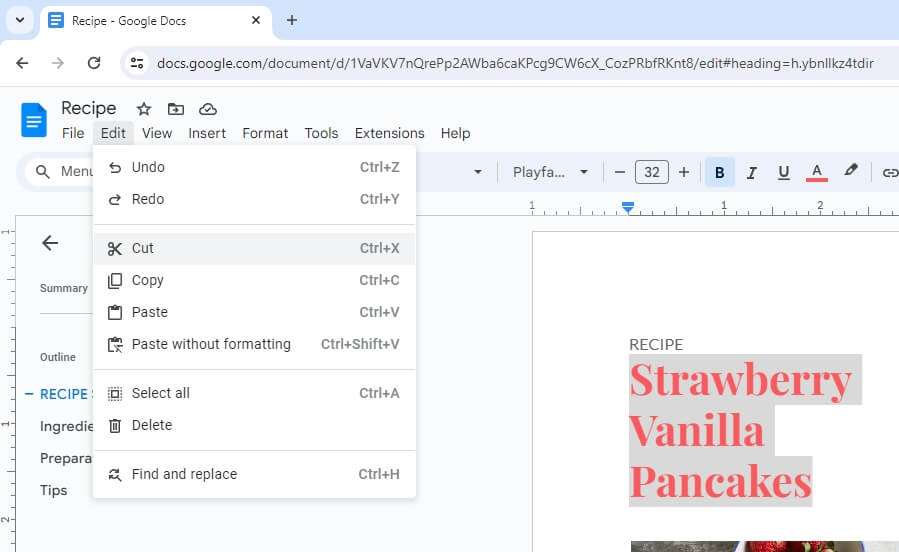
Google Docs is a popular free word processing program that allows you to create professional documents right in your web browser. One useful formatting feature in Google Docs is the ability to split your document into columns, similar to a newspaper or magazine layout.
Adding columns to your Google Docs can help organize information, improve readability for long bodies of text, and allow you to fit more content on each page. In this article, we’ll walk through everything you need to know to create columns in Google Docs.
Benefits of Using Columns
There are a few key reasons why you may want to use columns in your Google Docs:
- Organize information – Columns allow you to group related content together so it’s easier to read and digest. For example, you could have key points in the left column and supporting details in the right.
- Improve readability – Breaking up long pages of dense text into columns makes it less intimidating and easier on the eyes for your readers.
- Fit more text – Columns help you fit more text on each page by utilizing more horizontal space. This allows you to reduce your page count.
- Creative freedom – Mixing up your page layout with columns makes your document more visually interesting. You can get creative with column widths, line dividers, etc.
How to Add Columns in Google Docs
Adding columns to your Google Doc is simple and only takes a few clicks. Here are the steps:
- Highlight the text you want to apply columns to. If you don’t select any text, columns will be applied to the entire document.
- Click “Format” in the top menu bar and select “Columns” from the drop-down menu.
- Choose the number of columns you want – either two or three. The text will automatically flow into the new columns.
And you’re done! The highlighted text will now display in the number of columns you selected.
Customizing Column Layout
For more advanced column formatting, you can customize the column layout with specific widths, spacing, and dividers:
- Click “Format” then “Columns” > “More options”.
- Adjust the settings:
- Number of columns
- Width of each column
- Spacing between columns
- Line between columns
- Click “Apply” when you are finished.
Use these options to create columns of different widths, add vertical divider lines, adjust spacing, and more.
Tips for Working with Columns
Here are some handy tips when working with columns in Google Docs:
- To go back to a single column layout, choose “One” under the Columns menu.
- Use column breaks to end one column before the bottom of the page and flow text into the next column.
- Resize column widths individually by dragging the ruler lines.
- Columns work great for newsletter templates, proposals, flyers, reports, and other multi-page documents!
Fixing Column Formatting Issues
If you run into issues with text overflowing columns or other formatting problems, here is how to troubleshoot:
- Make sure text wrap is enabled in the columns so text flows properly from one column to the next. Select the columns and click “Text wrapping” in the toolbar.
- Adjust column widths, spacing, or the number of columns so there is sufficient room for text.
- Insert column breaks manually to control where columns start and end.
With some minor tweaks, you can fix any column formatting problems that come up.
Conclusion
Adding columns in Google Docs is a user-friendly way to organize and present information in your documents. With full customization over column layout and handy features like text wrap and column breaks, you have lots of flexibility.
Use columns in Google Docs to improve readability, fit more text on a page, and make your documents look visually polished. Just highlight the desired text, choose your columns, and let Google Docs handle the rest!


