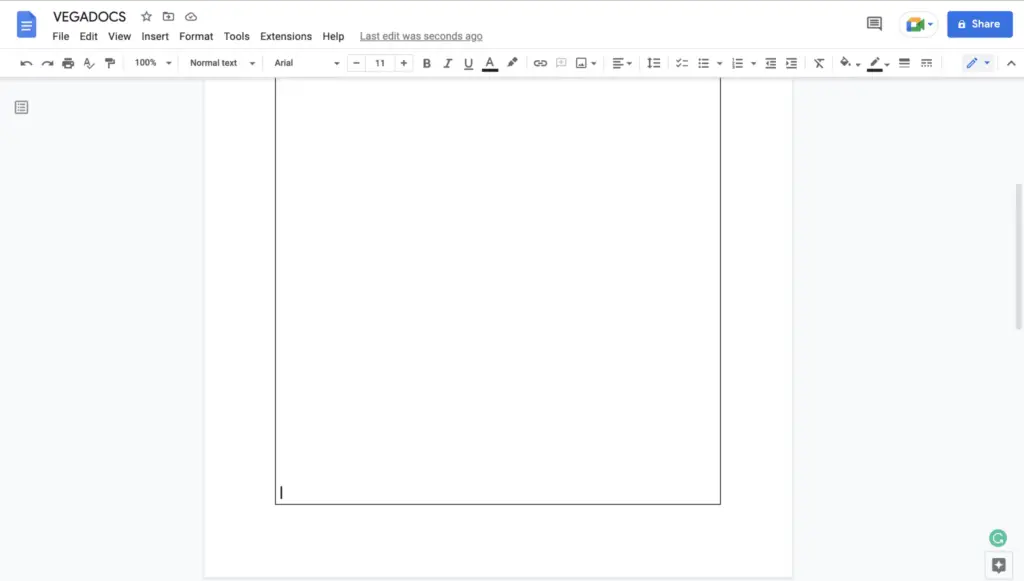
Google Docs is a versatile word processing tool that allows you to create various types of documents. One useful feature is the ability to insert grids into your documents. Grids can help organize information in a structured way, making your documents more readable.
What is a Grid?
A grid is a table with a specific number of columns and rows forming cells. Unlike regular tables, grids have consistent cell sizes to neatly divide up sections of a page. The rigid structure of grids makes them useful for organizing all kinds of information – text, images, charts, etc.
Why Use Grids?
Here are some of the benefits of using grids in Google Docs:
- Organize information in columns and rows for better readability
- Align images/charts and text easily
- Create templates for forms, schedules, calendars etc
- Design visually appealing layouts with consistent formatting
- Display data in an orderly, methodical way
How to Insert a Grid
Inserting a grid in Google Docs is simple:
Step 1: Position Cursor and Insert Table
Position your cursor where you want the grid to be placed. Go to Insert > Table and select the number of columns and rows for your grid.
Step 2: Adjust Cell Size
The new table may not have evenly sized square cells yet. Click and drag the row/column borders to make square cells of equal size.
Step 3: Remove Borders
Right click the table and open the table properties window. Set border size to 0pt to remove borders and only show gridlines.
And you’re done! The resulting table functions as a grid that neatly segments your document.
Customizing Grid Appearance
The basic grid gives you columns and rows but you can further tailor its look:
Add/Remove Gridlines
Toggle gridlines on/off from the View > Show > Gridlines menu.
Change Gridline Color
Open table properties and pick a color under the Gridlines section.
Adjust Cell Spacing
Increase/decrease spacing by changing column widths and row heights.
Merge Cells
Merge cells to make larger divisions by selecting cells and right-clicking Merge cells.
Using Grids Effectively
Now that you know how to make grids, let’s go over some tips for using them effectively:
Plan Grid Structure
Decide on the number of columns/rows needed before inserting a grid. Sketch it out first.
Align Contents
Use gridlines as guides to neatly align images, text, and other elements.
Use White Space
Balance out text and negative space for an aesthetically pleasing layout.
Format Consistently
Maintain uniform formatting and styling within the grid for a tidy appearance.
Limit Text in Cells
Avoid overloading cells with too much text to retain readability.
Example Grid Layouts
Here are some ways you can structure grids to organize all kinds of information:
Event Schedule
Use grids to plan out schedules and itineraries for conferences, weddings etc.
Product Catalog
Create a grid with columns for product image, name, description, price etc.
Research Participants
Make a grid to display participant details like name, age, location in an orderly way.
Monthly Calendar
Design a calendar grid with dates and days custom formatted.
Advanced Grid Features
Google Docs offers additional grid features for power users:
Repeat Header Rows
Fix rows to top of page on multi-page grids so titles display on each page.
Use Formulas
Perform calculations by entering formulas into cells like SUM, AVERAGE etc.
Conditional Formatting
Visually highlight cells based on contained value to call attention.
Filter Views
Sort, hide and filter grid data like you would in Sheets.
Import from Sheets
Copy a Sheets table and paste it into Docs to convert into a grid.
As you can see, grids are an invaluable tool for organizing all kinds of information in your documents. With a bit of planning and thoughtful design, you can create clear, readable grid layouts tailored to your specific needs.
The next time you want to structure unwieldy information in your documents, turn it into an elegant grid!


