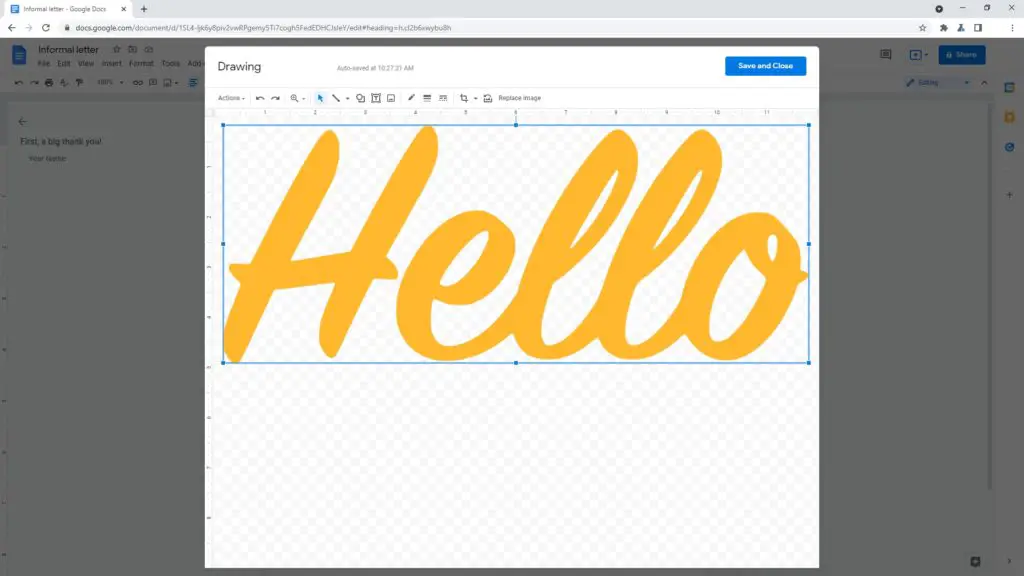
Google Docs is a versatile word processing tool used by millions for creating documents. While it offers various formatting options to customize text, one useful feature that is often overlooked is the ability to insert text boxes.
Adding text boxes in Google Docs can help you:
- Highlight or emphasize important information
- Separate text from images or other content
- Add visual interest to your documents
Text boxes are easy to insert and format in Google Docs. In this comprehensive guide, you’ll learn:
- What text boxes are and their benefits
- Step-by-step instructions to insert a text box
- Customization options to make your text box stand out
- Tips for using text boxes effectively
So if you want to boost engagement and polish for your Docs, keep reading!
What is a Text Box in Google Docs?
A text box in Google Docs is a graphical element that contains text inside a box with defined boundaries. It allows you to highlight parts of your document by separating it visually from the regular text body.
Text boxes are treated as images in Google Docs, meaning you can move them freely around your document and format them independently from the rest of the text.
Key benefits of using text boxes:
- Draw attention to important content
- Organize information visually
- Enhance readability by breaking up text
- Make your documents more visually appealing
Now let’s see how to easily insert text boxes in Google Docs.
How to Insert a Text Box in Google Docs
Inserting a text box in Google Docs is simple and only takes a few steps:
Step 1: Open Google Docs
Go to Google Docs and open an existing document or start a new one.
Step 2: Click Insert > Drawing > New
In the top menu, click Insert > Drawing > New. This will open up the drawing canvas.
Insert Drawing in Google Docs
Step 3: Select the Text Box Icon
In the drawing toolbar, click the Text Box icon (the icon with a T in a square).
Step 4: Draw the Text Box
Click and drag your mouse on the canvas to draw the text box to your desired size.
Step 5: Type Text
The text box will now have a blinking cursor. Type the text you want inside the box.
Step 6: Customize (Optional)
Use the formatting options to customize the text box with colors, borders, etc.
Step 7: Click Save & Close
Finally, click Save & Close in the drawing toolbar to insert the text box into your document.
And you’re done! The text box will now be inserted where your cursor was last placed. You can freely move it around your document like an image.
Customizing Your Text Box in Google Docs
The real power of text boxes lies in the customization potential. You can make your text boxes stand out using various formatting options:
Change text box color:
- Click the Fill color icon in the toolbar to change background color
- Select Line color to change border color
Add border:
- Click Line weight to make the border thicker
- Use Dashed line or Dotted line for different border styles
Format text:
- Change text font, size, color, alignment etc.
Add effects:
- Click the A icon to add text effects like shadow, reflection, glow etc.
Feel free to experiment with different combinations to create unique, eye-catching text boxes!
Tips for Using Text Boxes Effectively
While text boxes are great for adding visual interest, you don’t want to overdo it. Here are some tips to use text boxes effectively:
Don’t overuse text boxes – Only use them to highlight key points. Too many boxes will make your document messy.
Keep it simple – Avoid fancy fonts or over-the-top effects in text boxes. Legibility is key.
Be consistent – Use uniform styling for all text boxes to maintain visual harmony.
Use strategically – Place text boxes close to related content for clarity. Don’t just randomly place them.
Check alignment – Align text boxes to margins to give your document a polished, professional look.
Enhance Your Google Docs with Text Boxes
Adding text boxes provides a great way to add visual interest and draw attention to important content in your documents. It helps break up walls of text, making your documents more scannable and engaging.
With the simple inserting method and extensive formatting options covered in this guide, you are now equipped to start using text boxes to level up your Google Docs!
So try adding text boxes for your next report, proposal, resume or any other document. And if you have any tips or suggestions on using text boxes effectively, share them in the comments below!


