Printing documents from Microsoft Word is common for many users. However, you may sometimes face issues with blurry, low-quality prints. This comprehensive guide will provide you with useful tips to get better print quality in Word.
Check Printer and Paper Settings
The first step is ensuring your printer and paper settings are optimized for quality printing. Here’s what to check:
Printer Settings
- Open printer properties and set print quality to “High” or “Best”. Lower settings like “Draft” will reduce quality.
- Enable any high resolution or photo enhancement modes for your printer model.
- Use original printer ink/toner cartridges for best results.
Paper Settings
- Use thicker, high quality paper above 20lb weight. Standard copy paper around 20lb is also fine.
- For photos and graphics, use thicker glossy photo paper.
- Ensure paper size matches what’s configured in Word print settings.
Adjust Image Settings in Word
Image compression and resizing during printing can reduce print quality. To avoid this:
Insert High Resolution Images
- Insert images at 300dpi minimum resolution for best quality.
- Use PNG or TIFF file formats for lossless quality.
Disable Image Compression
- Go to File > Options > Advanced
- Under Image Size and Quality, select Do not compress images in file
- Click OK to save settings
This will retain original image quality during printing.
Choose High Print Resolution
Higher print resolution means sharper quality. To change settings:
- Go to File > Print
- Click on printer properties or preferences
- Under Print Quality, select High or Maximum dpi
- Click OK
Resolution above 600 dpi is recommended for good quality.
Print in Grayscale Mode
For documents with heavy text content and no color images/graphics, print in grayscale instead of color. This enhances clarity and legibility of text.
To select grayscale printing:
- Go to File > Print
- Under settings, choose Grayscale from color mode options
- Click Print
Check Margins and Alignment
Incorrect margins or misaligned content can cut off text and images along page edges during printing.
To check margins:
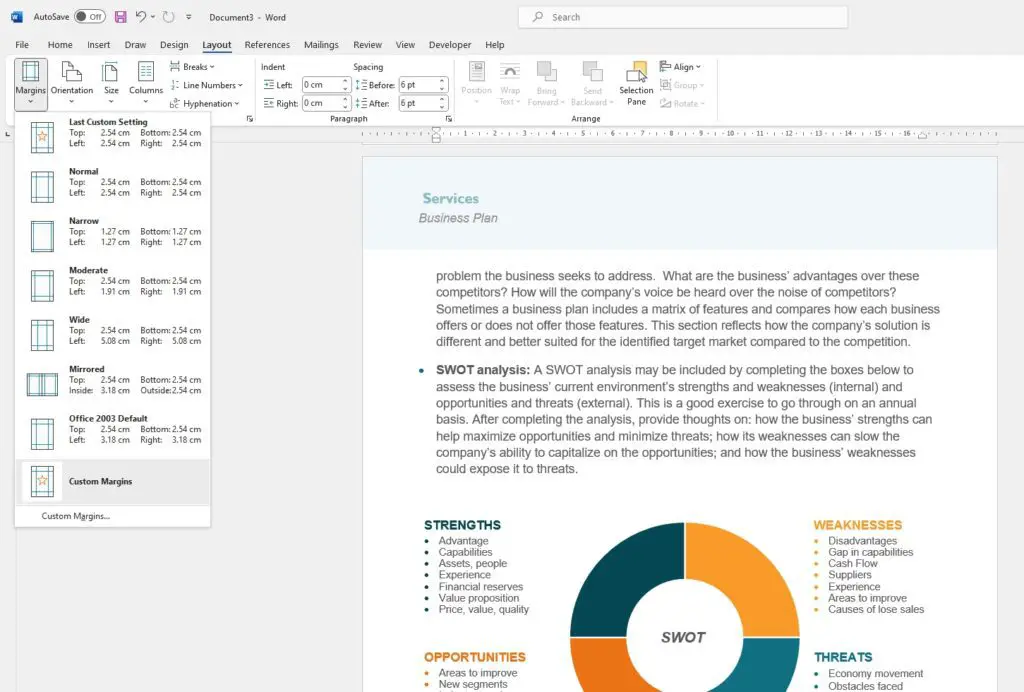
- Go to Layout tab
- Click on Margins and ensure they are adequate
- Narrow margins like 0.25″ may need to be widened
To check alignment:
- Go to Layout tab
- In Page Setup group, click Align
- Choose alignment options for text and images
Use Print Preview
The print preview feature lets you catch issues before printing:
- Go to File > Print
- Click on Print Preview
- Review each page for quality and alignment
- Make any corrections needed
- Click Print when ready
Print preview also estimates ink/toner usage so you can choose color vs grayscale wisely.
Bonus Tips
Here are some additional tips for better Word printing:
- For draft prints, enable Use draft quality under File > Options > Advanced to save ink.
- For documents with lots of edits, disable Print Markup under print settings to hide revisions.
- For double sided printing, select Print on both sides option in settings.
Following these best practices will help you get sharp, professional Word prints consistently. Check your printer software and model capabilities as well for any special features.


