Google Docs is an incredibly versatile tool that allows you to create professional documents with ease. One of its many capabilities is the ability to design beautiful booklets, which can be used for marketing materials, instruction manuals, event programs, and much more.
In this blog post, we will provide a step-by-step guide on how to create visually appealing booklets in Google Docs using both templates and custom designs.
Why Use Google Docs for Booklet Design
There are several key reasons why Google Docs is an excellent choice for crafting booklets:
- It’s free to use: As part of the G Suite collection of online productivity apps, Google Docs does not require any subscription fees to access its features. This makes it very budget-friendly.
- Easy collaboration: You can invite others to collaborate on booklet designs, with changes updating in real-time. This streamlines teamwork.
- Compatibility and access: Google Docs works seamlessly across devices like desktops, laptops, tablets and smartphones. You can access your files from anywhere with an internet connection.
- Powerful customization: It provides extensive formatting options to customize booklets as per your brand style and needs.
- Sharing and exporting: You can easily share booklet files with others or export them in multiple formats like PDF, JPEG, etc.
Step-by-Step Guide to Design Booklets in Google Docs
Follow these simple steps to craft beautiful booklets in Google Docs:
1. Select a Template
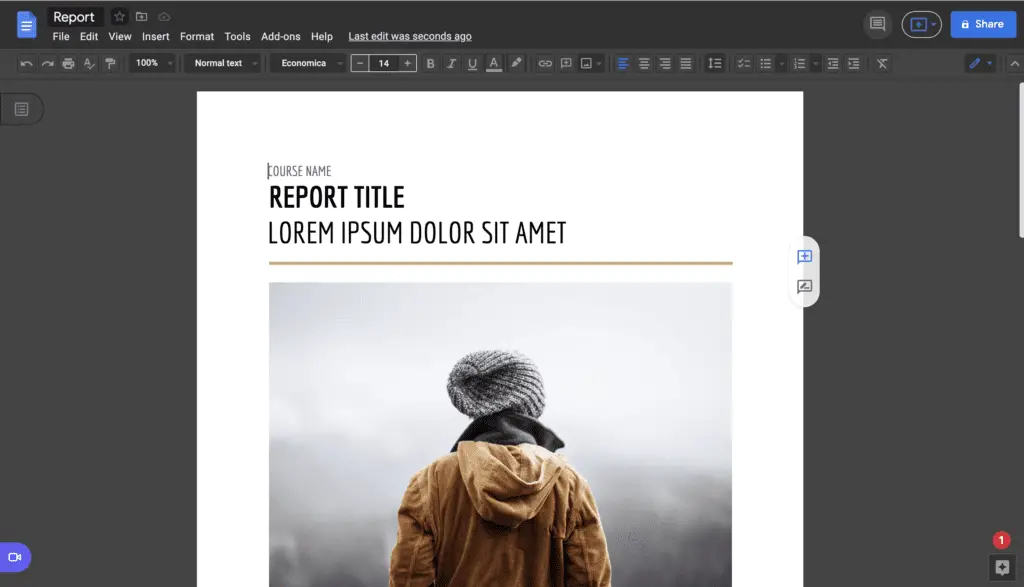
The easiest way to create a booklet is to start with a ready-made template. Under the File > Template gallery option, you can browse booklet templates for brochures, magazines, reports, and more.
Choose one that best matches the purpose of your booklet. You can then customize it further.
Booklet templates
2. Set Up the Page
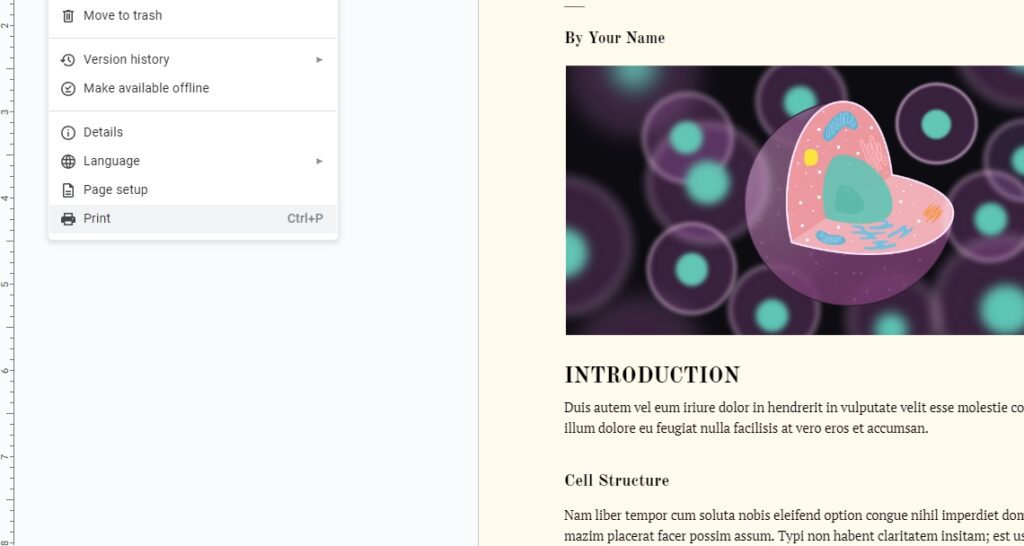
Once you’ve selected a template or started a blank document, go to File > Page setup to configure the page dimensions and margins.
Typical booklet settings are:
- Paper Size: Letter
- Orientation: Landscape
- Margins: 0.5-1 inch on all sides
Make sure to preview the layout to see if adjustments are needed.
3. Design the Cover Page
Use Google Docs’ formatting features like text boxes, images, and shapes to design an eye-catching cover page for your booklet.
You can add:
- A title and tagline
- Logos and graphics
- Background colors and images
Try different arrangements to make the cover page visually appealing. Add a page break after it.
Booklet cover design
4. Craft the Inner Pages
Structure the inner pages into sections and chapters, just like a book or report.
Use headings, text formatting, page numbers, borders, background colors and images to design the interior pages. Make sure to use a cohesive structure and style.
5. Include Images and Graphics
Enhance readability by adding relevant photos, charts, icons and callout boxes in your booklet pages. Break up long blocks of text by interspersing images at appropriate points.
Under the Insert menu, you can upload images or choose graphics from Google’s image library to augment your booklet content visually.
Booklet inner pages
6. Add Page Numbers
Page numbers help readers navigate a booklet with ease.
Go to Insert > Page numbers and select a preferred style. You can place them at the top, bottom, or in the margins of pages.
7. Finalize the Booklet
Before finalizing your Google Docs booklet, be sure to:
- Use spellcheck to fix errors
- Ensure formatting and colors are consistent
- Adjust images sizes if needed
- Preview the layout across all pages
Make changes if something seems out of place.
8. Export and Print
Once completed, you can directly print out booklet pages on paper. Alternatively, export it as a PDF file for enhanced printing options.
Under File > Download, choose PDF document and pick standard paper size for booklets, like letter or A4.
Some key things to select in printing settings are:
- Booklet printing mode
- Paper orientation (landscape usually)
- Two-sided Pages
- Correct paper size
And that’s it! By following these simple tips you can create stunning booklets with Google Docs that captivate readers and effectively convey your ideas.
Design Your Own Custom Booklet in Google Docs
If you want full creative control, you can also design a booklet from scratch in Google Docs without relying on templates.
Here are some top tips to create your own custom booklet design:
- Plan your content first – outline headings, text, images etc. in order
- Pick visually appealing fonts – both for headings and body text
- Use white space effectively – don’t cramp everything together
- Strategically place images and graphics
- Create a unified style for colors, boxes, icons and other elements
- Add page numbers and footer text for easy navigation
- Review on multiple devices to test responsiveness
- Export mockups as PDFs to demonstrate designs
- Take feedback from team members before finalizing
The key is crafting a custom layout aligned to your brand identity. Experiment with different options and see what works best!
Over to You!
We hope this detailed guide gives you the confidence to create beautiful booklets within Google Docs.
Whether you’re looking to design a stylish brochure, an event program or even an annual report, Google Docs has all the tools you need to craft professional, visually engaging booklets.
Feel free to get creative with fonts, images, icons, shapes colors and templates. Review the final layout thoroughly before printing or exporting your masterpiece!
Let us know in the comments if you have any other tips or suggestions for designing appealing booklets in Google Docs!


