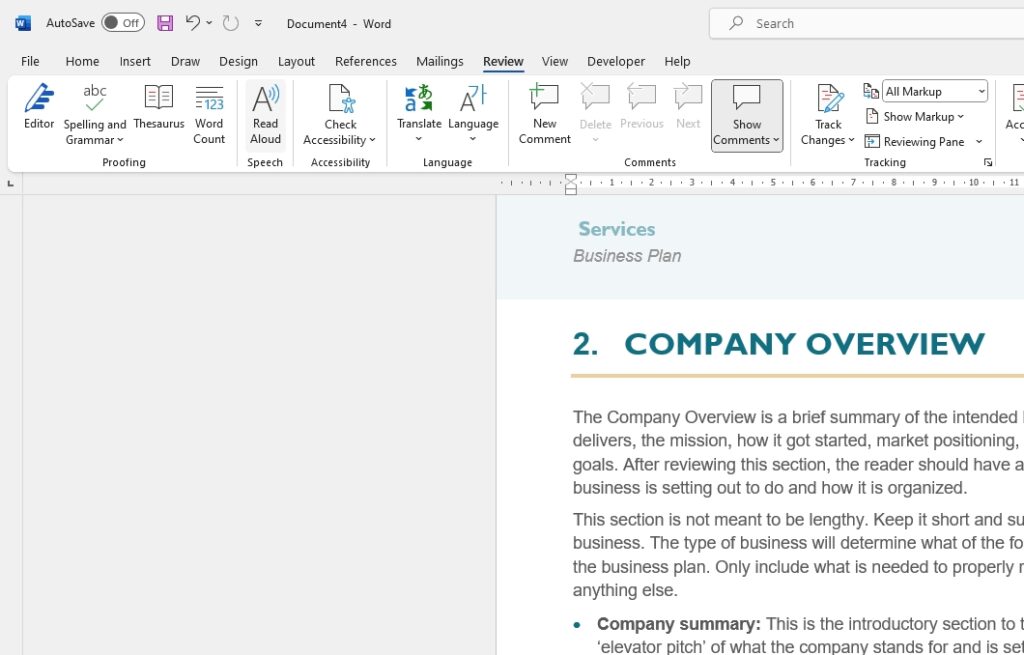
Microsoft Word 2013 has some great built-in features that make it easy to use for blogging. While many bloggers use specialized blogging platforms like WordPress, Blogger, or Medium, Word can also be a simple and effective blogging tool. In this comprehensive tutorial, we’ll walk through how to leverage Word 2013 to create professional, visually engaging blog posts that are quick and easy to produce. Whether you’re an occasional blogger or produce multiple posts per week, read on to learn how Word can elevate your blogging game!
Getting Started with a Blank Canvas vs Templates
When you first open Word 2013, you’ll be presented with a blank white page, offering you a clean slate to work from. This blank canvas is ideal if you want 100% creative freedom over the look and feel of your blog post. However, if you’re feeling a bit overwhelmed by the prospect of designing everything from scratch, Word 2013 also offers a selection of built-in blog post templates to choose from.
To access these templates, click the File tab > New > Search for “blog” in the search bar. You’ll see several pre-designed blog post layouts to select from. The templates provide formatted placeholder content and design elements like text boxes, images, and more. You can choose a template closest to your vision, then customize it by swapping out the placeholder content with your own. This can save time and provide inspiration if you’re experiencing writer’s block.
Structuring Your Post with Headings and Sections
Once you’ve selected a blank page or template, applying structure through headings is key for organizing your thoughts into logical sections. To add a heading:
- Type the heading text
- Highlight it
- Open the Home tab
- Select Heading 1, Heading 2, or Heading 3 from the Styles section
Ideally, you’ll want to break up your post into several sections like:
Introduction
Briefly introduce the topic of your post and get readers interested in what you have to say.
Main Body
Elaborate on the topic in multiple paragraphs or sections, providing key information, insights, examples, etc.
Conclusion
Summarize key points and leave readers with a memorable takeaway thought.
Applying this basic structure from the start will make your post more scannable and readable.
Inserting Images, Videos, and Other Media
Well-placed visuals like images, videos, charts, and more can greatly enhance blog posts in Word 2013. Not only do they break up blocks of text, but they also engage readers in a more memorable way.
To insert visuals into your Word doc:
- Place cursor where you want the visual to appear
- Select the Insert tab
- Click the relevant icon such as Pictures or Online Video
- Select a file to embed or paste a link
When adding images, be sure to provide concise captions and alt text descriptions for accessibility. Also optimize sizing so visuals fit nicely within margins without distortion.
Integrating visuals strategically throughout your post keeps readers actively engaged from start to finish!
Applying Styles and Themes for Cohesive Branding
Using styles and themes in Word 2013 allows you to quickly apply visual branding and polish to your blog post layout. Styles enable you to format text elements like headings, subheadings, captions, quotes, etc for visual consistency. Themes allow you to set colors, fonts, and design effects that carry across your entire document.
To access styles and themes:
- Select text you want to style
- Open the Home tab
- Apply desired heading style, text highlight color, etc from the Styles and Fonts sections
For themes, click the Design tab and browse the various options to preview different looks. This provides an easy way to brand your blog post for a more professional appearance.
Optimizing Readability with Layout and Formatting
Since blog posts are typically read on screens rather than paper, optimizing the reading experience is key. Here are some tips for enhancing readability in Word 2013:
- Use short 1-3 sentence paragraphs with hard returns in between
- Break up text with subheadings every 3-5 paragraphs
- Use bulleted or numbered lists when presenting multiple ideas or steps
- Bold key terms and phrases for easy skimming
- Justify text alignment and adjust line spacing for better flow
- Use 12-14 pt font size with a readable font like Arial or Verdana
- Employ ample white space between elements
- Utilize text boxes and columns for visual interest
These simple formatting best practices make your text easier to parse and digest for on-screen consumption.
Saving and Exporting Your Post
Once your blog post draft is complete in Word, you’ll need to save it locally as a Word doc file for revisions. When ready to publish, you have two options:
- Copy/paste entire post directly into your blogging platform’s editor
- Export post as a PDF attachment to upload to your blogging platform
To export as a PDF:
- Click the File tab
- Select Export > Create PDF/XPS Document
- Choose PDF as file type
- Select publishing options
- Click Publish to output
Now you can upload your new polished blog post PDF to your website or attach it to an email or social media post!
Additional Tips and Tricks
Here are some final tips for leveling up your blog post game in Word 2013:
- Create a blog post template with your branding, styles, and placeholder content already set up to streamline writing
- Use built-in tools like spell check, word count, and accessibility checker to perfect posts
- Enable track changes for easy collaboration and editing
- Learn keyboard shortcuts to boost productivity
- Reuse and repurpose content from other documents
- Add hyperlinks for better connectivity and SEO
With this comprehensive guide under your belt, you should now feel equipped to create stunning blog posts quickly and with ease right within Microsoft Word 2013. Happy blogging!
Let me know if you have any other questions!


