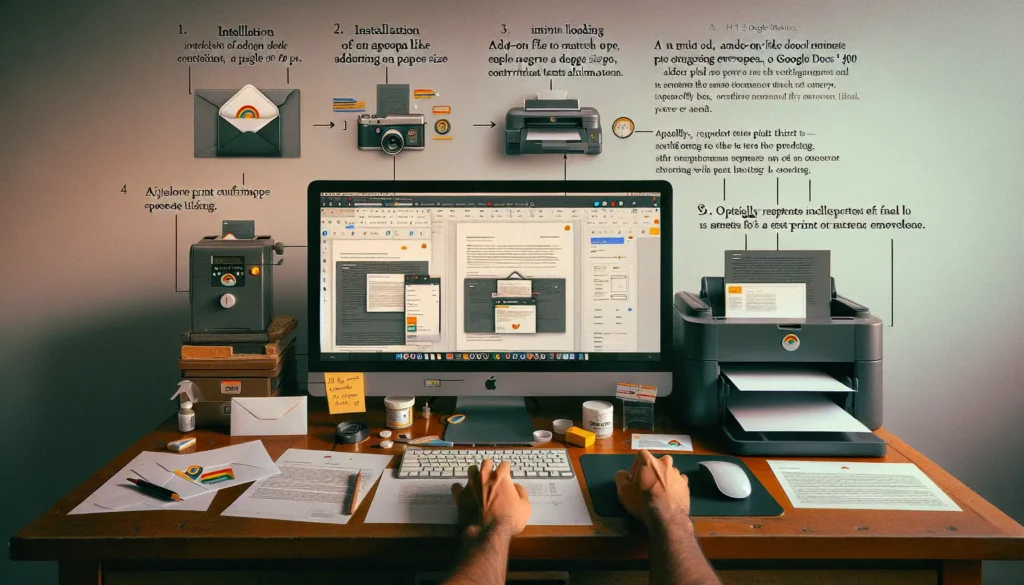
Adding images to your Google Docs can make your documents more visually appealing and easier to understand. Whether you want to insert a photo, illustration, chart, or diagram, it’s a simple process to embed web images into your Docs.
In this guide, I’ll walk you through the step-by-step process to add web images to Google Docs in just seconds.
Step 1: Position Your Cursor Where You Want the Image
Place your cursor where you want the image to be embedded. This allows you to easily insert the image right where you need it.
Step 2: Click “Insert” > “Image”
In the Google Docs toolbar, click the “Insert” drop-down menu, then select “Image.” This will open the image insertion window.
Step 3: Choose “Search the web”
In the image insertion window, you’ll see options for uploading an image from your computer or Google Drive. But to grab an image from the web, click “Search the web.”
Step 4: Search for the Image You Want
A Google image search panel will open up on the right side of your screen. Here you can search for whatever image you need.
For best results, use descriptive keywords related to exactly what you’re looking for. You can also filter by color, type, usage rights, and more.
Step 5: Select the Image
Browse through the search results and click the perfect image for your Doc. The image will automatically be inserted where your cursor was placed.
Step 6: Resize and Format the Image (Optional)
If needed, you can resize and format the inserted image. Click on the image, then use the blue handles around the edges to resize it by dragging.
You can also right-click the image to access formatting options like adding borders, changing transparency, and more.
And that’s it! By following these six simple steps, you can add high-quality web images to your Google Docs in no time.
3 Pro Tips for Working With Images in Google Docs
Now that you know how to insert web images into Google Docs, here are three pro tips to take your image game to the next level:
1. Add Alternative Text for Accessibility
Make your documents more accessible by adding alternative (alt) text to describe images for visually impaired readers using screen readers.
To add alt text, right-click the image and select “Alt text.” Simply type a description of the image.
2. Adjust Text Wrapping Settings
You can choose how text wraps around your inserted images. Having the text wrap can help the image integrate more smoothly.
Click the image, then choose “Wrap text” to make text wrap neatly around the image edges. Choose “In line” to place the image right in the text line.
3. Link Images for Attribution
Giving proper attribution? Add a link to images pointing back to the original source.
Right-click the inserted image, choose “Link,” and enter in the URL of the source website. This gives credit and links for reference.
Get Creative: Advanced Tips for Images
Ready to become a Google Docs images pro? Here are some advanced tricks to try:
Make Images Transparent
Adding a transparent image over text (like a logo or icon) can look great. Right-click the image, choose a transparency level from 0-100%, then drag it over text.
Layer Images
Layer multiple images, like a photo on top of an info box. Insert one image, hold shift, insert the second image directly on top of the first. Drag images to adjust layers.
Group Images
Select two or more images at once by holding Ctrl (PC) or Command (Mac) while clicking them. Right-click and choose “Group” to connect them so they move together as one unit.
Add Stylish Borders
Jazz up boring images with borders. Select the image, click “Borders” in the toolbar, and pick a border style and color combo you like.
Create Image Collages
Insert multiple images in a grid or scattered layout to create visual collages. Resize and layer them over each other for a cool effect.
So get creative with images in your next Google Doc! By following this guide, you’ll be able to easily embed web images from Google searches as well as utilize advanced formatting tips.


