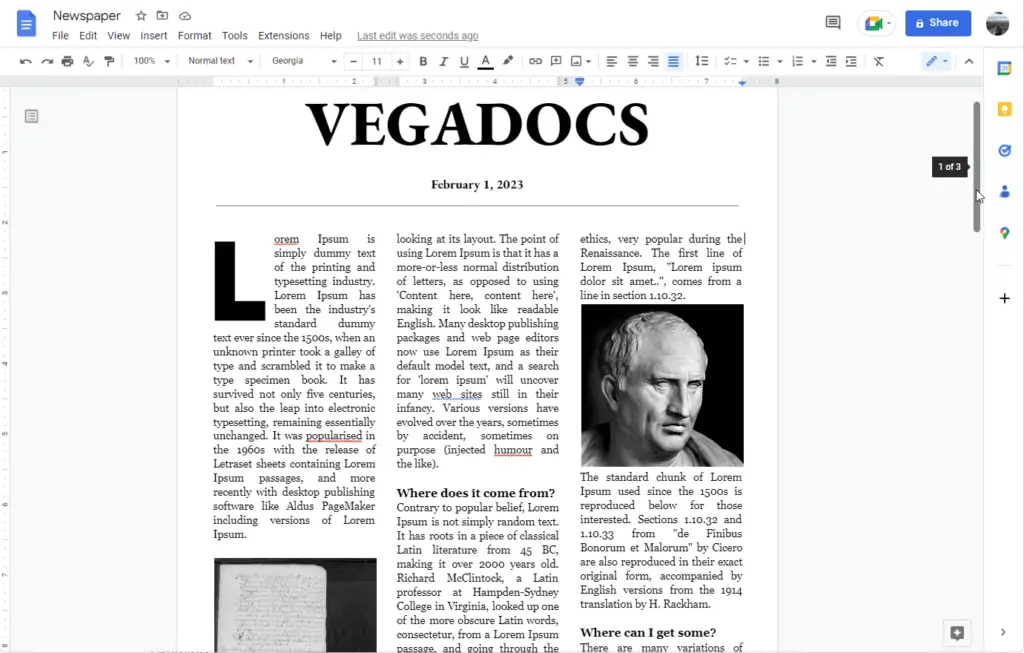
Making a newspaper in Google Docs is an easy and efficient way to create a professional-looking newspaper. With its easy-to-use features, users can quickly format their document into a newspaper layout.
In this tutorial, we’ll discuss the steps you need to take to format and make a newspaper in Google Docs. We’ll cover how to adjust page margins, add columns, and insert images. Let’s get started!
1. On your edited text, the first thing to do is create the three columns in newspaper format. Click Format and select three columns.

2. Go to File, and Page Setup.

3. Change all the margins to 0,5 inches and click OK.

4. The next step is to change the font to a nice newspaper format. Select all the text by pressing CTRL + A, and change the font to Georgia.

5. To make it neat, justify all the text.

6. To reduce the gap between the columns, go to Format, Columns, but this time click More options.

7. In Spacing, give it 0.3 inches and click Apply.

8. Now, it’s time to put the image. Go to Insert, Image, and select Upload from computer.

9. Select the image and click Open.

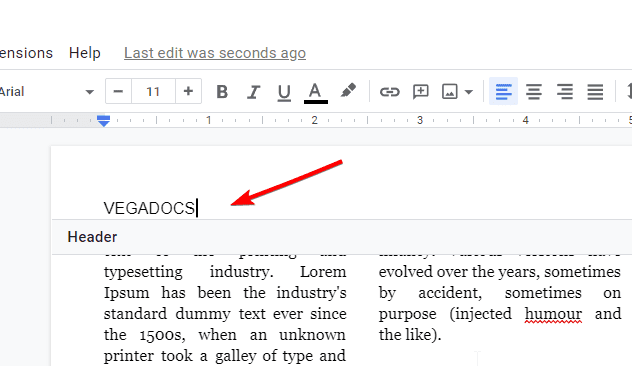
10. To add the newspaper name, double-click the document header and type the name.
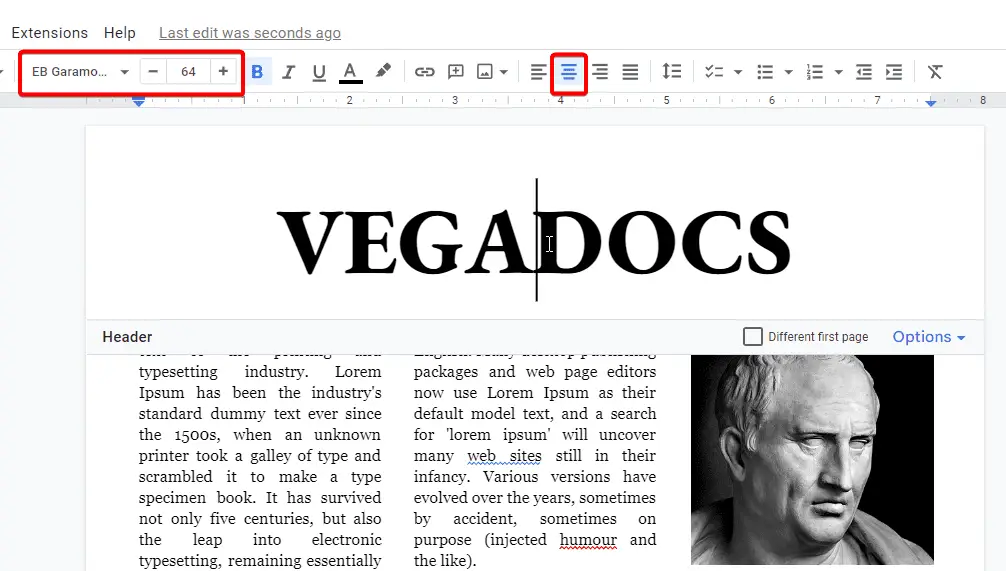
11. Don’t forget to change the font, increase the font size to 63, for example, and center align.
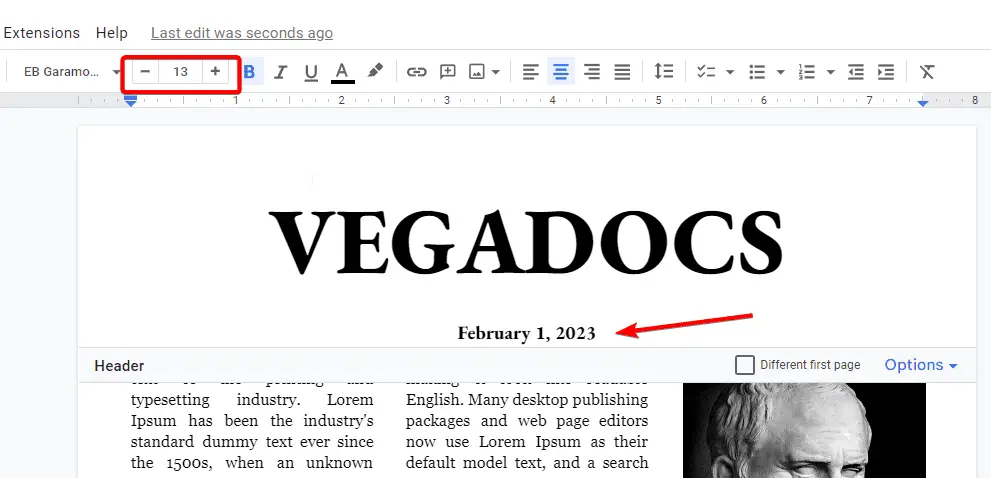
12. Now you are going to put the date of the newspaper. It is still in the same header but uses a smaller font size like 13.
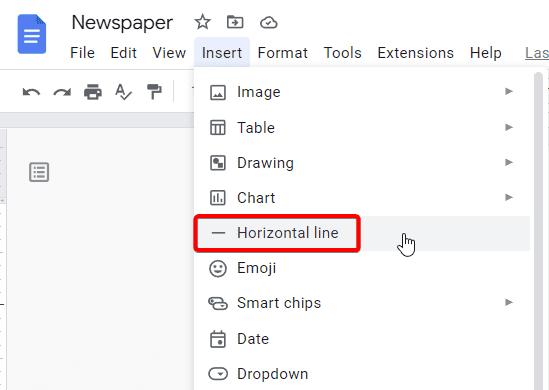
13. Then, put your cursor under the date, go to Insert, and select Horizontal line.
To enhance the newspaper format look, add a drop cap like the one we explained in the previous tutorial. There’s your newspaper format.

