Microsoft Word’s spelling and grammar check feature is an invaluable tool for producing professional, polished documents. With just a few clicks, Word can scan your text to identify errors and provide suggestions to correct them. Using this feature properly ensures your writing is clear, mistake-free, and ready for its intended audience.
In this article, we’ll cover everything you need to know to effectively use Word’s spelling and grammar checker.
How Automatic Checking Works
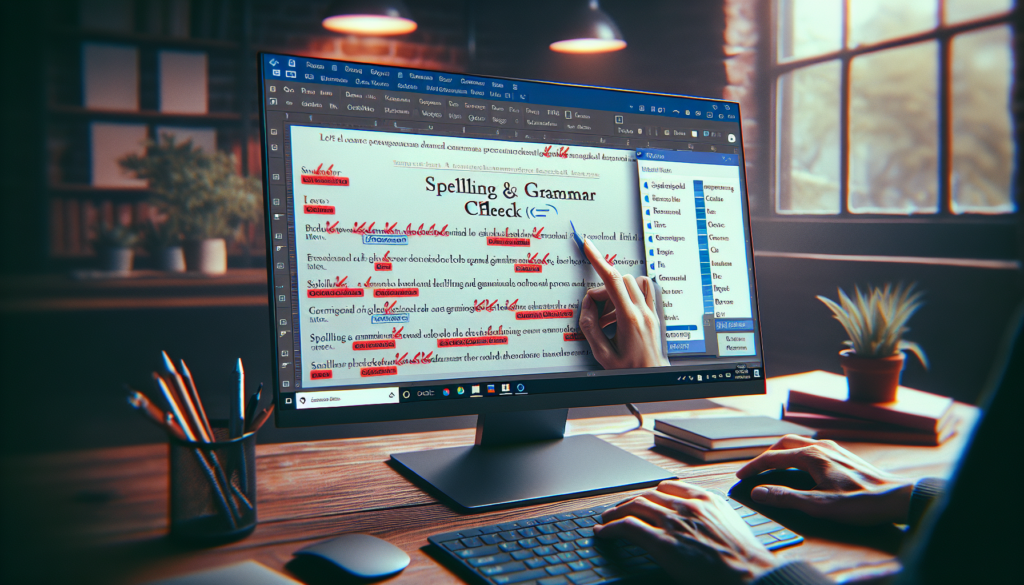
By default, Word checks spelling and basic grammar errors automatically as you type. Misspelled words are underlined in red, while grammar issues are underlined in blue.
You don’t have to do anything extra to enable this – it works right out of the box. However, you can customize what Word automatically checks for by going to File > Options > Proofing and modifying the options there.
Manually Running a Check
You don’t have to rely solely on automatic checking. You can manually run a spelling and grammar scan whenever you wish.
Here are three quick ways to check spelling and grammar manually:
- Hit F7 – This keyboard shortcut will begin checking the document from your current cursor location.
- Go to Review tab – Click the Spelling & Grammar button in the Proofing section.
- Right click – Right click on the document and select Spelling and Grammar from the pop-up menu.
Once started, the spelling and grammar check will proceed sequentially through your document highlighting issues as it goes.
Reviewing Errors
When Word finds a spelling or grammar problem, it displays suggestions to correct the issue in a pane at the top of the document.
You have several options for addressing each error:
- Select one of the suggestions in the pane to make the correction automatically.
- Manually type in the text box to correct it yourself.
- Click Ignore or Ignore All to overlook the flagged text.
- Click Add to include the word or phrase in the custom dictionary so it won’t flag that text again.
Be sure to thoughtfully review each error rather than blindly accepting Word’s suggestions. The algorithms can make mistakes, so use your own judgment.
Customizing the Dictionary and Rules
Out of the box, Word checks against a standard dictionary and grammar rule set. However, you can customize these to suit your needs.
To view and modify settings related to spelling and grammar checking, go to File > Options > Proofing. From here you can:
- Add or delete words in the custom dictionary.
- Prioritize dictionaries for checking order.
- Enable or disable grammar and style checking rules.
- Set Autocorrect options.
- And more.
Adjust these settings to have the grammar and spell check work the way you want it to.
Checking Parts of Documents
Rather than running a full document check, you can also check spelling and grammar on specific portions of text.
To check part of a document:
- Select the text you want to check.
- Go to the Review tab.
- Click Spelling & Grammar.
This will scan only the selected text for errors.
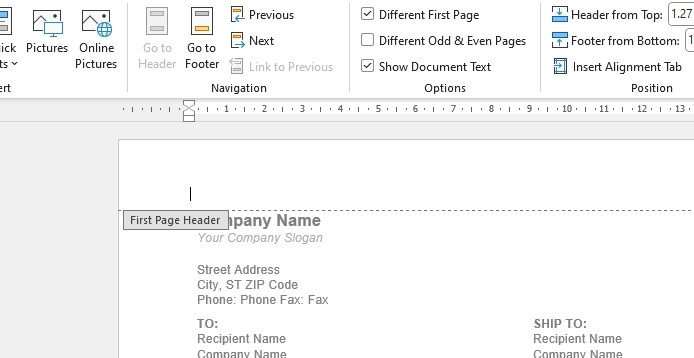
You can use this for things like checking text boxes, callout boxes, headers, footers, and other specific regions without having to check areas you don’t need to.
Important Caveats
While extremely useful, keep a few things in mind in regards to Word’s spelling and grammar checker:
- It’s not perfect – Occasionally the suggestions can be inaccurate or flat out wrong. Use your own judgment when reviewing.
- It doesn’t catch everything – Word mainly looks for spelling, punctuation, basic grammar and style issues. It won’t catch incorrect word usage, poor writing quality, formatting inconsistencies and other problems. You still need to carefully proofread yourself.
- It’s for English only – The tool only works for English grammar and spelling. Text in other languages won’t be properly checked.
So while an invaluable asset, the spelling and grammar check is not a substitute for careful writing and proofreading. Use it as one tool among others to produce great documents.
Conclusion
Microsoft Word’s spelling and grammar check can catch a wide variety of mistakes, from simple misspellings to complex punctuation and grammatical errors. Mastering this feature ensures your documents are professional and error-free.
Remember to thoroughly review each flagged error rather than blindly accepting every suggestion. Adjust the custom dictionary and grammar rules to suit your specific needs. Use the check selectively on portions of text when you don’t need to scan an entire document.
Keep in mind that Word mainly covers spelling, punctuation and grammar – you still need to carefully proofread for things like formatting, poor writing quality and incorrect word usage.
Used properly though, the spelling and grammar check will take a lot of work out of polishing documents and make you look like a flawless, professional writer.


