Removing the background from an image can help highlight the main subject and improve the overall look of your documents in Microsoft Word. With just a few clicks, Word provides an easy way to delete image backgrounds right within the app.
In this tutorial, I’ll walk you through the entire process step-by-step. Whether you’re using Word online, Word for Windows, or Word for Mac, you’ll learn how to remove distracting or unnecessary backgrounds from your images.
Select the Image
The first thing you need to do is insert the image you want to edit into your Word document. You can insert a picture from your computer by going to the Insert tab and clicking Pictures.
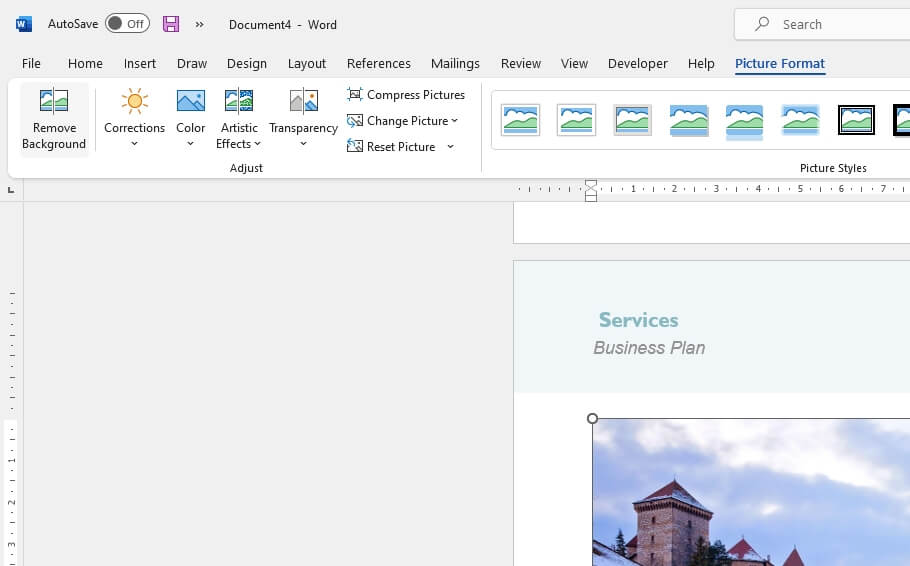
Once the image is in your document, click on it to select it. This will bring up the Picture Format tab which contains the formatting options for images.
If you don’t see the Picture Format tab after clicking the image, make sure the entire image is selected. You may need to double-click the picture to open the tab.
Remove the Background
With your picture selected, go to the Picture Format tab and click Remove Background.
Note: In Word 2016 and earlier versions, this option is located under the Format tab instead of Picture Format.
Refine the Selection
Once you click Remove Background, Word will automatically detect the image background and highlight it in magenta. This is the area that will be deleted when you finalize the background removal.
You’ll also see a rectangular box appear around the main subject of the image. Word uses artificial intelligence to determine the key focal point and retain it by default when removing the background.
If the initial selection isn’t quite right, you can refine it using the Mark Areas to Keep and Mark Areas to Remove tools.
For example, if some of the background is still highlighted in magenta, use the plus sign tool to mark specific areas you want to keep. Similarly, use the minus sign tool to add any leftover background areas you want to eliminate.
Go back and forth between the tools to get the selection just right. The transparent checkerboard pattern lets you preview exactly how your image will look with the background deleted.
Finalize Changes
When you are happy with your background removal, click the Keep Changes button. This will apply the edits and close the Background Removal tab.
Your image will now appear in your document minus the distracting background! The transparency is automatically built-in so the image blends right into your Word file.
If you want to undo the changes or make any additional tweaks, simply select the image again and choose Remove Background to re-enter editing mode.
Extra Tips
- For best results, use high-resolution images whenever possible. Complex backgrounds are harder to remove cleanly.
- Some images like JPEGs may lose vibrancy when the background is deleted. Consider saving a copy of the original just in case.
- Removing white backgrounds works well for product shots and illustrations. For portraits or outdoor images, it’s often better to replace the background with a solid fill color or gradient.
And that’s it! With this simple technique, you can remove photo backgrounds right within Microsoft Word rather than having to use a separate image editing program.
Removing distracting backgrounds makes your images pop, adds transparency, and gives your Word documents a more polished, professional look.


