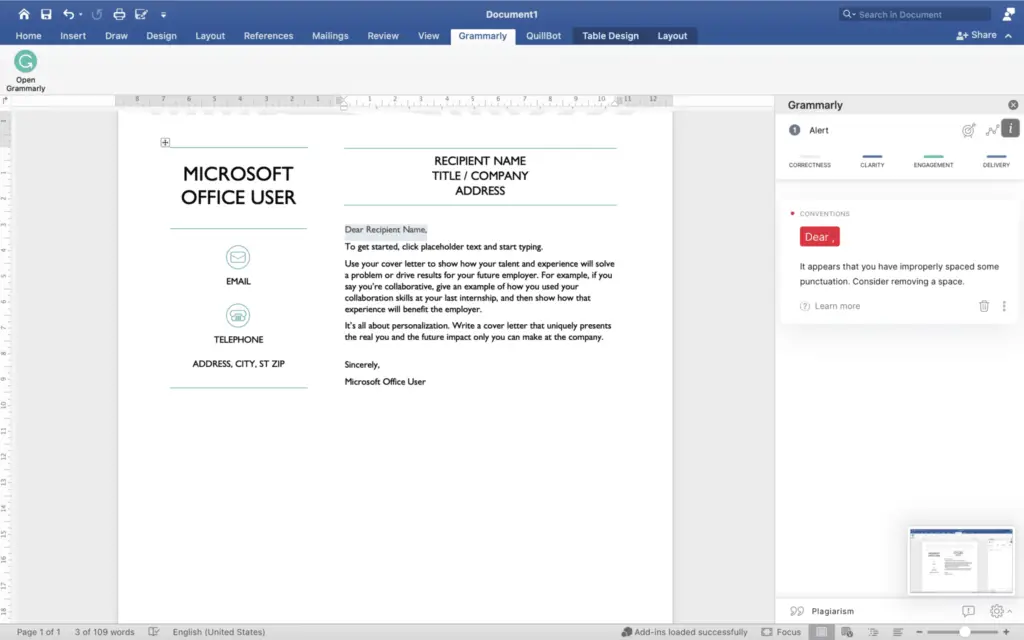
Making a photo collage in Microsoft Word allows you to get creative and make visually appealing documents. With some simple formatting tricks and the robust image editing tools in Word, you can make professional collages without needing advanced design skills.
This article will walk you through the entire process step-by-step.
Gather Images for Your Collage
The first step is gathering the photos you want to include in your collage.
You can add images from a few different places in Word:
- Your computer – Navigate to the Insert tab > Pictures and select images stored locally on your device.
- Online sources – Go to Insert > Online Pictures to search and add images from Bing or your OneDrive account.
- The web – Copy and paste images directly into your document.
Make sure you have copyright permissions for any images you use.
Pro Tip: Save all your collage images in one folder on your computer to keep organized.
Insert Images and Adjust Sizing
Once you’ve gathered your photos, insert them into Word one-by-one:
- Go to Insert > Pictures
- Select a photo and choose Insert
- Drag the corners to resize proportionally, or click Format > Size to enter exact dimensions
Repeat this process until all images are inserted.
Tip: Hold down Shift while resizing to adjust height and width separately.
Arrange and Layer Images
Now comes the fun, creative part – arranging your collage!
There are no rules here – experiment with different layouts. Here are some ideas to try:
- Overlap images for a scrapbook style
- Use text boxes to add captions or titles
- Align and distribute images neatly into rows and columns
- Rotate images for interesting angles
- Layer images on top of each other
Under the Format tab, use tools like Bring Forward and Send Backward to layer images.
Enhance Images (Optional)
Once your images are arranged, you can leave your collage as is or enhance the photos with Word’s formatting options.
Some ideas:
- Apply picture effects like black and white, vintage, or colored filters
- Add picture borders and shadows for dimension
- Adjust brightness and contrast
- Crop images to highlight key details
- Apply artistic effects like pencil sketch or grunge
Find all these options by right-clicking an image and selecting Format Picture. Get creative and have fun with different effects!
Save Your Photo Collage
When you finish designing your collage, save your Word document to preserve your work.
You can also export just the collage:
- Select all images
- Right-click and choose Save as Picture
- Choose file format (JPEG, PNG, GIF)
Now you can use your collage anywhere – print it, email it, or share on social media!
Collage Inspiration
Stuck deciding how to design your Word collage? Here are a few ideas to spark your creativity:
Family Collage
Gather favorite family photos from vacations, holidays, and everyday moments. Print and frame your heartwarming collage.
Family collage example
Wedding or Anniversary Collage
Celebrate your big day by combining wedding photos, venue shots, your invites, and other mementos.
Wedding collage
Vacation Collage
Remember an epic trip by blending landscapes, landmarks, food pics, tickets, and other travel memories.
Vacation photo collage
Birthday Collage
Make someone’s special day extra memorable with a DIY birthday collage gift, showcasing fun memories and photos.
Birthday photo collage
So try making your own collage in Word today! With some simple skills, you can create beautiful, personalized photo collages to print or share digitally.


