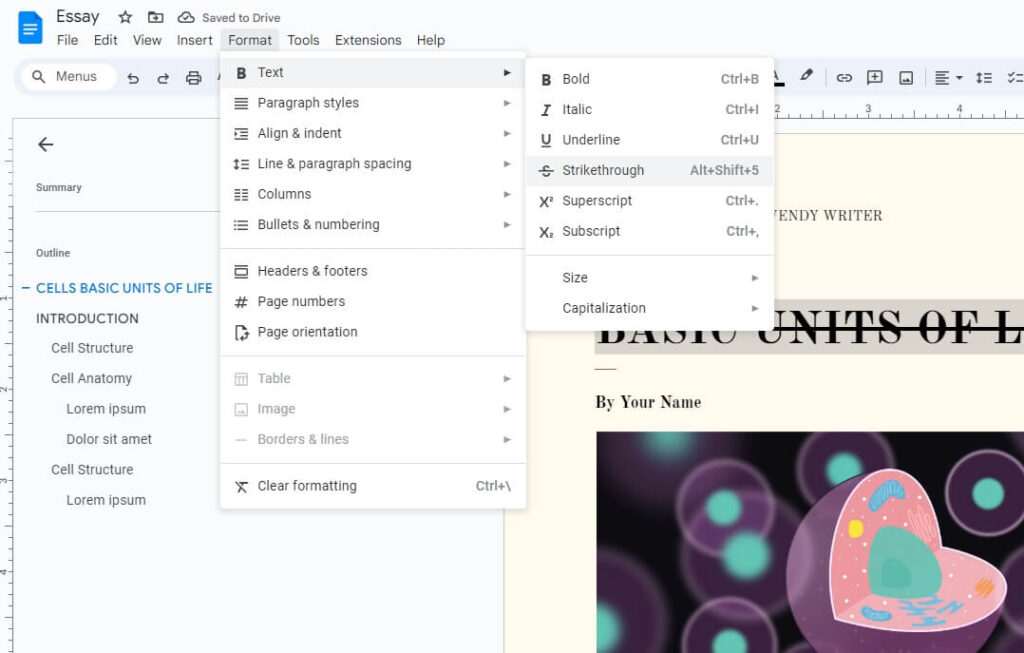
Creating organized and readable documents is crucial, whether for work, school, or personal projects. With Google Docs being one of the most popular word processors available today, learning how to properly structure documents using its tools is an important skill. One key way to organize information in Docs is through the use of bullet point lists. And indenting those lists is vital for creating hierarchy and flow.
In this article, we’ll walk through simple steps for indenting bullet points in Google Docs, including keyboard shortcuts to make the process fast and efficient. We’ll also cover customizing indent sizes and formatting for nested bullet points. Follow along to level up your Docs documents!
Why Proper Indentation Matters
Before jumping into the how-to, it’s worth understanding why indenting bullet point lists matters in the first place. Indents create visual structure, allowing readers to easily distinguish between levels of information. This improves comprehension and prevents the “wall of text” effect.
Proper indentation also contributes to professional, polished looking documents—something important for both work and academia. Consistent indentation makes your work look clean and purposeful.
Finally, proper nesting of bullet points creates logical connections between ideas and topics. It guides readers through your thought process in an intuitive way.
Indenting Bullet Points with Tab
Indenting bullet points in Google Docs is simple:
- Type your bullet point and press Enter to start a new line
- Hit the Tab key to indent that new line
The Tab key indents about 0.5 inches by default. Keep hitting Tab to indent further for nested bullet points.
To move back out a level, hold Shift while tapping Tab.
This Tab technique is the fastest way to indent bullets as you type. But you can also adjust indentation of existing bullet points by selecting the text first before using Tab/Shift+Tab.
Customizing Indent Size
If you want more control than the 0.5 inch Tab indent, use the ruler for custom sizes:
- Click the ruler above your document to view indentation markers
- Drag the top triangular Left Indent marker to adjust
- You’ll see a guide line showing the new margin size
This also lets you indent entire paragraphs rather than just bullet points. Drag the First Line marker to create a hanging indent.
You can display the ruler under View > Show Ruler if you don’t see it.
Formatting Nested Bullet Points
When creating nested bullet points, you’ll want to adjust indentation as well as bullet style for visual distinction.
Let’s say you have a bullet point list with three levels, like:
- Main topic
- Sub-point 1
- Sub-point 2
- Detail 1
- Detail 2
To format nested items differently:
- Select the text you want to reformat
- Click Format in the menu bar
- Choose Bullets & Numbering > More Bullets
- Select a new bullet symbol such as squares, dashes, arrows, etc.
- Repeat for each nested level, choosing different symbols
This helps differentiate parent topics, sub-topics, and details by bullet style and indent level.
Keyboard Shortcuts for Indenting Bullets
As mentioned earlier, the Tab key is the fastest way to indent bullet points as you type. Here are more handy keyboard shortcuts:
- Tab – Indent selected bullet text
- Shift+Tab – Outdent selected bullet text
- Ctrl+] (Windows) / Cmd+] (Mac) – Indent entire bullet point list
- Ctrl+[ (Windows) / Cmd+[ (Mac) – Outdent entire bullet point list
Memorize those shortcuts to save time applying indents without touching your mouse.
Indenting on Mobile
The techniques above refer to the desktop version of Google Docs. But you can also indent bullets on mobile:
- Tap the bullet point text to select it
- Tap the arrow icons in the formatting bar to adjust indentation
- Choose different bullet symbols if desired
It’s a bit more cumbersome than desktop but still doable.
Consistent Indents for Readability
Properly indenting bullet point lists—and using different symbols for nesting—makes for clean, readable documents. This improves comprehension for readers and gives off a professional tone.
So whether you’re creating task lists, content outlines, meeting notes, or any other bulleted content, be sure to utilize indents for better flow. Keep the above tips in mind for quick and easy indentation in Google Docs.
And if you want to take your Docs skills even further, check out these tutorials for mastering tables, templates, and more:
- How to Add and Format Tables in Google Docs
- Leveraging Templates to Enhance Google Docs Workflows
- Top 10 Google Docs Tips for Beginners
Keep leveling up your document game! Proper text formatting goes a long way towards making polished, professional docs.


