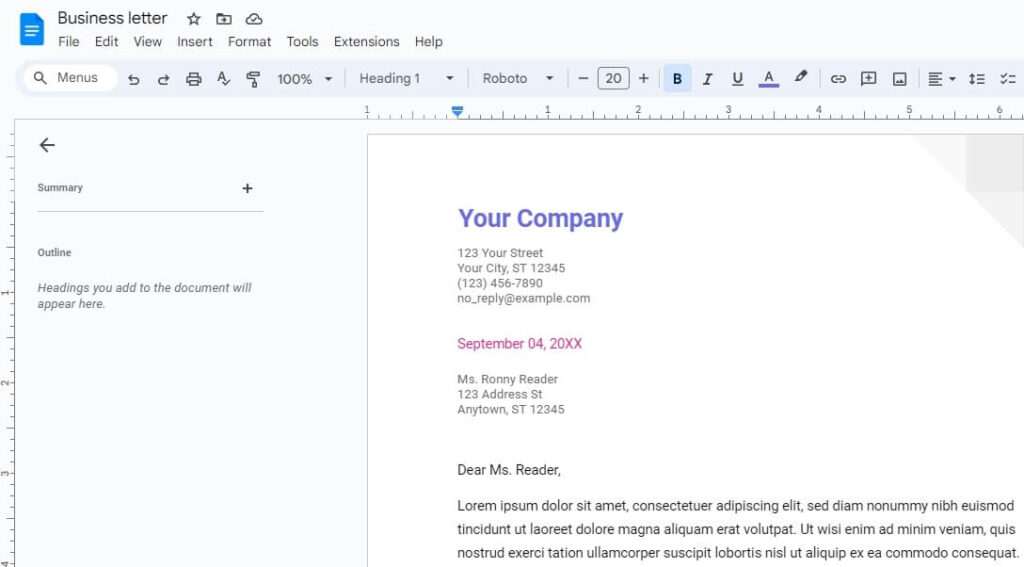
Adding a running header to your Google Docs document allows you to display information like the document title or author name on every page. This can give your document a more professional and polished look. In this tutorial, I’ll walk you through the easy steps to add a basic running header in Google Docs.
Why Use a Running Header
Before jumping into the how-to, let me explain some of the benefits of using running headers:
- Identify the document – Displaying the title in the header makes it easy to identify the document at a quick glance. This is especially helpful if you print out the document.
- Display authorship – You can include the author name(s) in the header to clearly indicate who wrote the content.
- Add page numbers – Running headers commonly include the page number on each page, making it easy to reference specific pages.
- Look professional – Headers give documents a clean, professional look commonly seen in books, magazines, reports, etc. It makes your work look more polished.
Now that you know why headers matter, let’s look at how to actually add and customize them in Google Docs.
Access the Header Toolbar
The first step is to access the header and footer toolbar, which lets you open up the header or footer areas to edit them. Here’s how:
- Open the Google Doc you want to edit.
- Click Insert > Header & page number. This will make the header/footer toolbar appear at the top of the document.
Header toolbar
You’ll notice some predefined header styles get added automatically. We’ll customize this further in the next steps.
Add a Title Header
For our running header, let’s add the document title. Here are the steps:
- With the header toolbar open, double-click inside the header area to switch into editing mode. The background will turn gray.
- Highlight the placeholder text and delete it.
- Click at the left side of the header and type the title of your document. For example, “My Document”.
- Triple-click the title text to select it. Then use the toolbar to bold the text (or press Ctrl+B on your keyboard).
- Click outside the header to exit editing mode. The header text will now appear on every page!
It’s that quick to add a basic title header. The bold text helps it stand out from the body content.
Pro tip: Keep the header text short. Lengthy titles may wrap to a second line and look messy.
Add Page Numbers
In addition to the title, most running headers include page numbers on each page. Here’s how to do that:
- Double-click inside the header again to switch back into editing mode.
- Move your cursor to the far right side of the header, leaving a couple spaces from the title.
- Click Insert > Page number, then choose which type of numbering you prefer. The page number will populate automatically based on page count.
- Click outside the header again to exit.
Now you’ll see page numbers on every page!
Add Author Name
You can also include author information in your running headers. Here are some options to try:
- Full name
- First/last name
- First name and last initial
- Username or pen name
The steps are the same as adding the title:
- Double-click the header to edit.
- Position your cursor where you want the author name to appear (e.g. after the title).
- Type the author name text. I recommend bolding it to match the title formatting.
- Click out of the header to apply changes.
Review each page to ensure the author text looks good on the header. Make any tweaks needed.
Adjust Header Positioning
By default, Google Docs places running headers at the top of each page. But you can reposition it in a few ways:
- Header from Top – Specifies distance from top of paper to header
- Header from Bottom – Specifies distance from bottom of paper to header
To adjust, go to File > Page setup from the Docs menu. You’ll see options to tweak the header positioning.
Note: Make sure to leave adequate margin space so the header doesn’t overlap body text!
Use Multiple Headers
You can also define different running headers for specific sections of your document:
- Place your cursor where you want the new header to start.
- Go to Insert > Break > Section break (next page). This will start a new section.
- Double-click inside the header area and customize as needed.
Do this for any major sections that need their own headers.
Troubleshooting Tips
Here are some troubleshooting tips in case you run into issues:
- If header text overlaps body text, adjust the header positioning or margins in Page Setup.
- If headers look misaligned between pages, check that consistent styling is applied.
- If headers disappear when text length changes, anchor the title text to the page edge to prevent wrapping.
And that’s it! With these steps, you can quickly add and customize running headers in Google Docs to give your documents an extra touch of polish. Let me know if you have any other questions!


